Annnnnnd, we’re on to paint! After finally deciding to stick with the original green (Pop won), we are ready to rock this out. The key to a great paint job starts with ensuring that the surface you are painting is pristine. Dent free, chip free, lint free, dust free, hair free, your breath free…NOTHING to impede the smooth application of paint. In other words, some serious prep work is needed.

Detailed To-Do List
Based on the horrors we’ve uncovered these past years while pulling Mavis apart piece by piece, she’s definitely been through it. Her front driver’s side seems to have been submerged in water for some time and she has seen her share of hailstorms. We’ve already perfected our welding skills by patching some of the holes in her frame, but now it’s time for delicate surface work. The reality of the sitch is that we probably should skim coat every surface of Mavis; her doors, fenders, hood, roof, etc., and block sand until every little knick and dent she has is filled and smoothed over. But, as we are self-taught , we know she will not be absolutely perfect and like me, now over 50, she has gained the right to have a pucker or a dimple here and there.
Prep
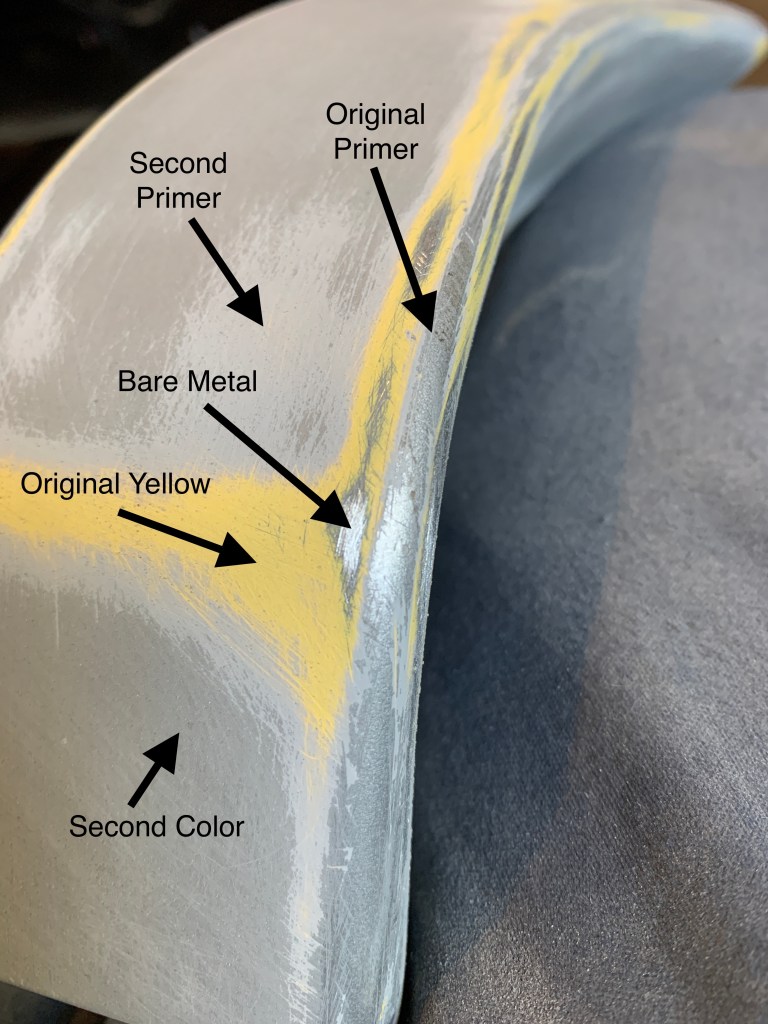
I do though take care of my skin as best possible, so we will give old Mavis a fighting chance and attend to her more obvious surface flaws. We start with an 80 grit paper and get down to either the original primer or bare metal. Consider it an intense facial chemical peel. This car has been painted twice, first with the original factory yellow and then a slightly metallic gray. Getting through all that isn’t easy.
Then, we apply a little ‘foundation’, filling any dings and pockmarks down to about 1/8” with glaze putty. For anything 1/4″ deep or more we bring out the big guns…filler. A little bodywork Botox. Hit any remaining bare metal with self-etch to keep from rusting then feather sand out all repairs with 220 paper. When you are happy with that (which I never am), DA and hand sand all with 320 until smooth. Best way to tell if something is as smooth as possible is to close your eyes and move your hand slowly over the surface, feeling for any slight differences. So most of the time it looks like I am lovingly caressing Mavis with a confused look on my face.


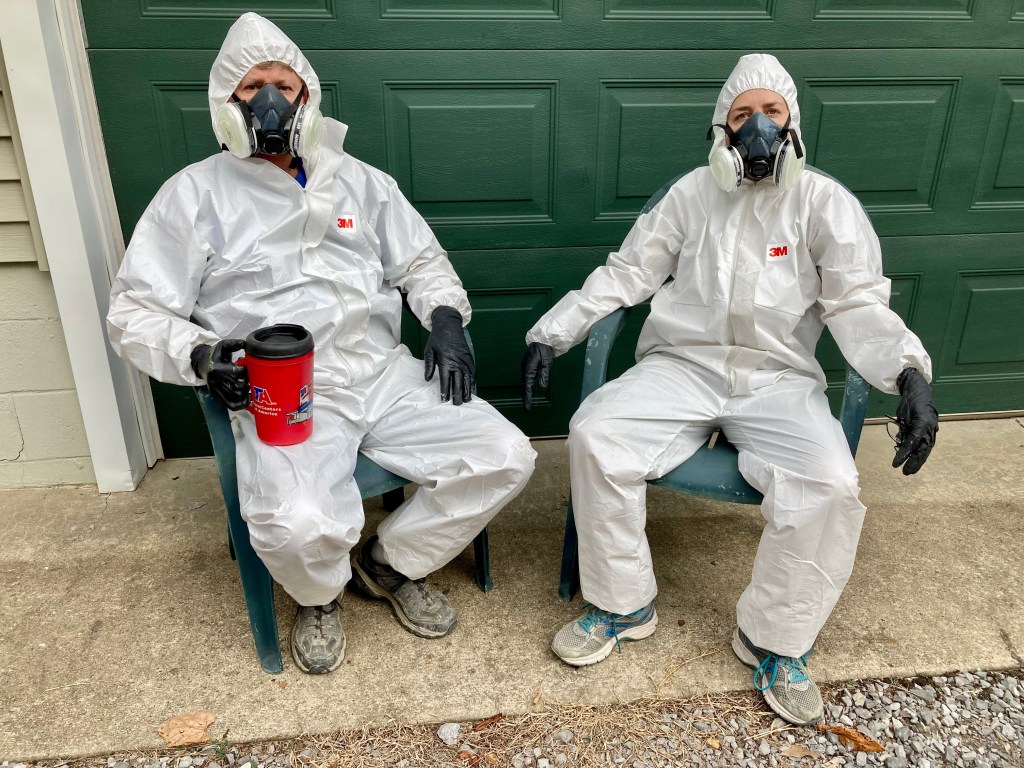
A good washing of all surfaces with mild soap and water and then comes primer….break out the paint guns!!! Not so fast slick, you now have to tape out anything that you do NOT want hit with that gray primer and cover anything you don’t want hit with any hint of gray primer ‘dust’. So Pop and I put up our Dexter crime scene tarps, sweep, set up our custom exhaust system (fan in the door) and I get to taping. Again, the better the prep, the better the paint job, so a clean and accurate tape job is imperative. If you may recall, I’m a very good taper.
Prime
Now we’re on to our high build primer. Primer goes on really nicely and knowing that you are going to sand it down gives you a little more freedom to fuck up while painting. It’s a great time to practice with the gun.

Sand
After laying down 3 coats of primer we let it dry completely. Then comes dry sanding with 320 paper to take off the very top bumps of the primer surface. Next, a wet sand with 600 until it’s as soft as a baby’s bottom. I’ll tell you there is NOTHING smoother then a wet primer surface sanded with 600. I can’t even explain it, so here’s a visual.
Base
Enter, color! We carefully mix the correct proportions of color and reducer and load the gun. Pop is my ‘gun man’, as he preps the paint and ensures the settings on the gun are optimal. The correct fan size, amount of paint vs. air coming through and the pressure are very important in how the paint lays down. He’ll also follow me while I paint, ensuring the air hose doesn’t trip me (although it always trips him), helping to turn the pieces if need be and pointing out areas I may have missed.

Now, spraying color is where the rubber hits the road. This is the real deal, no looking back, any screw ups now mean sanding back down and starting over. I was a WRECK!!! The minute I put on my paint suit I’m sweating like a pig and so nervous I need to take 5 to calm myself down. I pull myself together and we begin. A half squeeze of the trigger for a little squirt of air to remove any pesky bits of dust that have come to the party last minute, and we’re off!

Clear
So you’d think clear coating is the easy part. Color is done and looking good, let’s just seal the deal with some shiny goodness and call it a day. Nope, clear is a bitch! Too light a coat and you don’t get that shine, too much and you have drips and sags that need to be buffed out. What you are looking for is the perfect ‘wet’ coat, right between lackluster and disaster.
Getting a sag is so disappointing. You think you’ve laid down your clear coat beautifully, but then have the realization that you may have actually passed an area twice. Slowly, out of what seems like nowhere, the weight of that extra coat takes hold. Before your very eyes your beautiful paint job looks as if it’s melting off the surface, sliding down in first one long sag, then breaking out into individual runs that say, “you suuuuuuuuuuuuck!” as they cruise down your paint job.

There is a way out though. I’ll attempt to scrape these babies down to just before level then buff the wahoosy out of them to blend. We put enough clear coat down to hopefully be able to do this without taking it all off, in theory. We shall see. All in all, I think we did a damn good job. Not perfectly professional, but good enough to be proud of. Pop and I taught ourselves to paint in our makeshift booth with a $100 paint gun. I’m pretty happy with that.


Next up, prepping and painting the rest of the car. What’s left is the hood, trunk deck and the remaining body. Anything that is still grey/yellow in this pic.

That will be a huge job and will no doubt take the next 2-3 visits. In the meantime, we’ll need to ensure we have everything we need to put the ol’ girl back together. I’ll take inventory of remaining tasks and parts needed next. We’re getting there! Squeeeeeeeeee!


Good work . I like being your “ gun man “.
Sent from my iPhone
LikeLiked by 1 person
You and your “gun man” Woody are BAD ASSES!! Great job JJ!! 🥰🥰🥰
LikeLiked by 1 person
I love this Blog! It’s great to see Mavis coming together so beautifully!
LikeLiked by 1 person
Pingback: Nearing the Finish Line | Pop my Ride