I’m documenting the visit by visit progress we’ve made here in the gallery. Some of you will appreciate these incredibly interesting (as well as entertaining) progressions and some of you would rather watch paint dry (although you may see that too.)
Click on any image to view as a slide show.
Loves!
Oct/Nov 2019 Visit
-
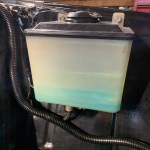
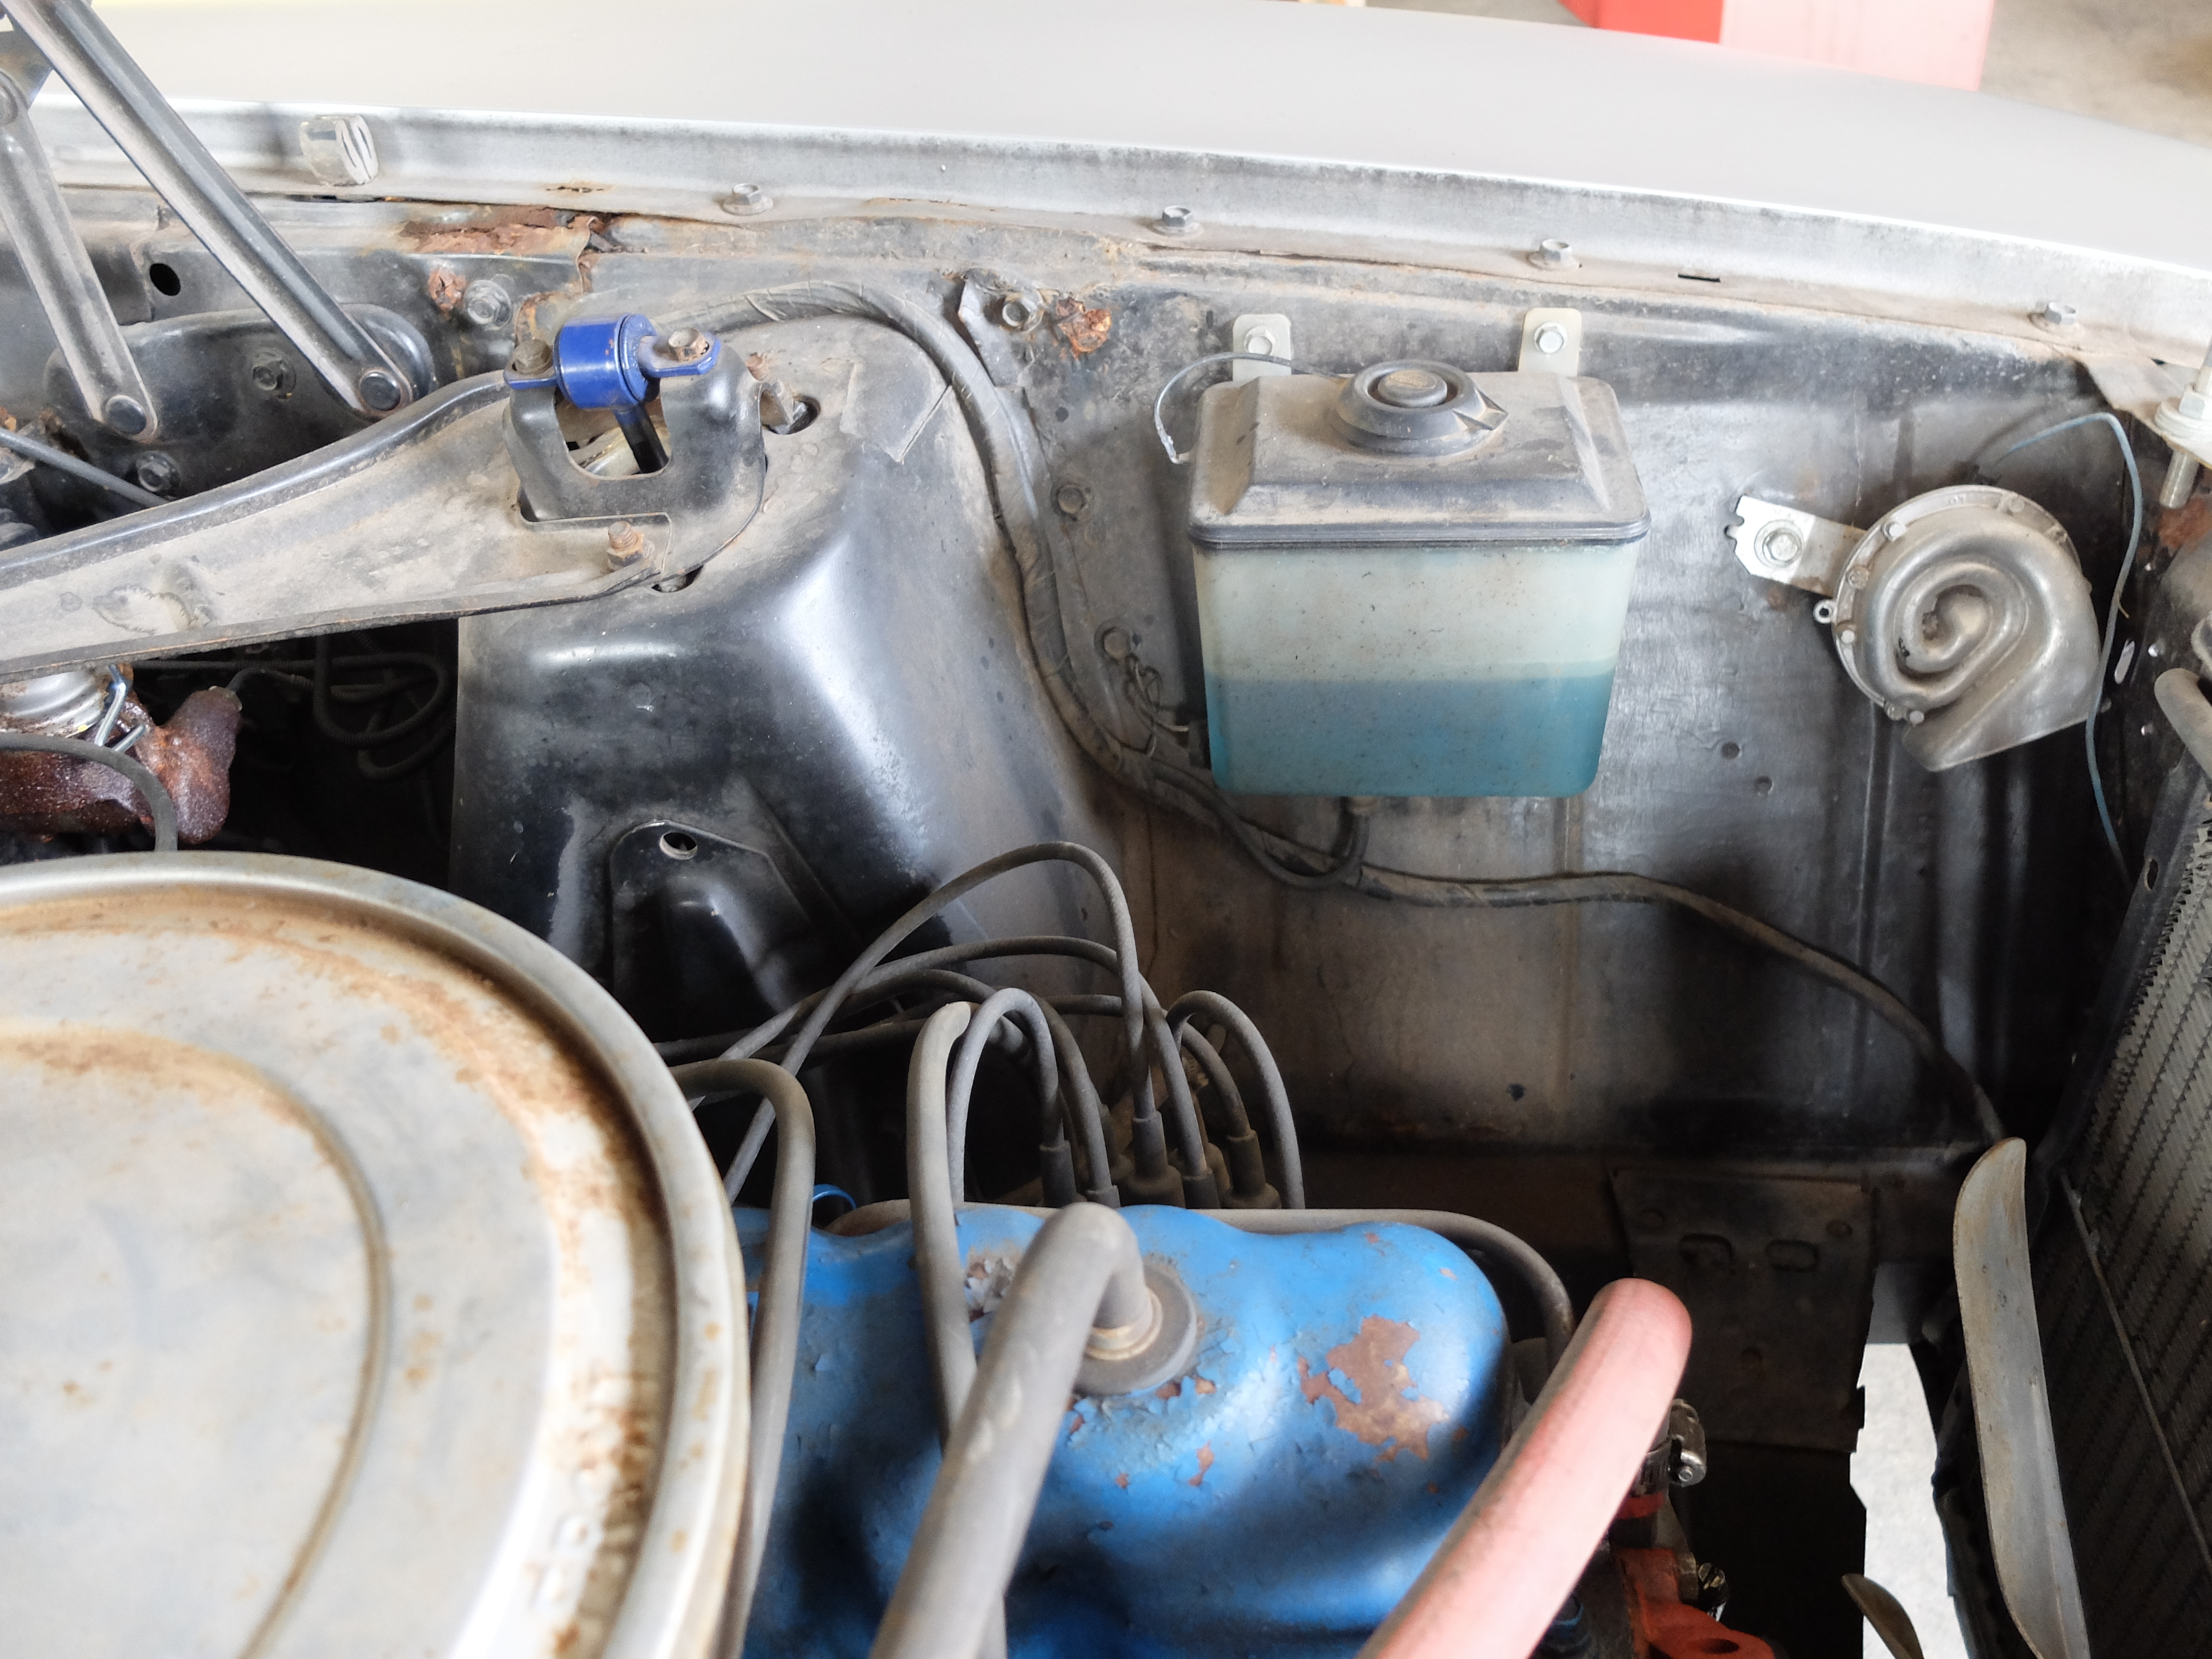
- Window washer tank back in.
-
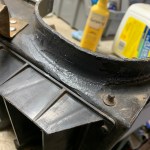
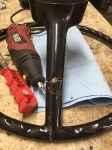
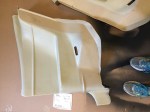
- Heater cover repair.
-

- Converting automatic choke to manual.
-
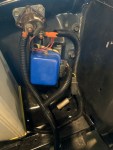
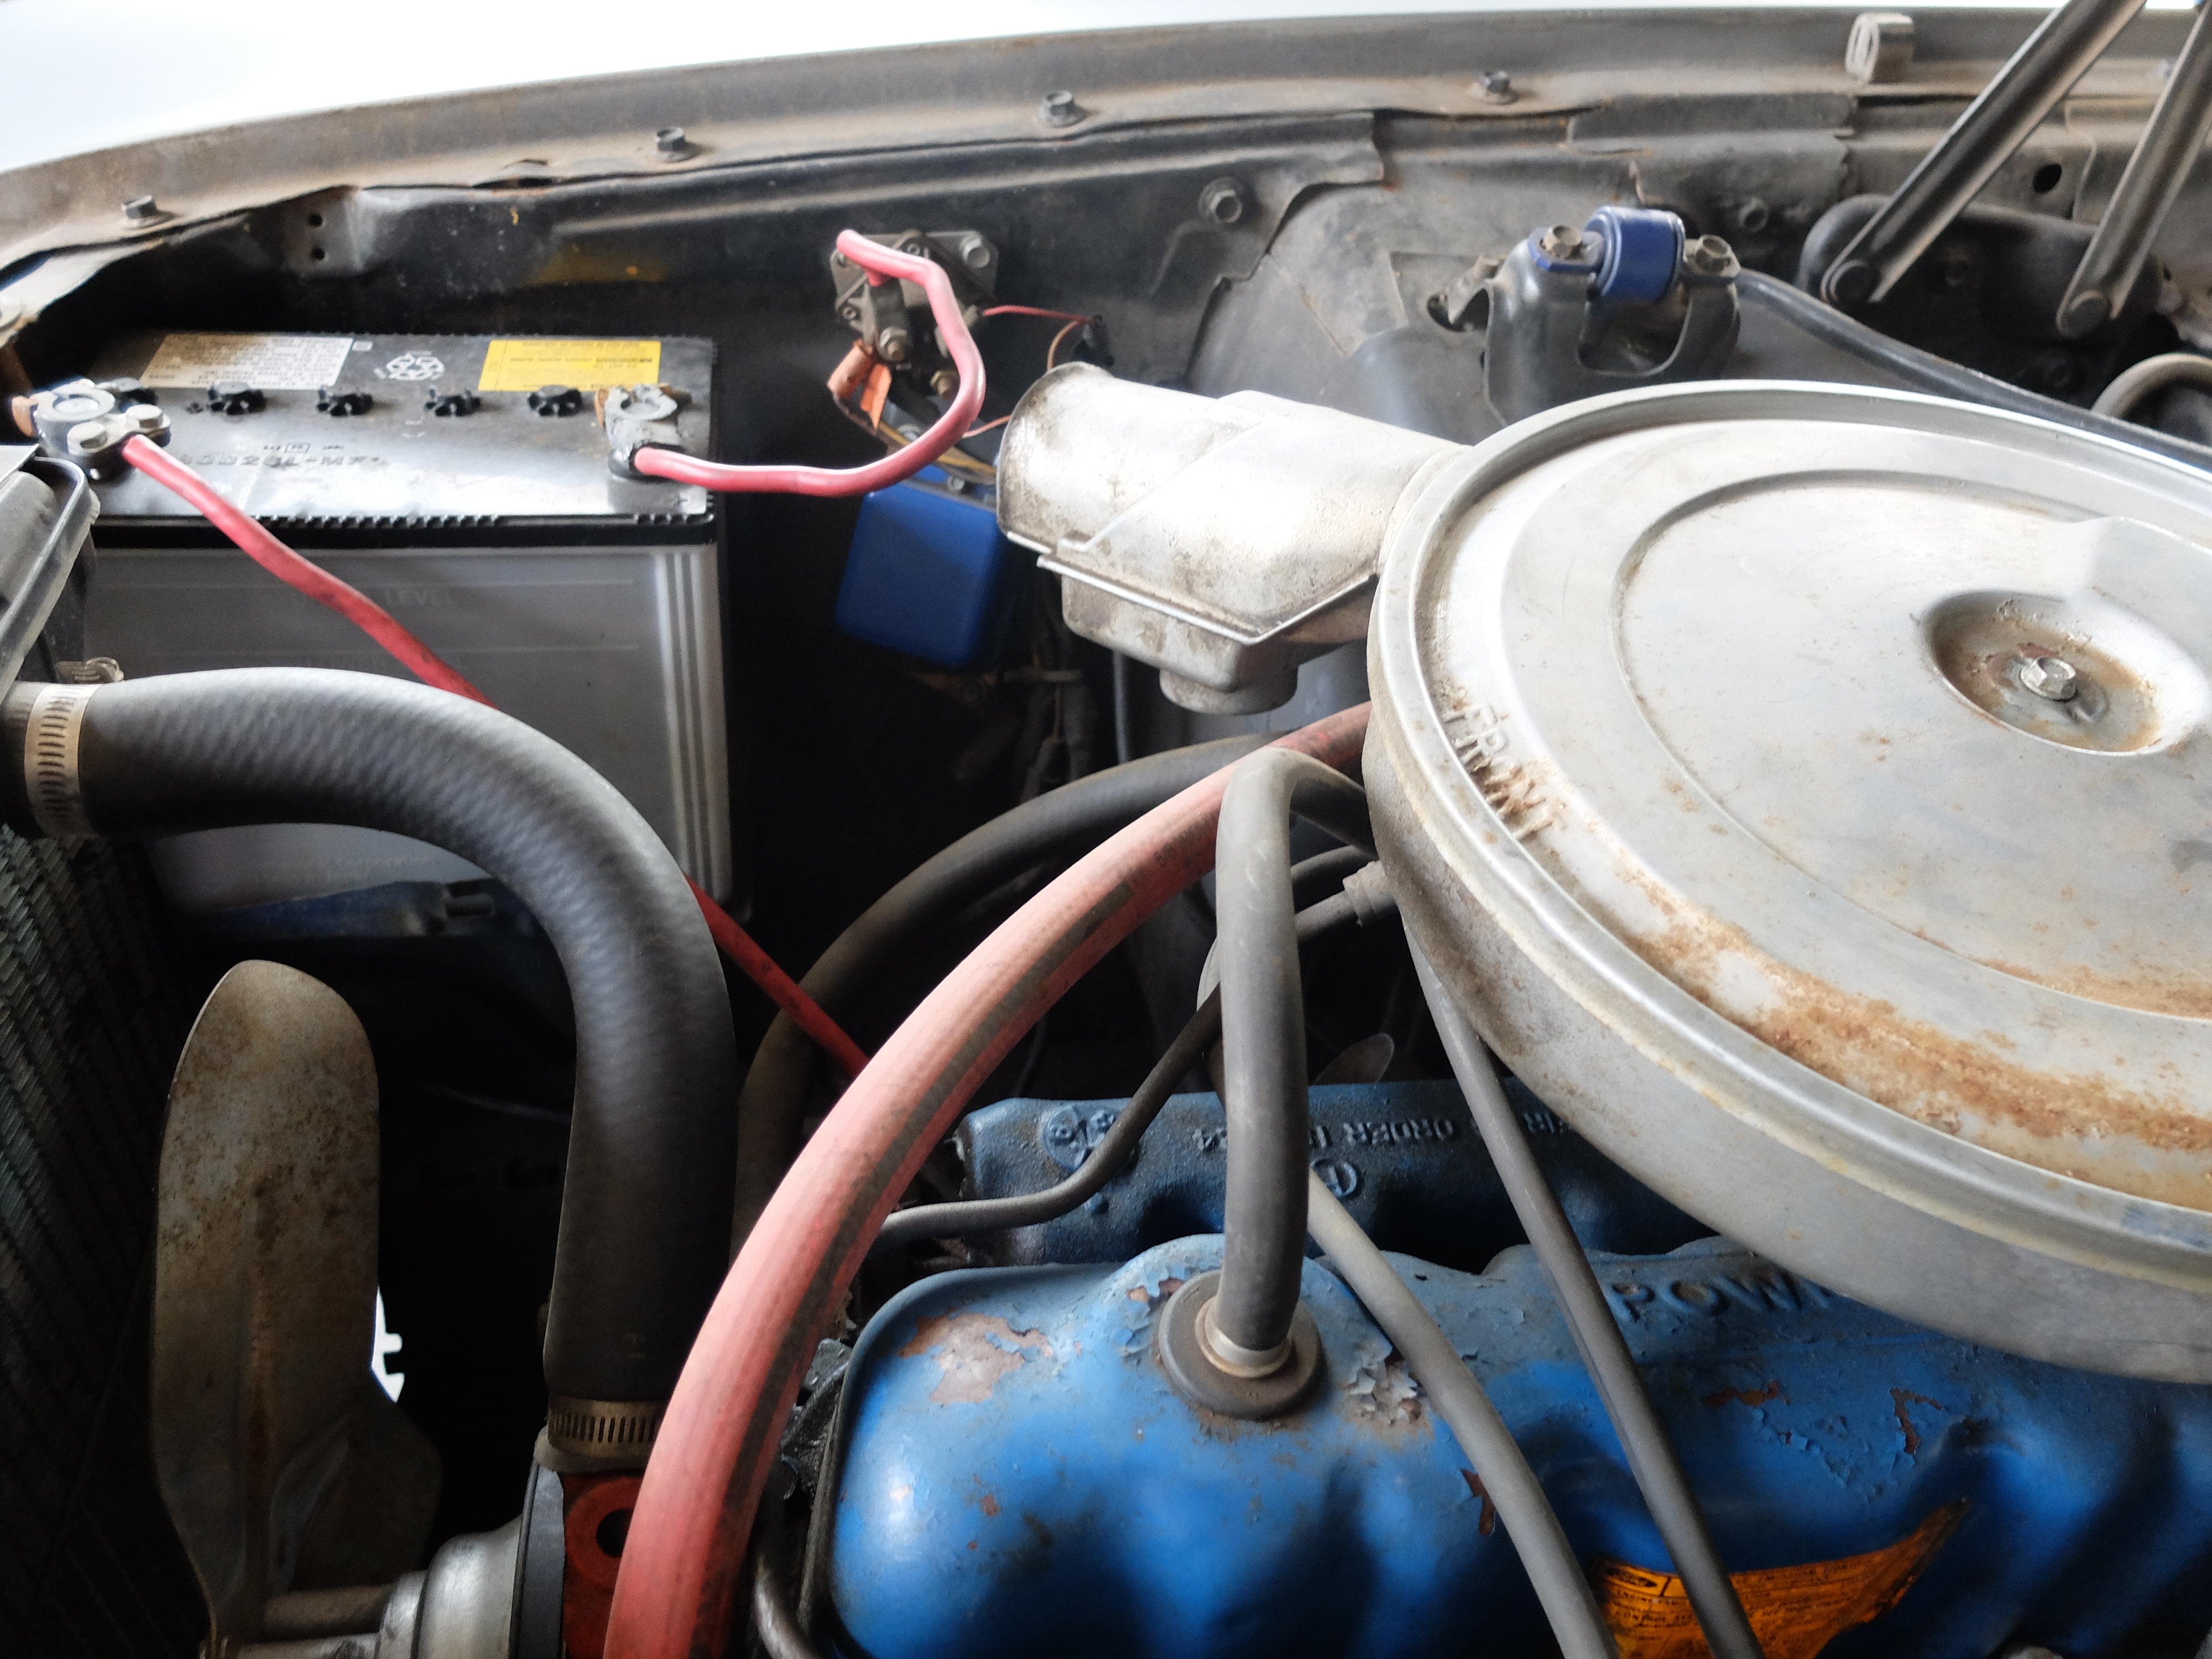
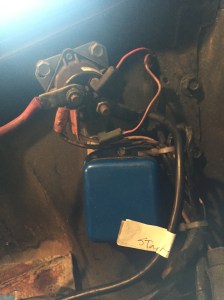
- Wiring in voltage regulator and starter solenoid.
-
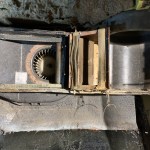
- Heating connected, new heater core to go in.
-

- New horn: Beep Beep!
-
- Puuuuuurty!
-

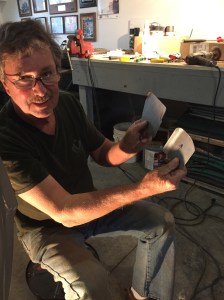
- Puttin’ Mike to work sanding doors!
-

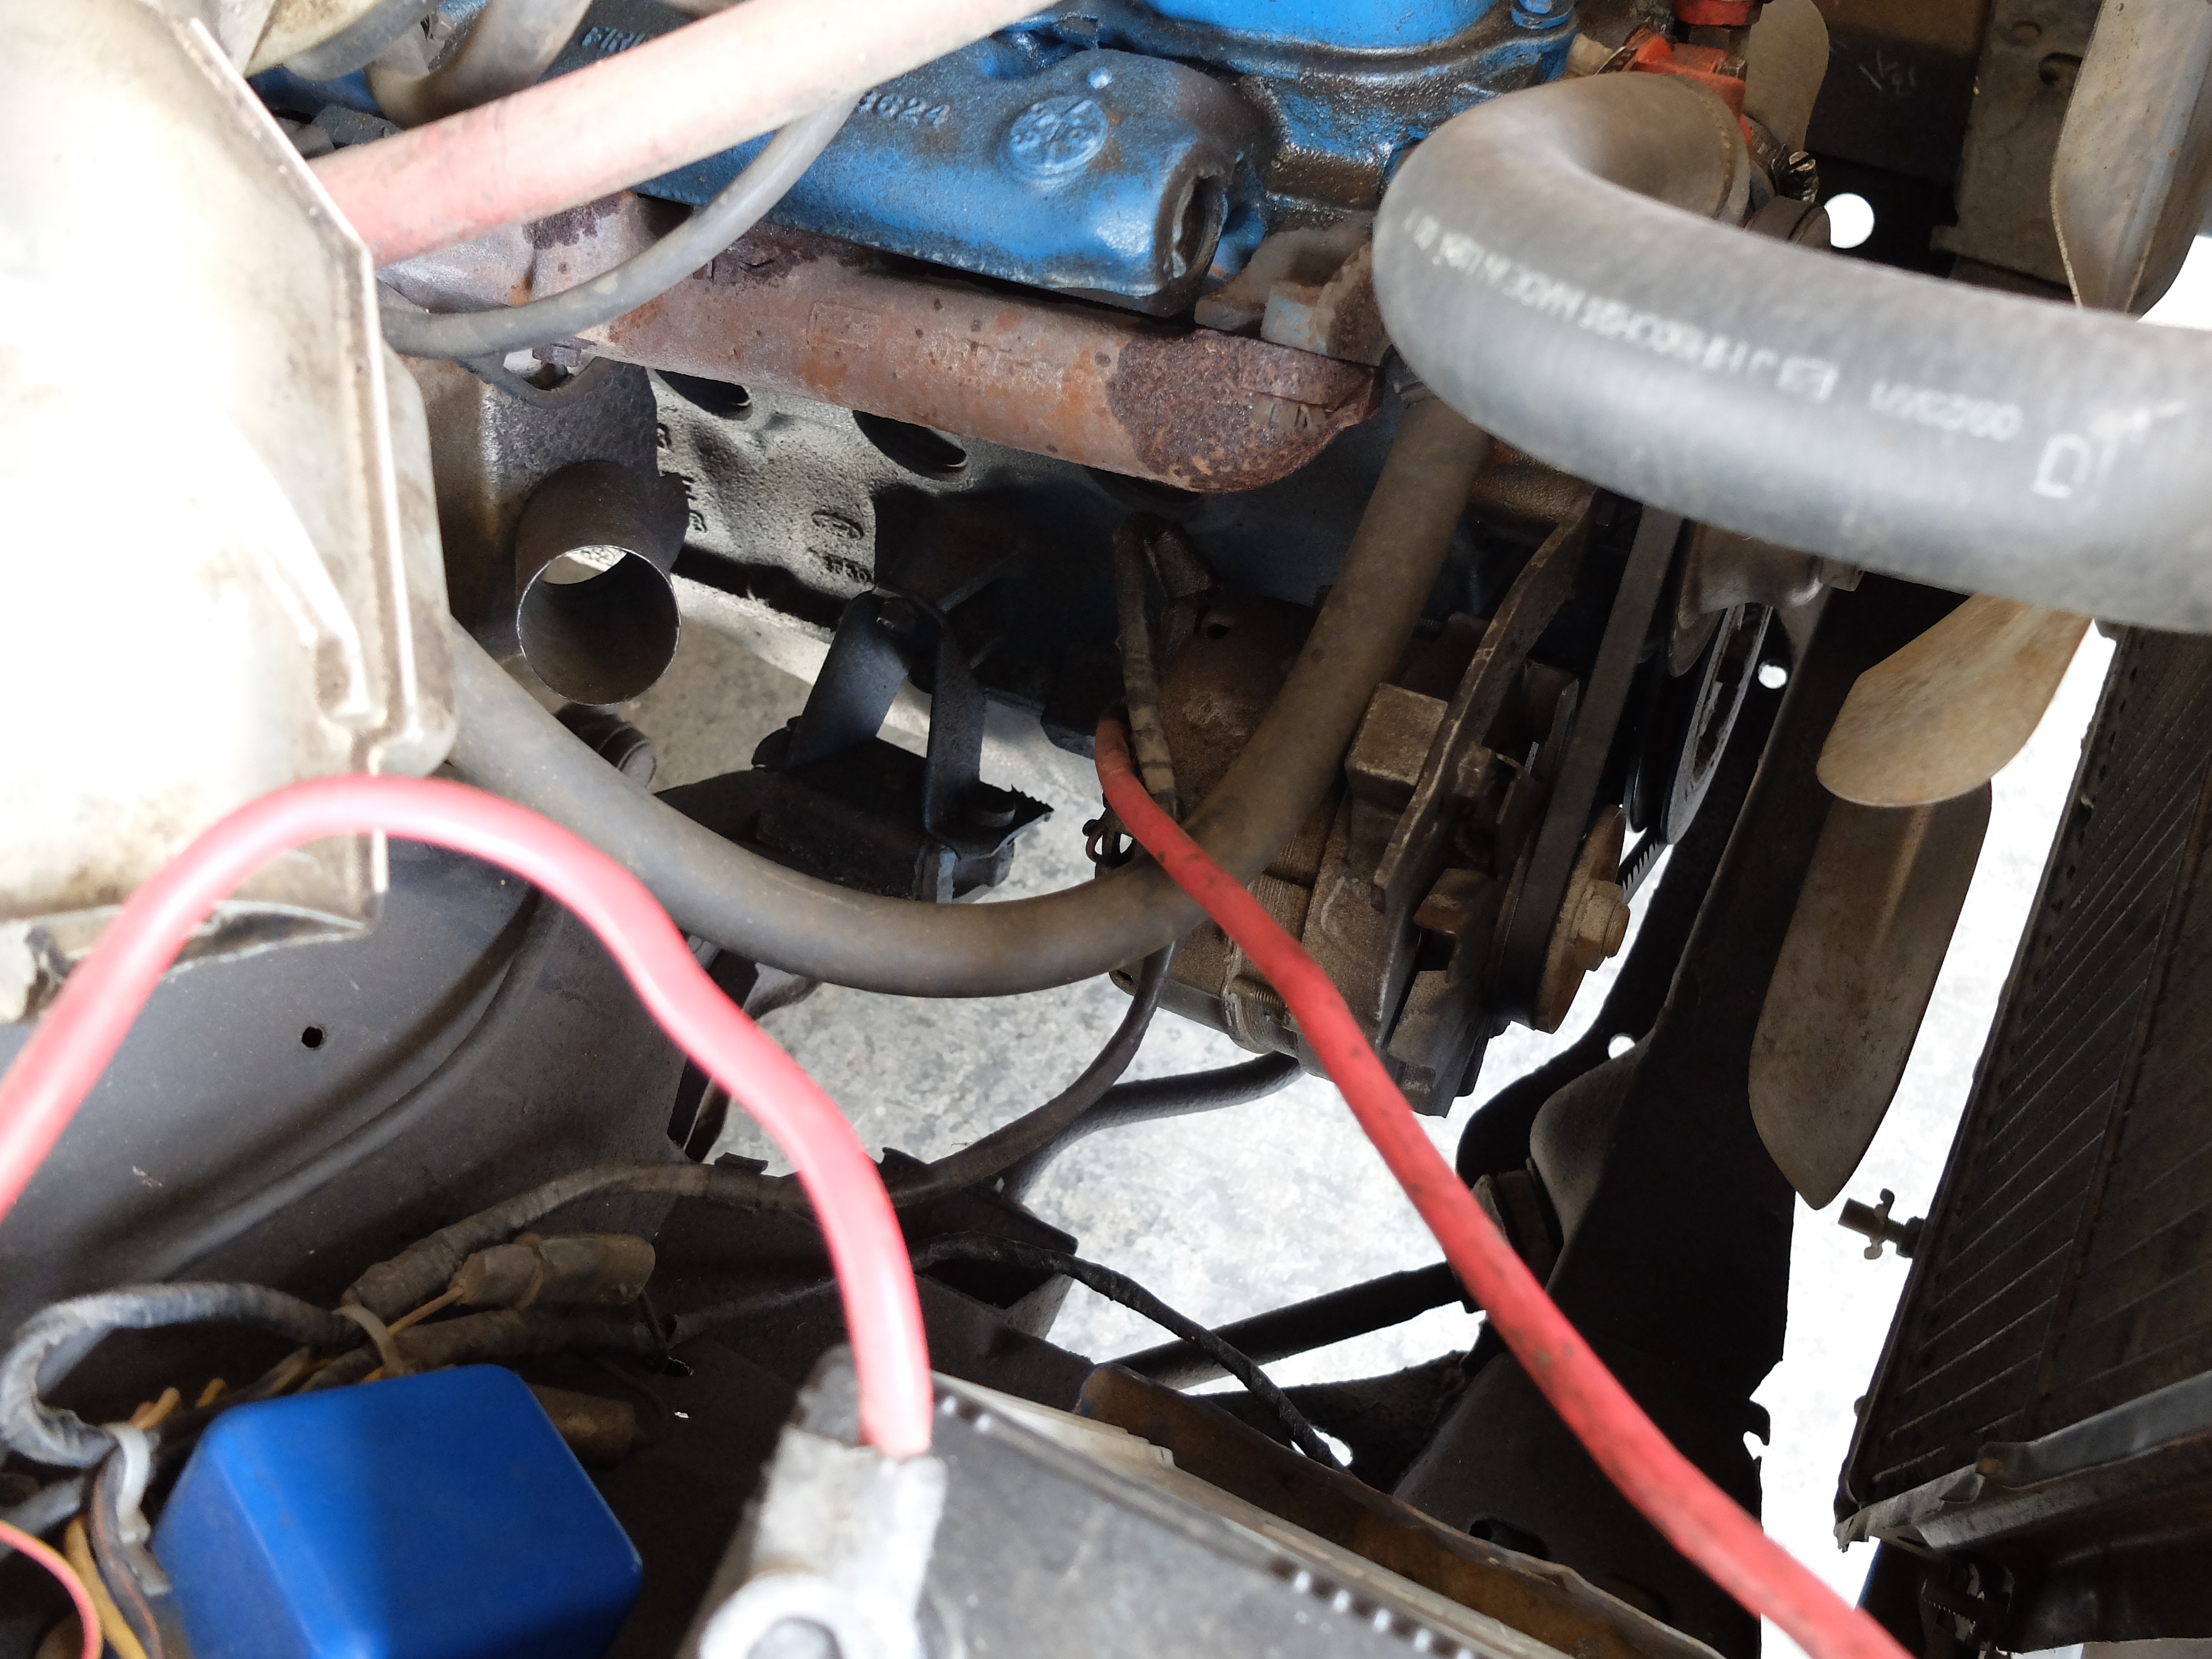
- Flex fan from one of Pop’s old engines.
-

- Fan belt on.
Jul/Aug 2019 Visit
-
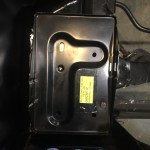
- Welded a patch for new battery tray.
-
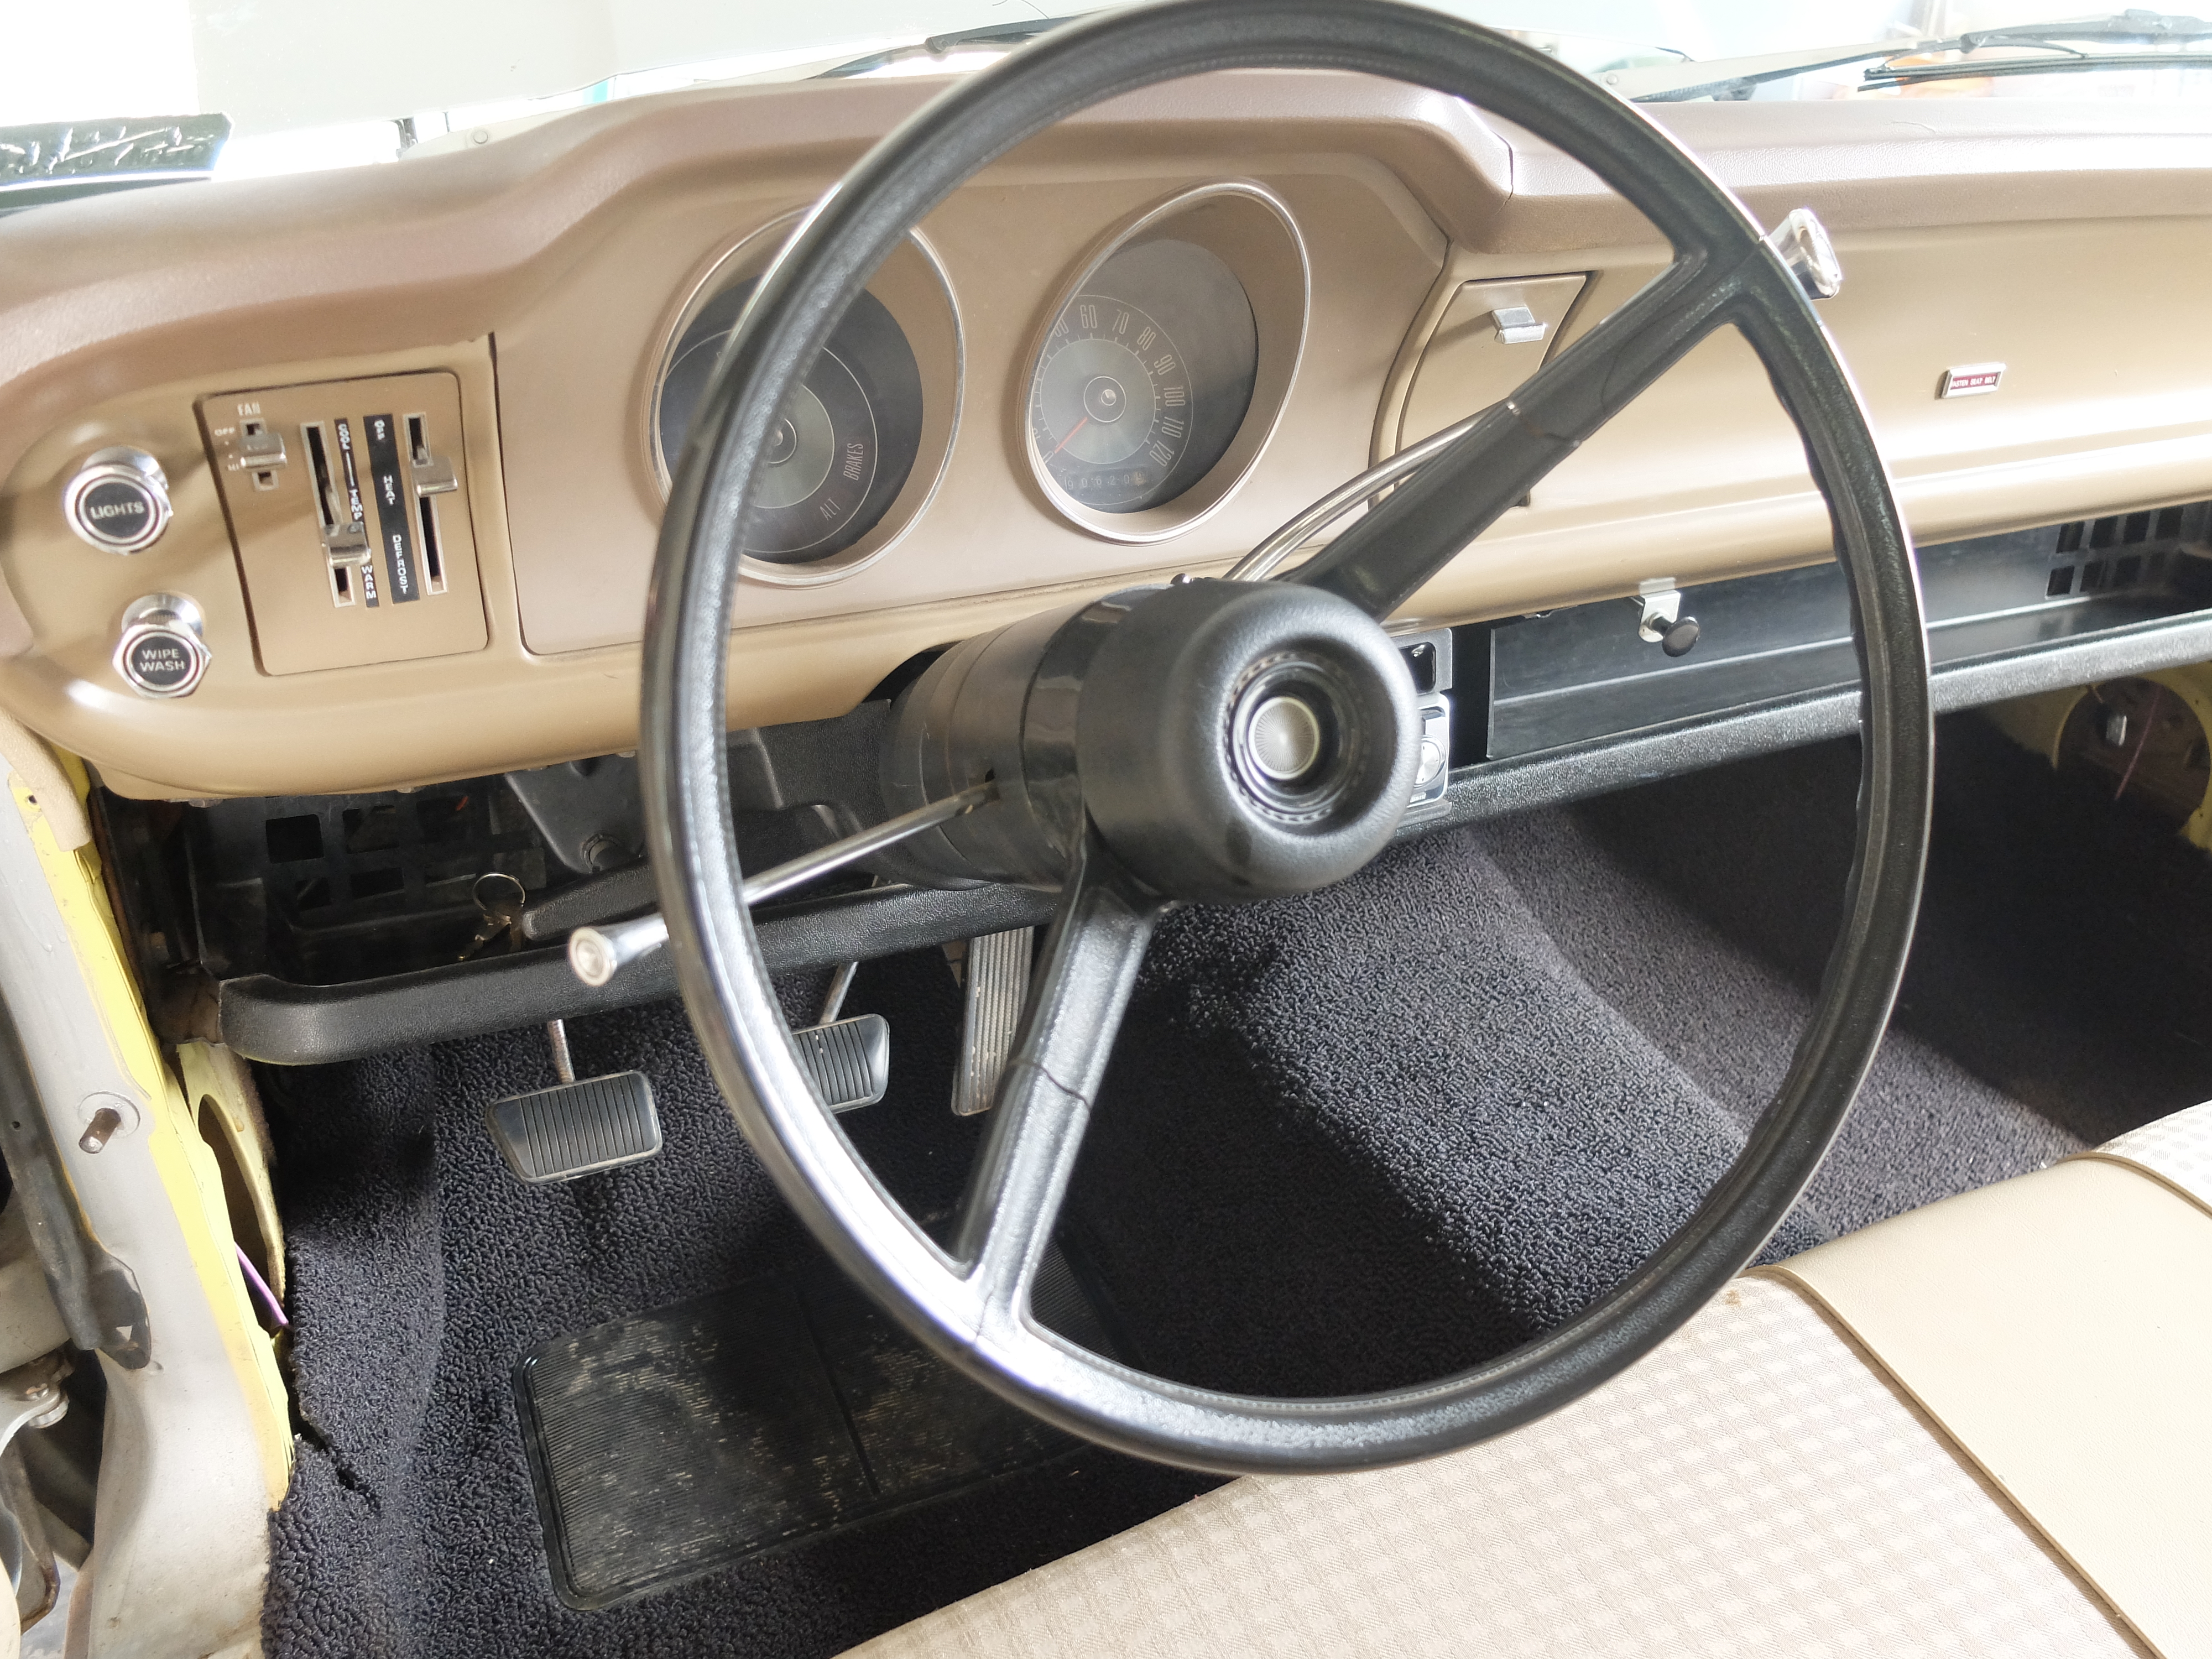
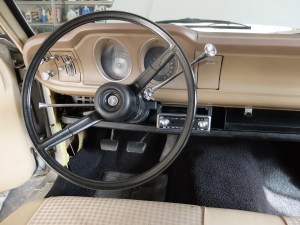
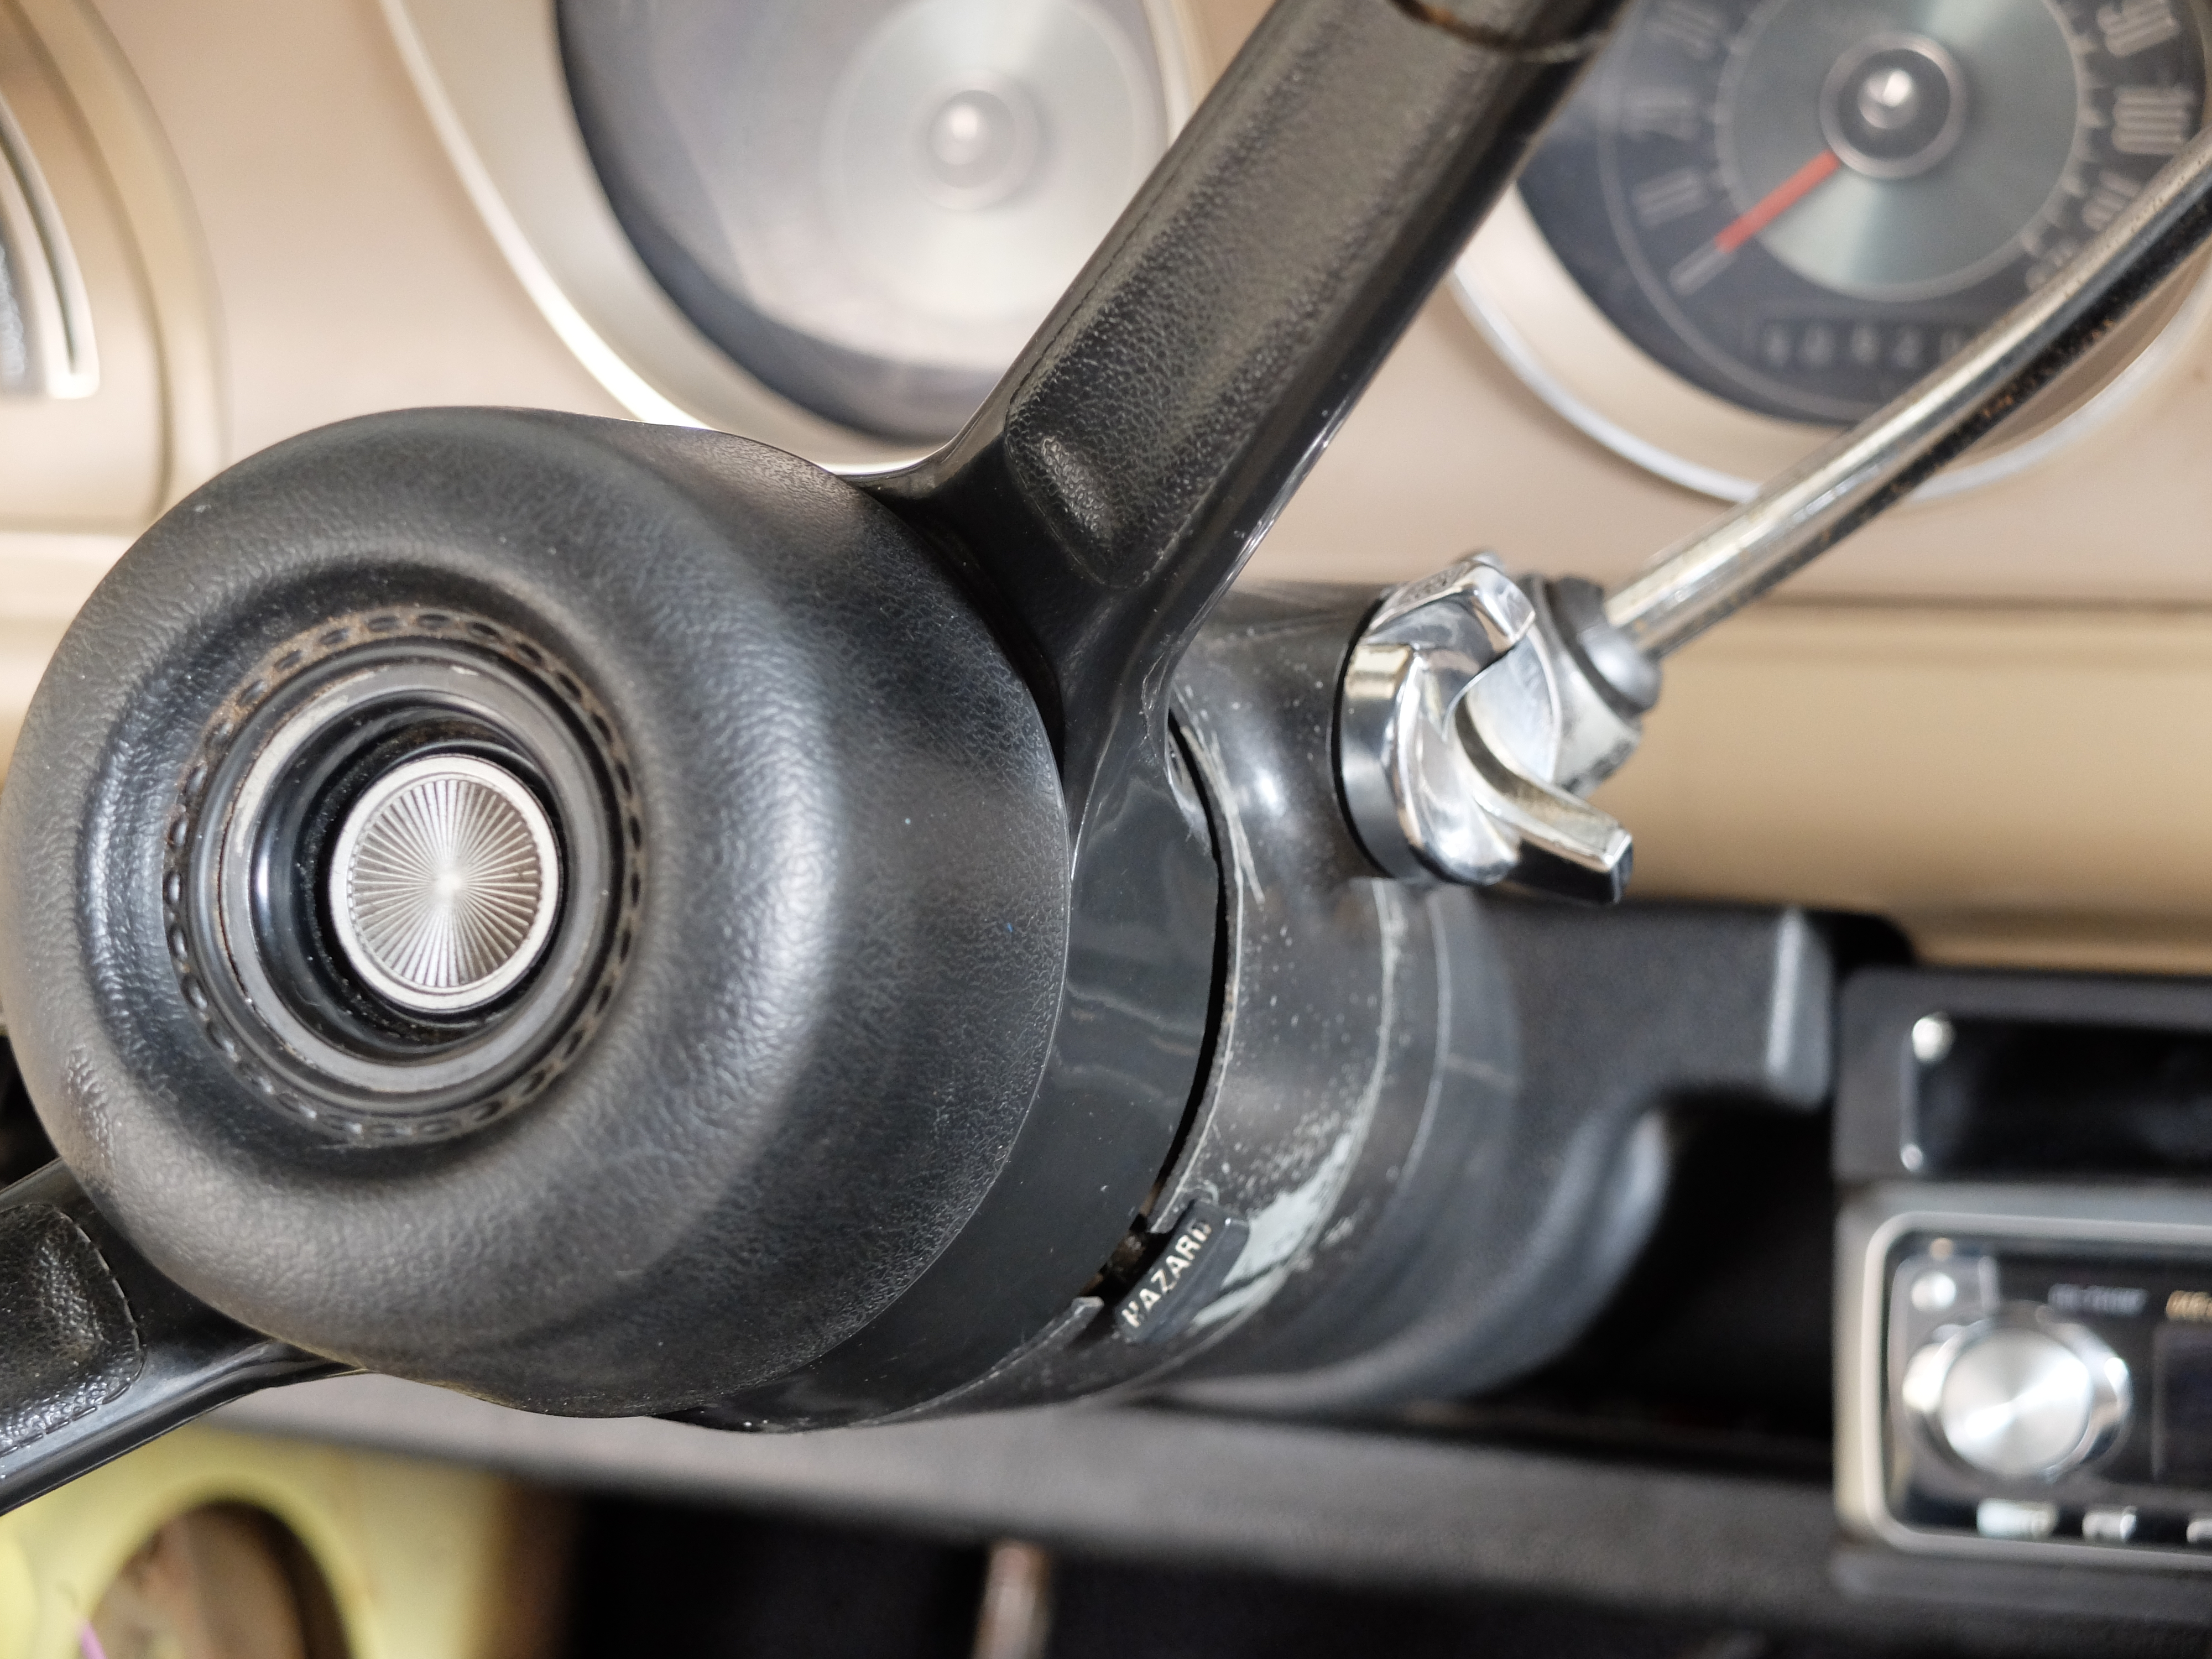
- Started and completed steering wheel restoration.
-
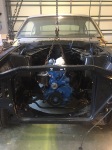
- Engine in!
-
- Cleaned and painted interior plastic parts.
-
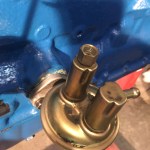
- New fuel pump.
-
- Thermostat in.
-
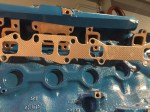
- Gasket for new headers.
-

- Headers!!
-
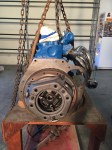
- Clutch something.
-

- Transmission on.
-
- Drive train hooked up.
-
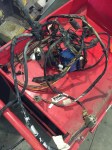
- Wiring…Janet’s job.
-
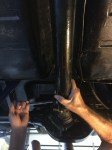
- Gas line and carb.
-
- Feeding gas line to engine.
Oct 2018 Visit
-

- Tires on!
-
- Slightly bigger tires in the back…badass!
-
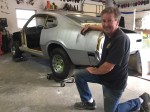
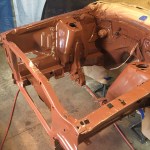
- Prepped the Firebird for paint…what the fuck Pop?!!
-
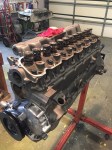
- Engine buildout.
-

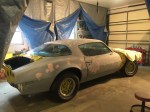
- Ready for paint.
-
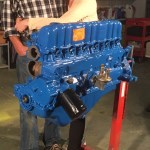
- Done in Ford blue!
May 2018 Visit
-
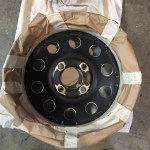
- Sanded and taped wheels.
-
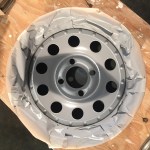
- Undercoat…sand again.
-

- Ta-daaaaah!
Mar 2018 Visit
-
- Engine compartment prepped.
-
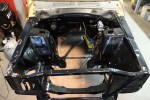
- Gloss black on inner engine compartment.
-
- Shocks…shocking.
-
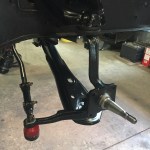
- Steering and spindles.
-

- Master cylinder installed.
-

- Discs.
Oct/Nov 2017 Visit
-
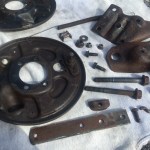
- Brake parts to be steel brushed, rust treated and painted.
-
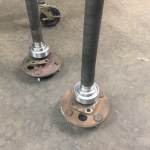
- New rear axle bearings pressed on at Curt’s.
-

- Backing plate, brake cylinder and axle in.
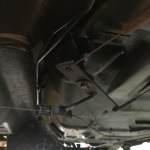
-

- Brake lines secured.
-
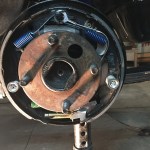
- Drum brakes assembled.
-

- Finished drums, suspension and shocks.
-
- Stalked Mustang Marty for the emergency brake.
-

- Gas tank UP!
-

- Mavis’s innards, clean, treated and painted.
Jul/Aug 2017 Visit
-
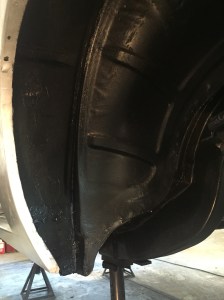
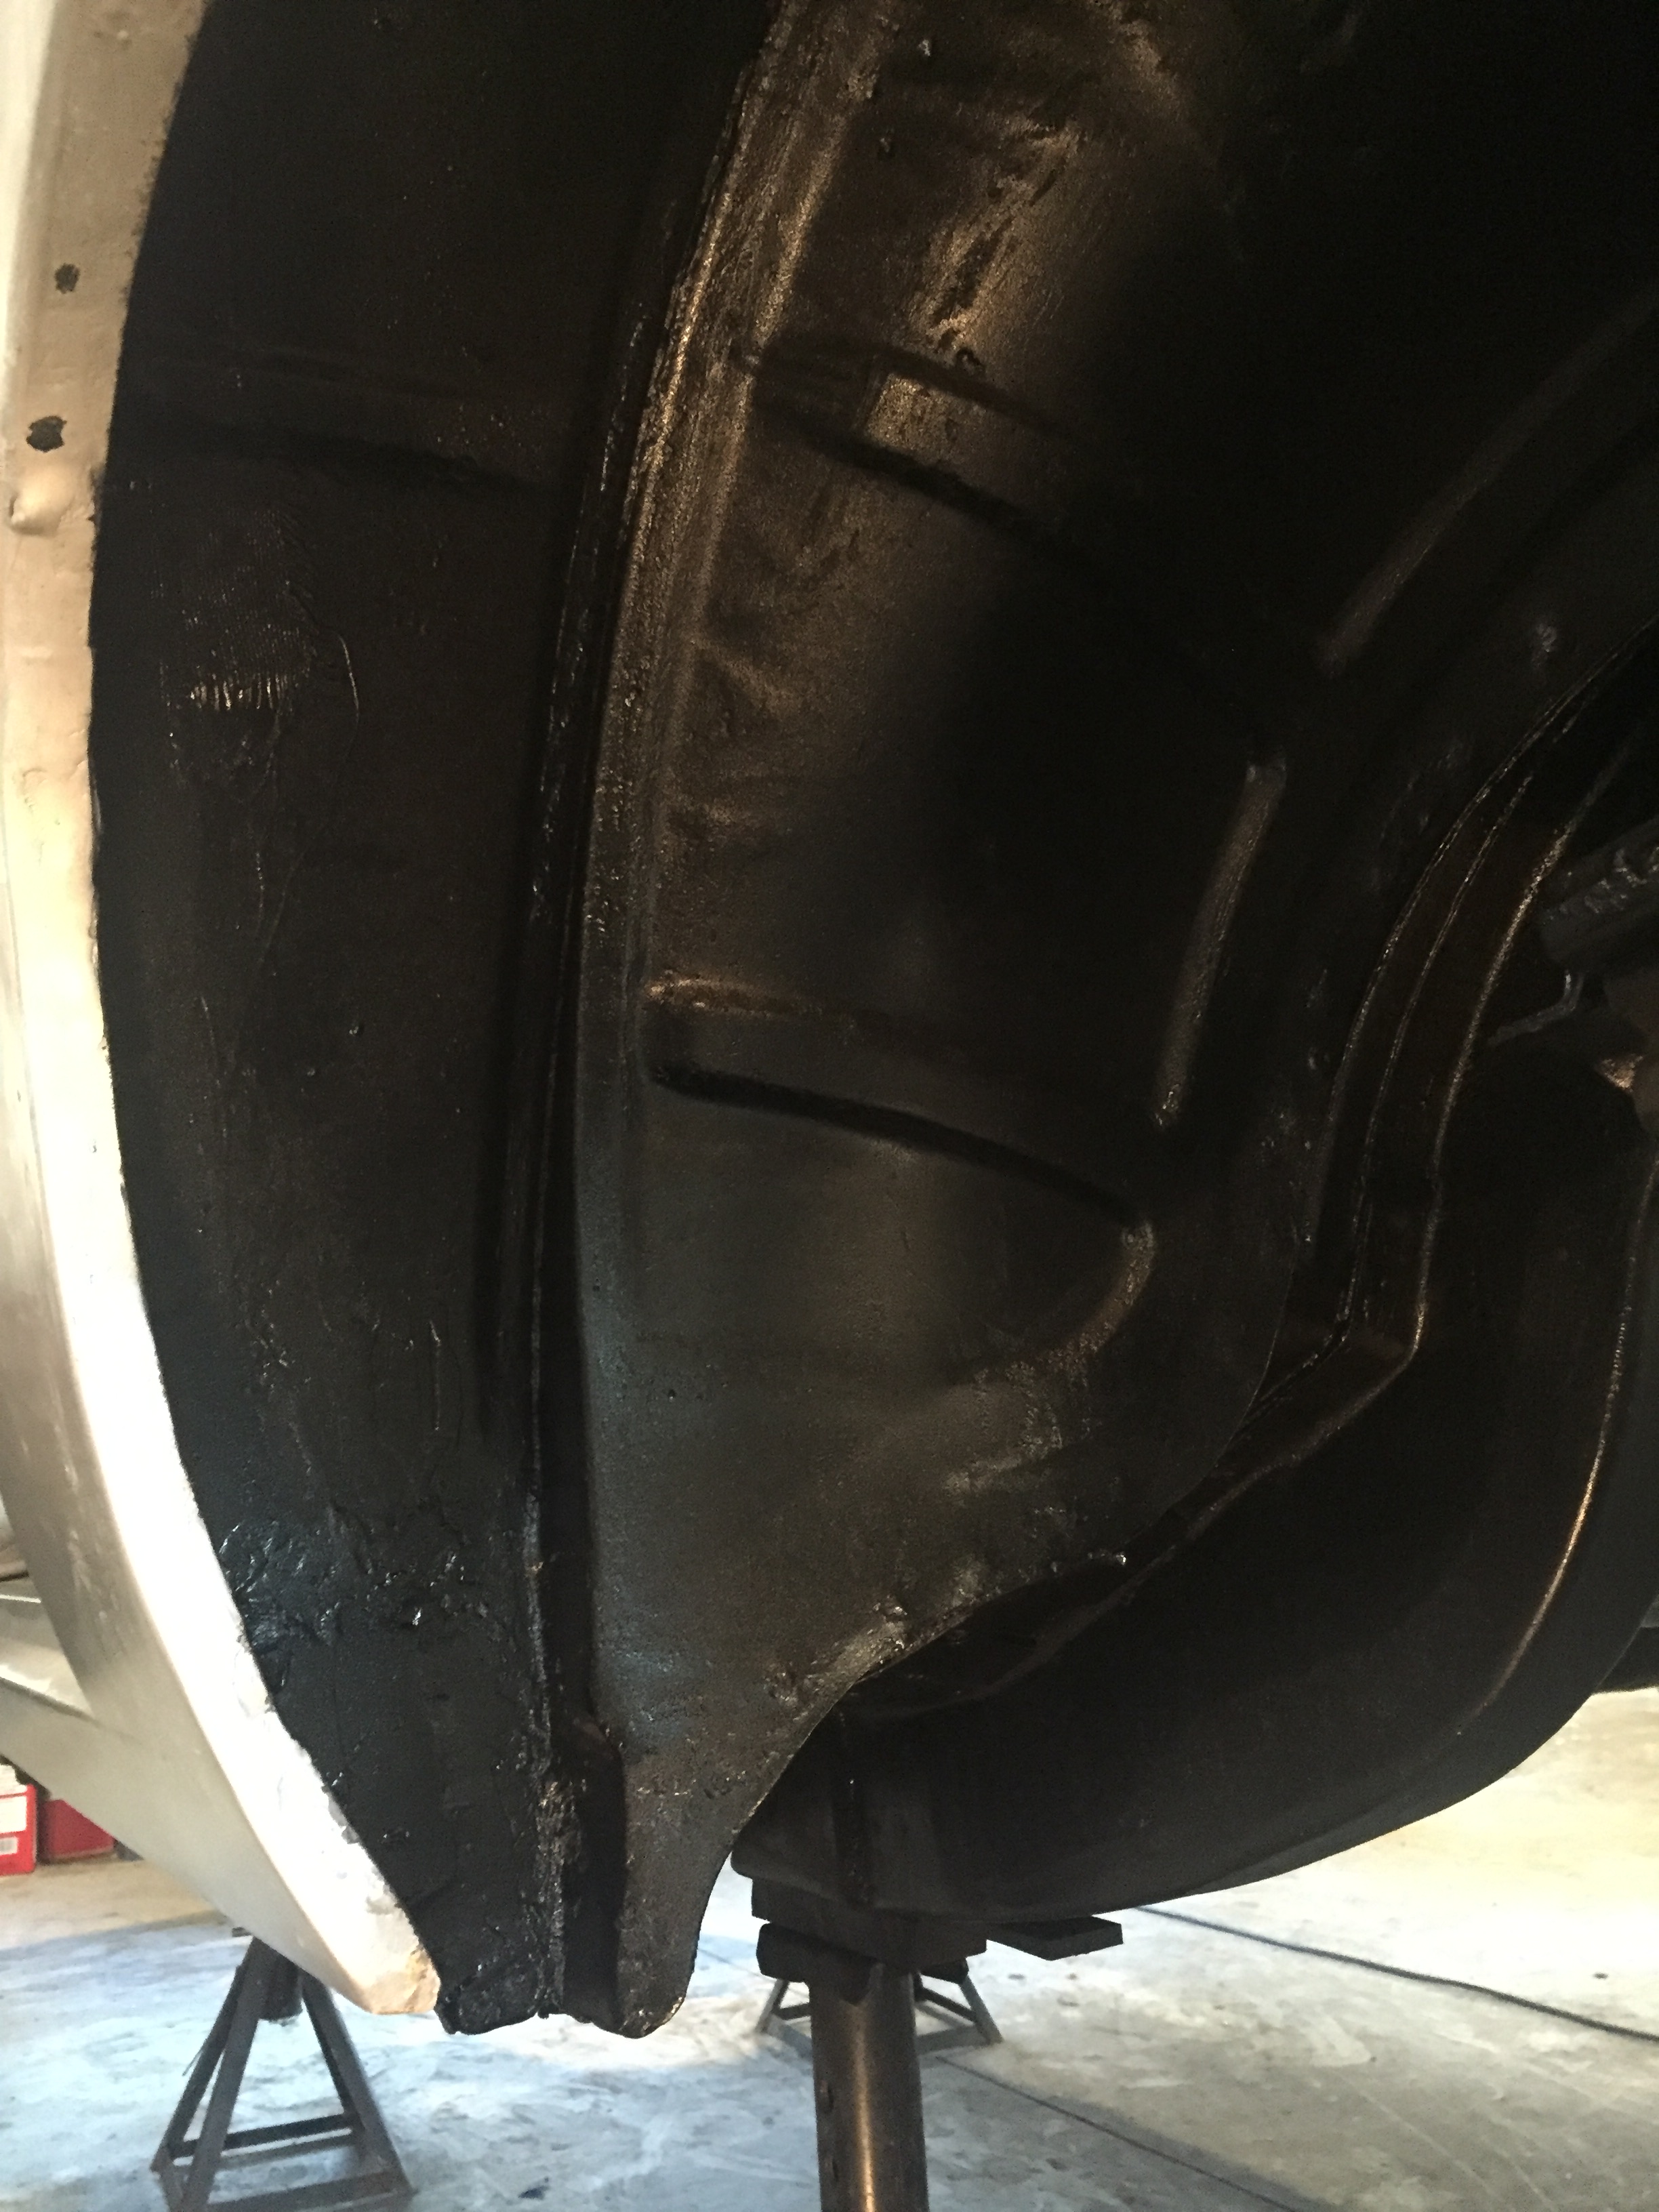
- Back left wheel well, cleaned, patched, treated and painted.
-

- The undercarriage, all cleaned up, rust treated and painted with truck bed spray.

-

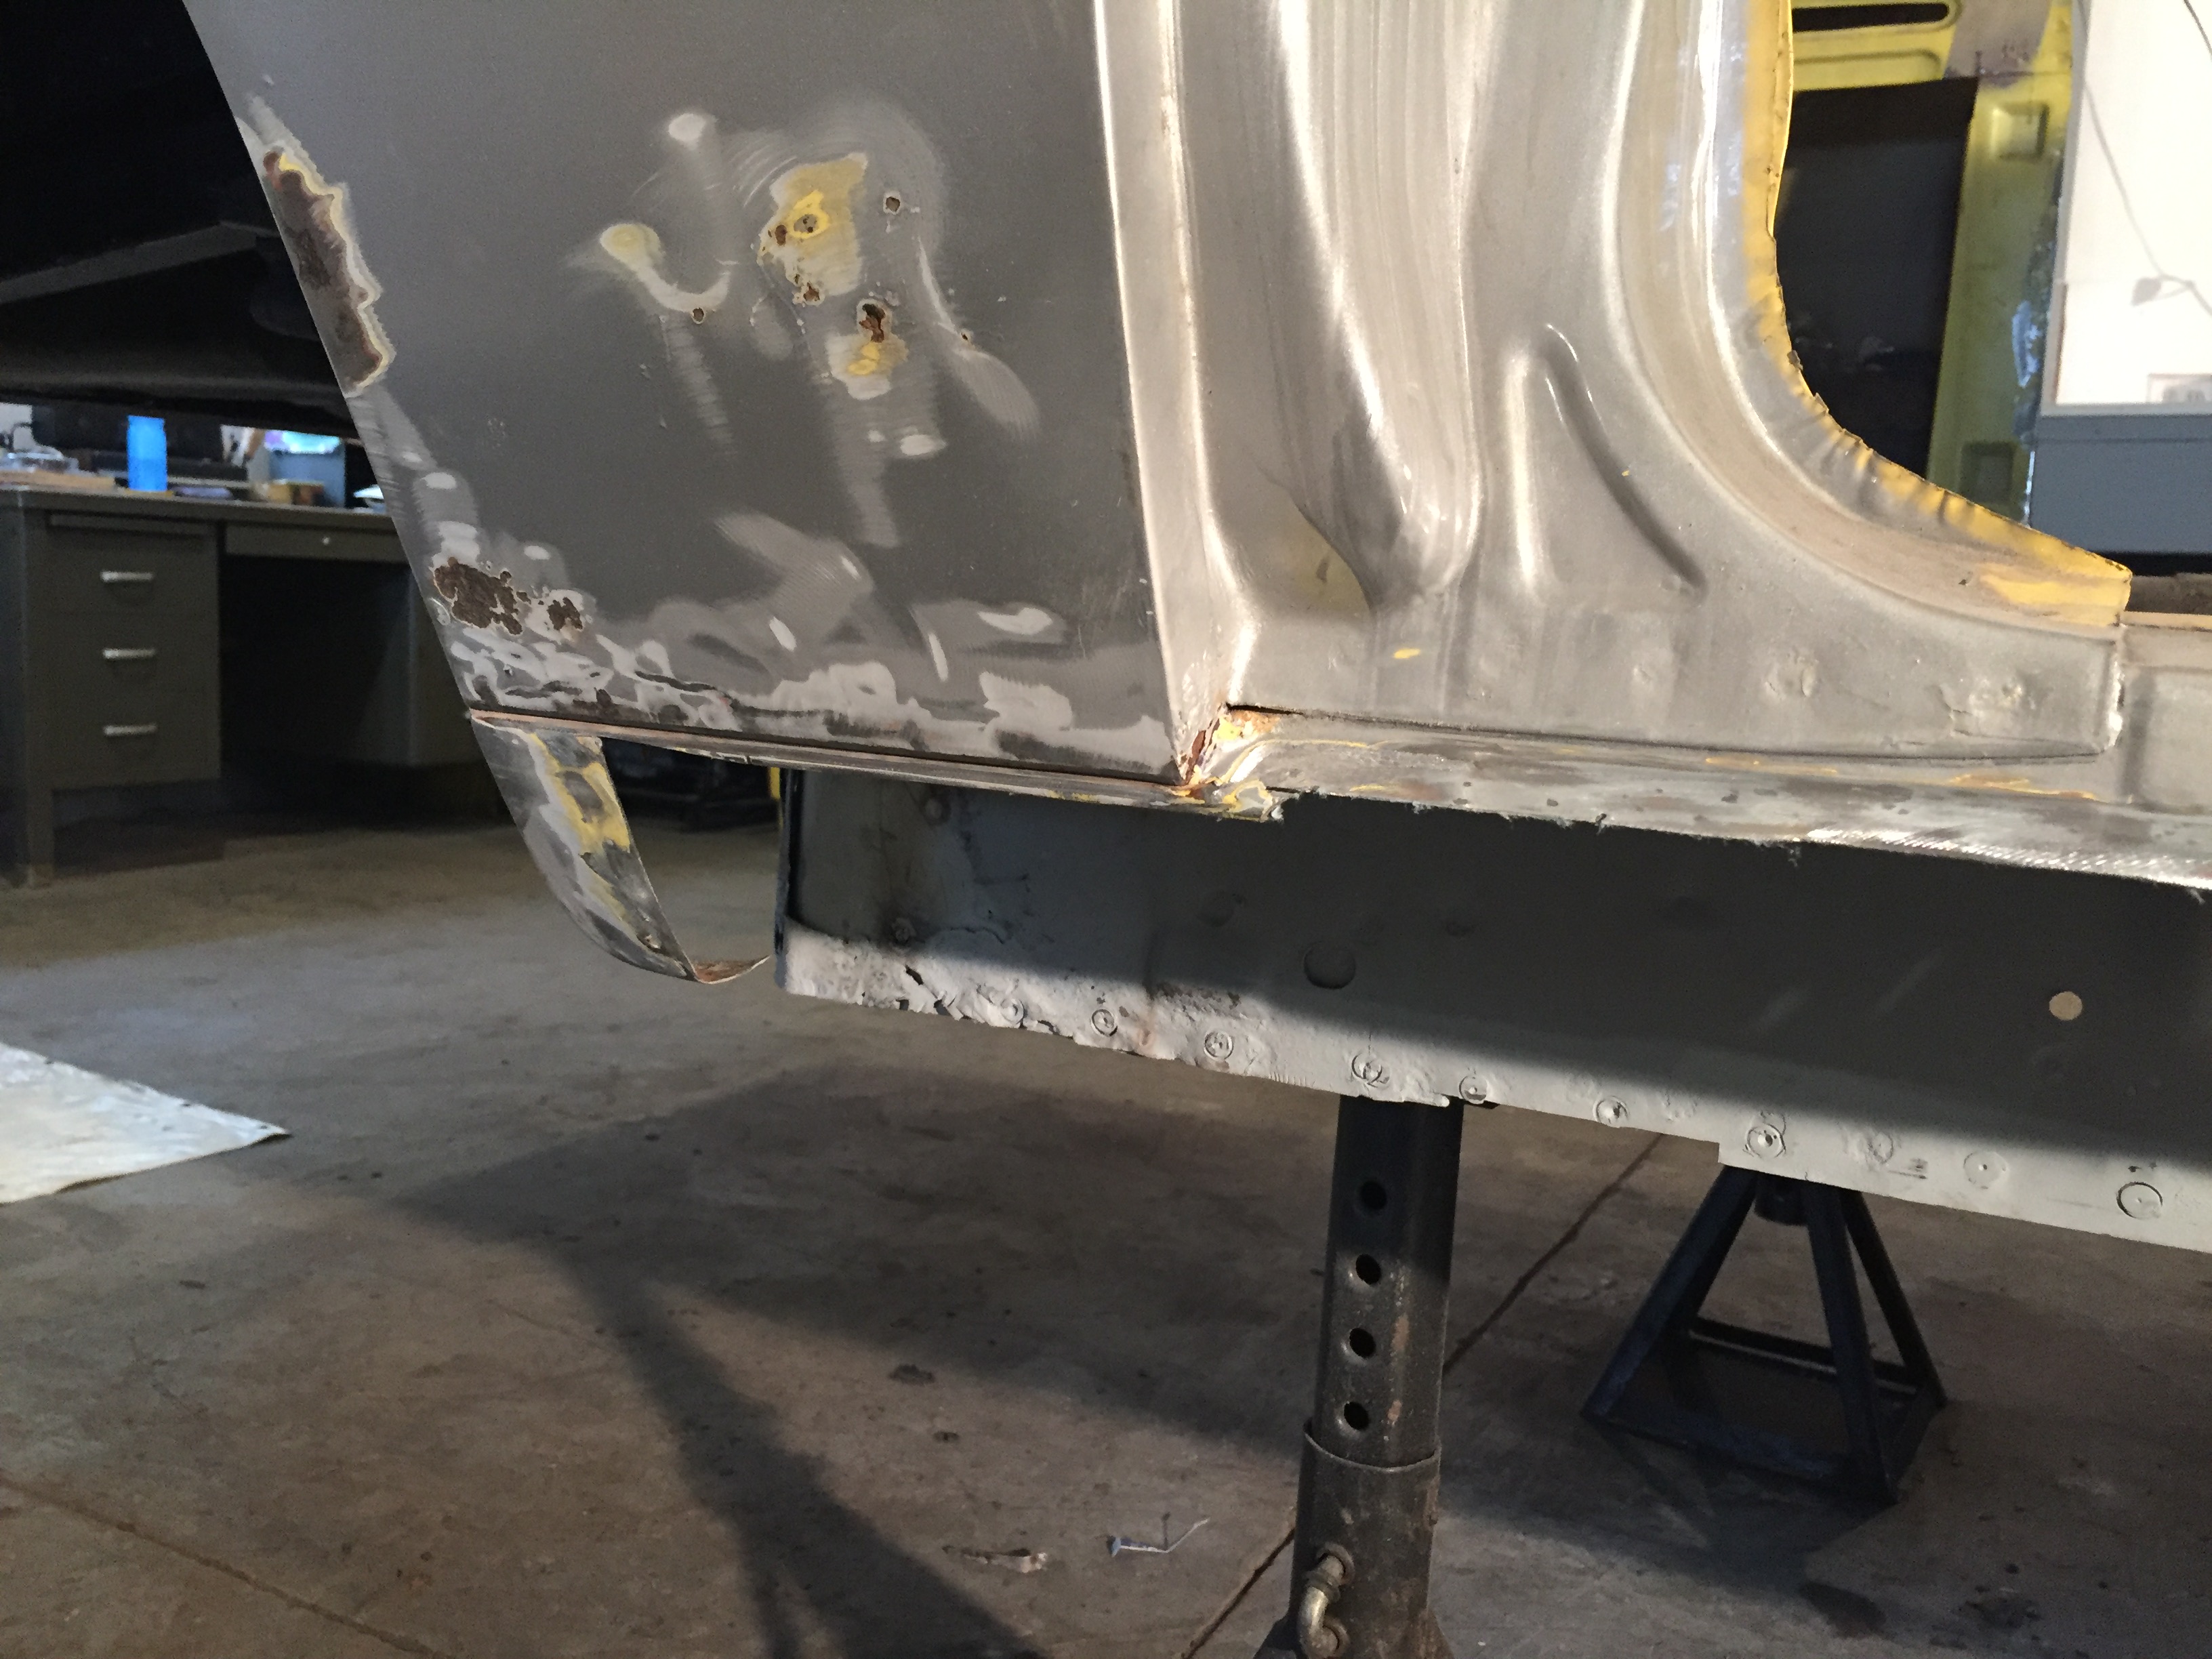
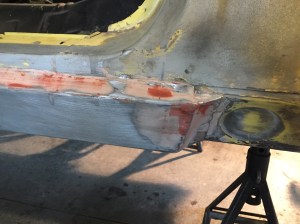
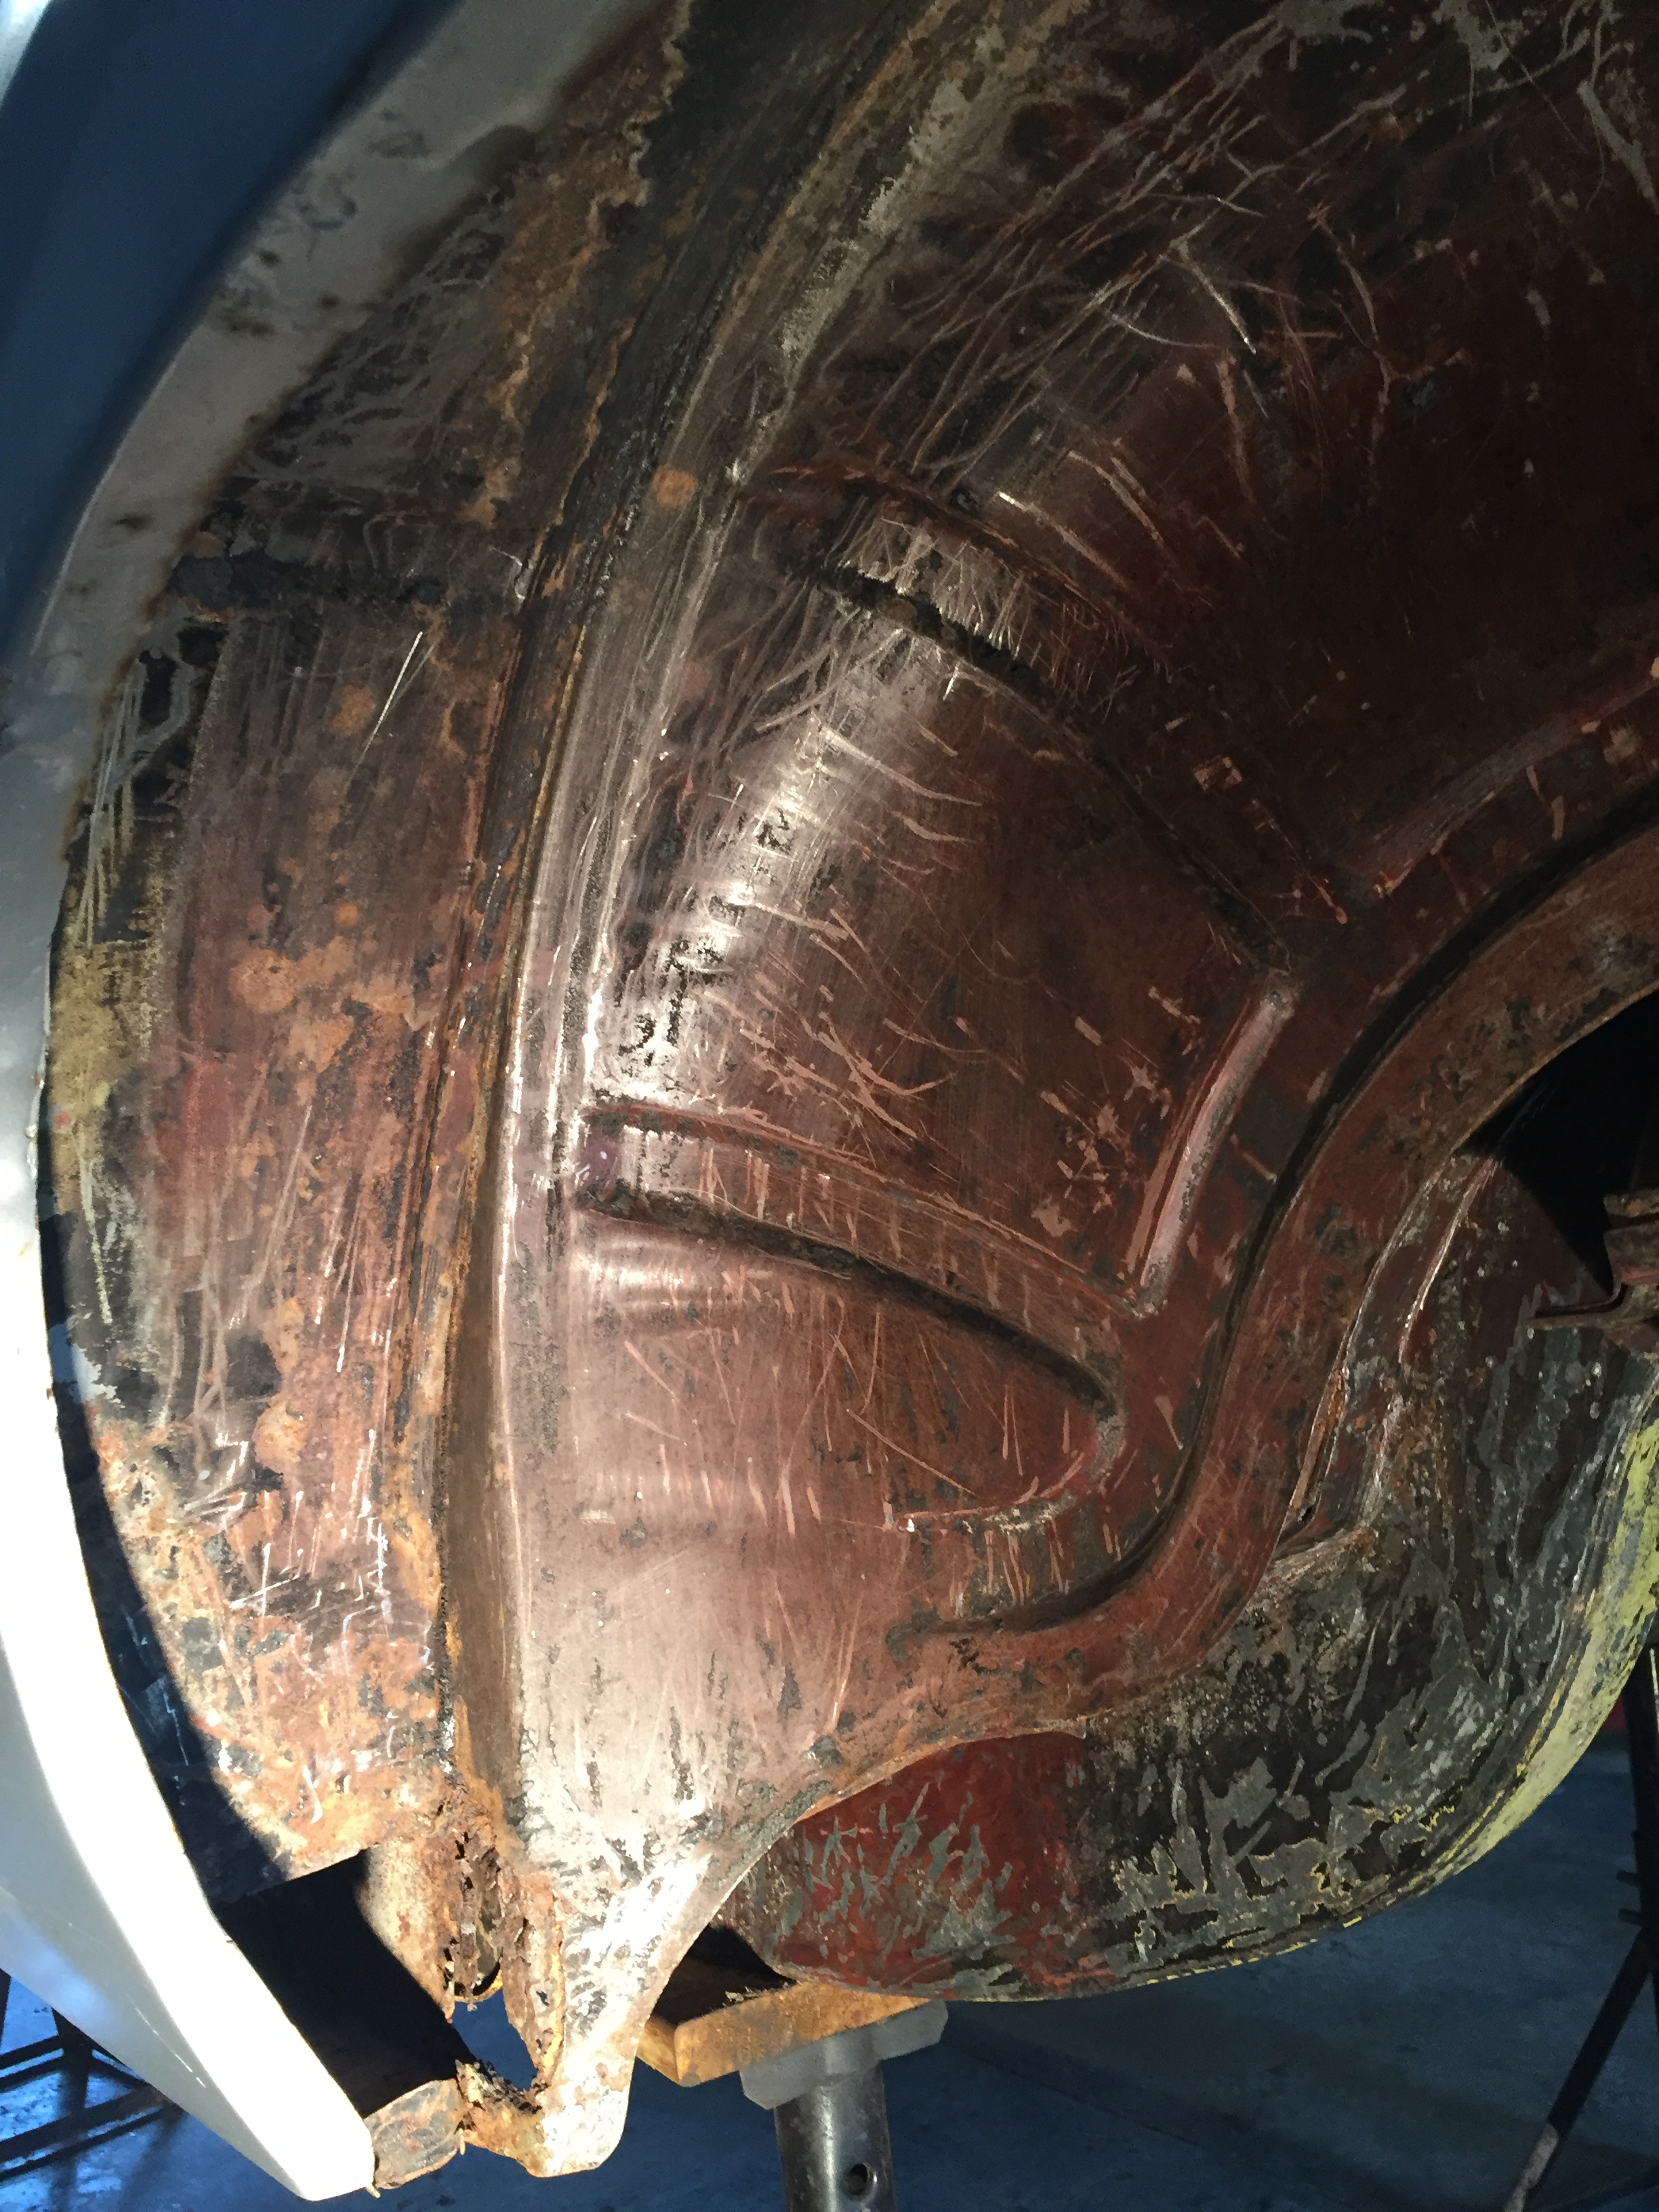
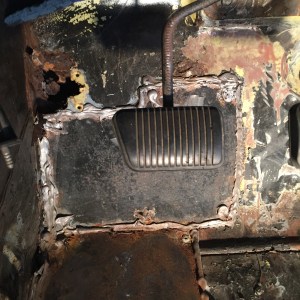
- Here’s where it went down. The front of the back wheel well area that was so bad we had to cut out most of it out and create patches.
-

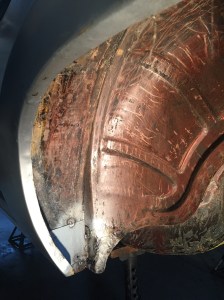
- First fitting after the horrifying first cuts.

-
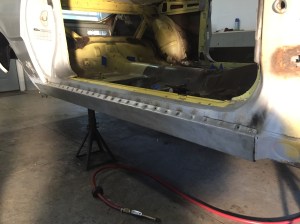
- Plug welds done…not too bad!

-
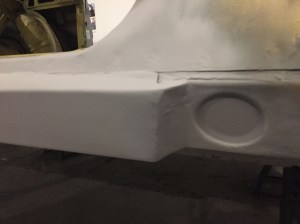
- Front pre-paint.

-

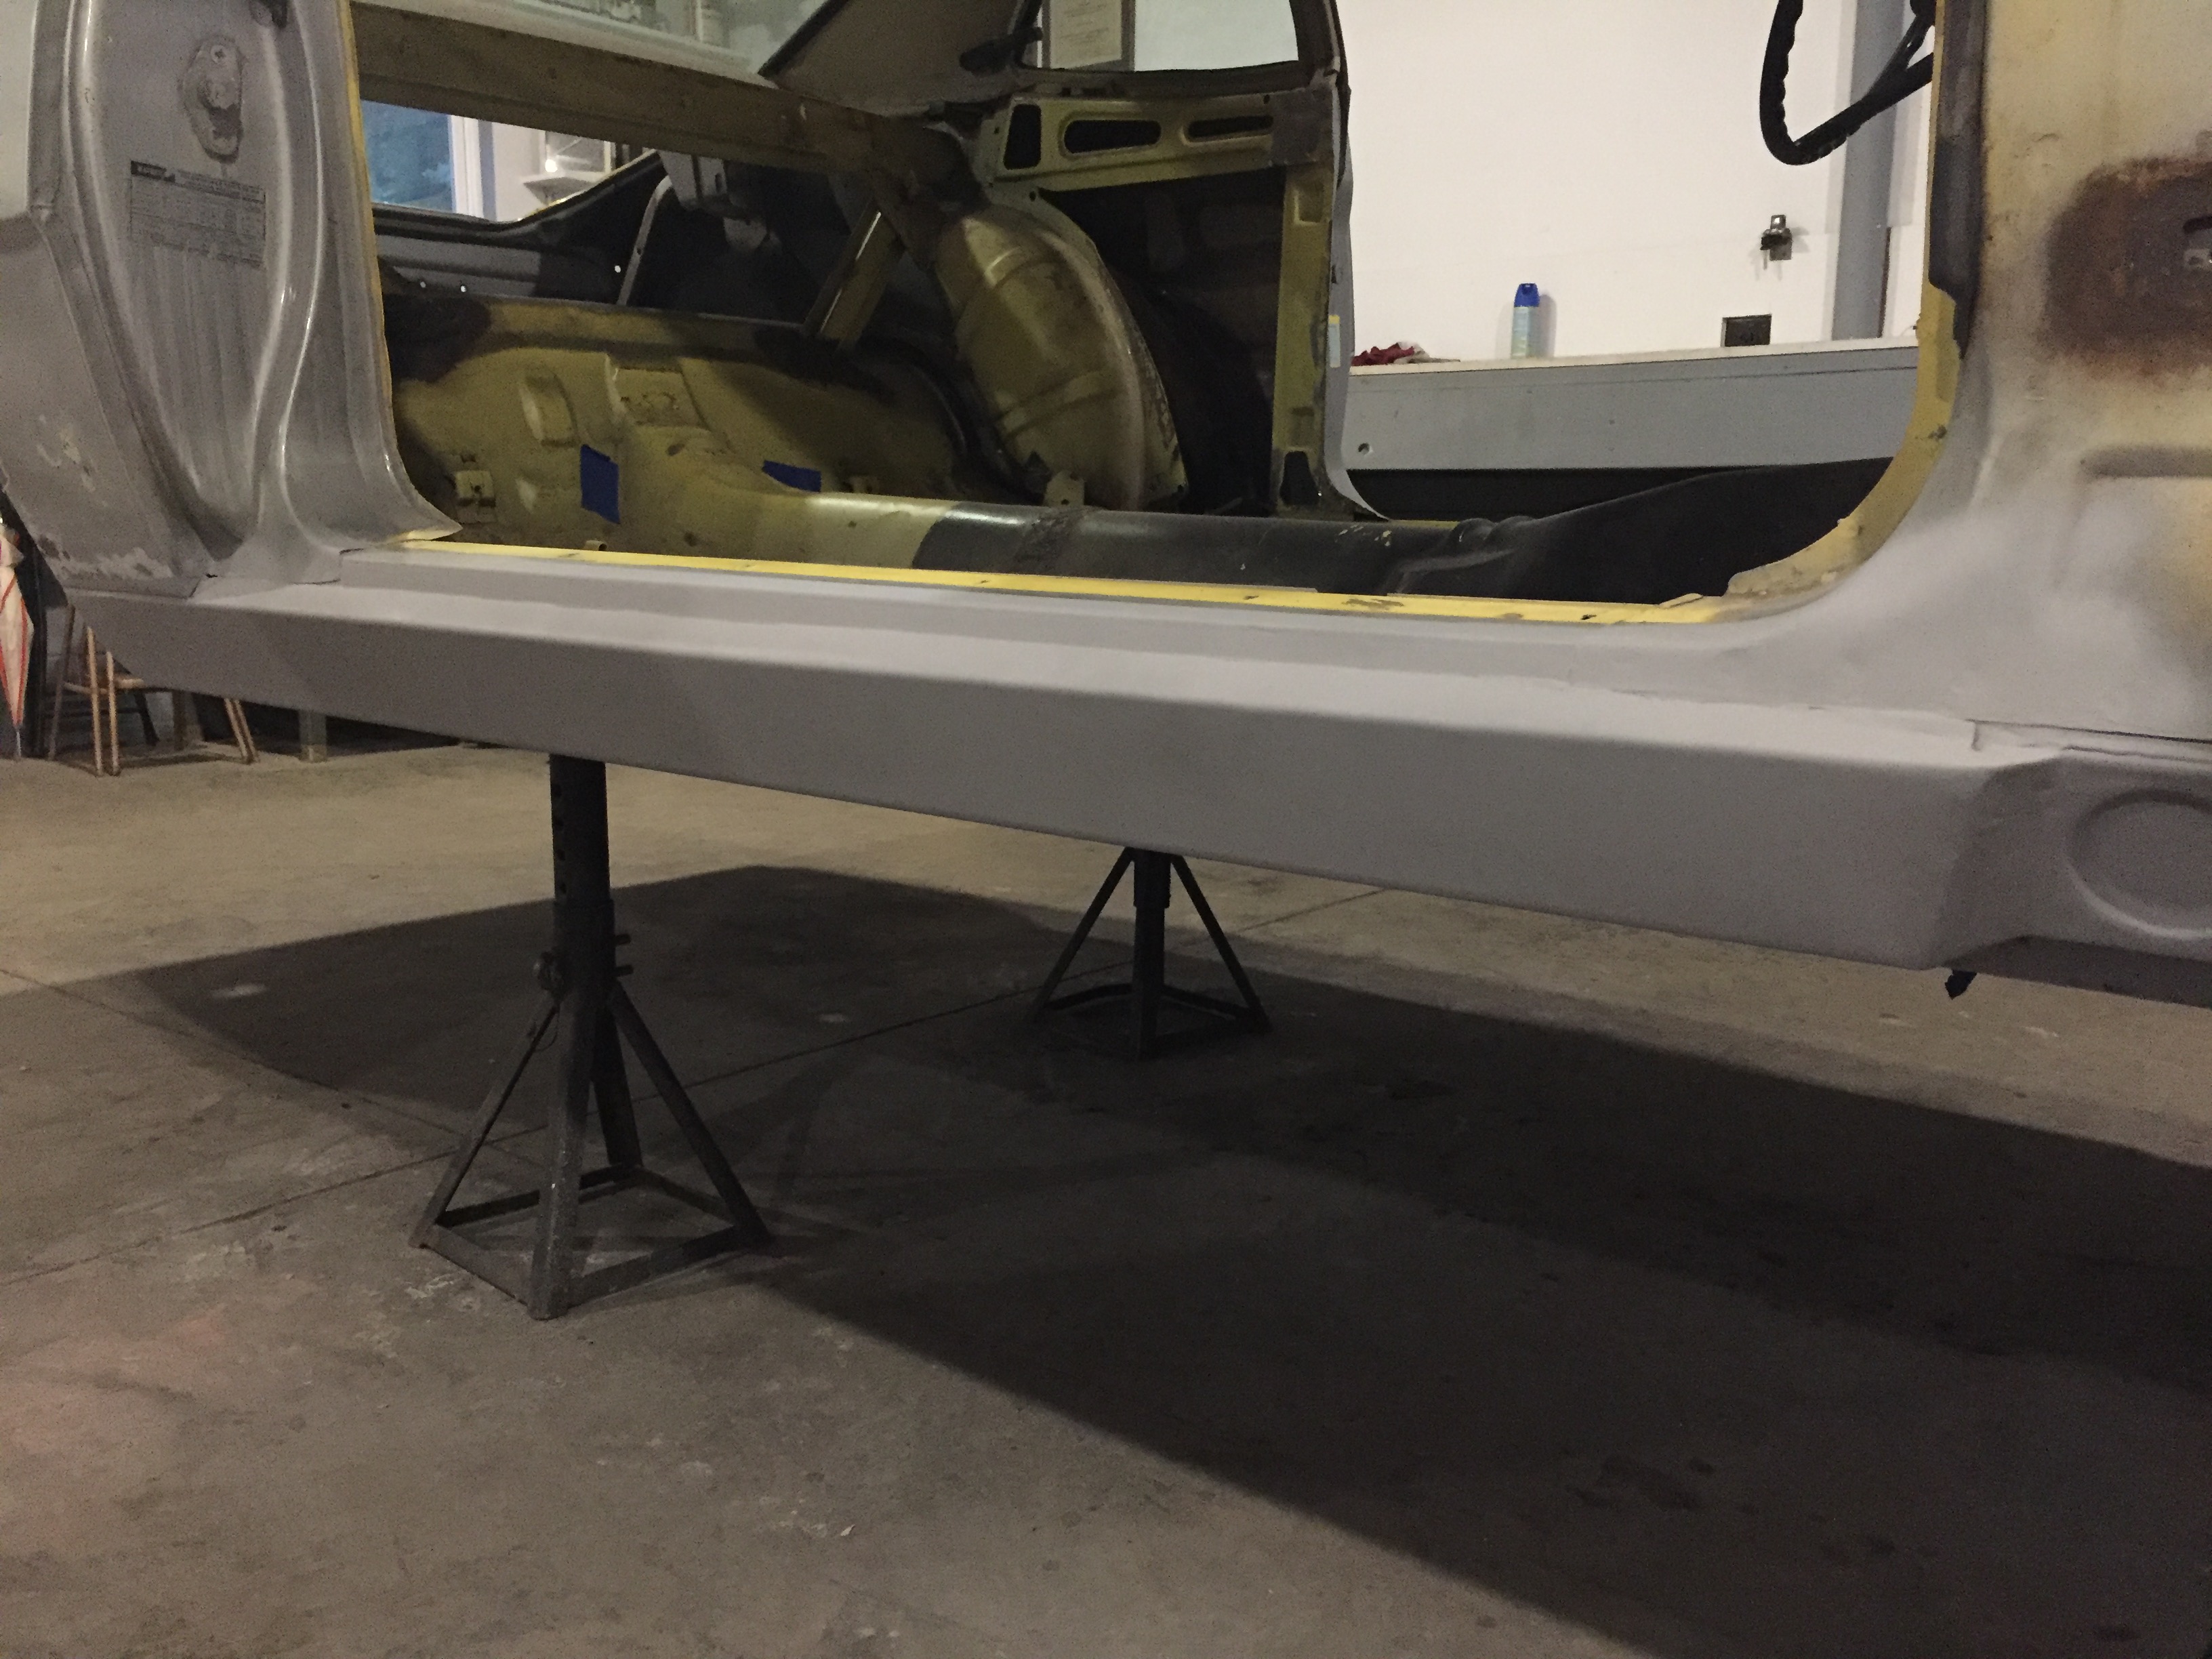
- Final back.

-
- Final front.

-

- Full on final shot!!
-
- Comparison.

Mar/Apr 2017 Visit
-
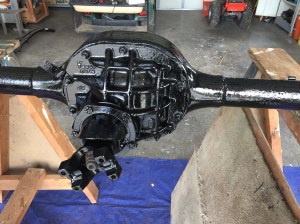
- Differential painted.

-
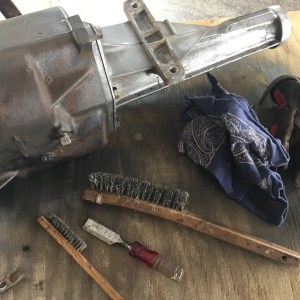
- Trans painted.

-

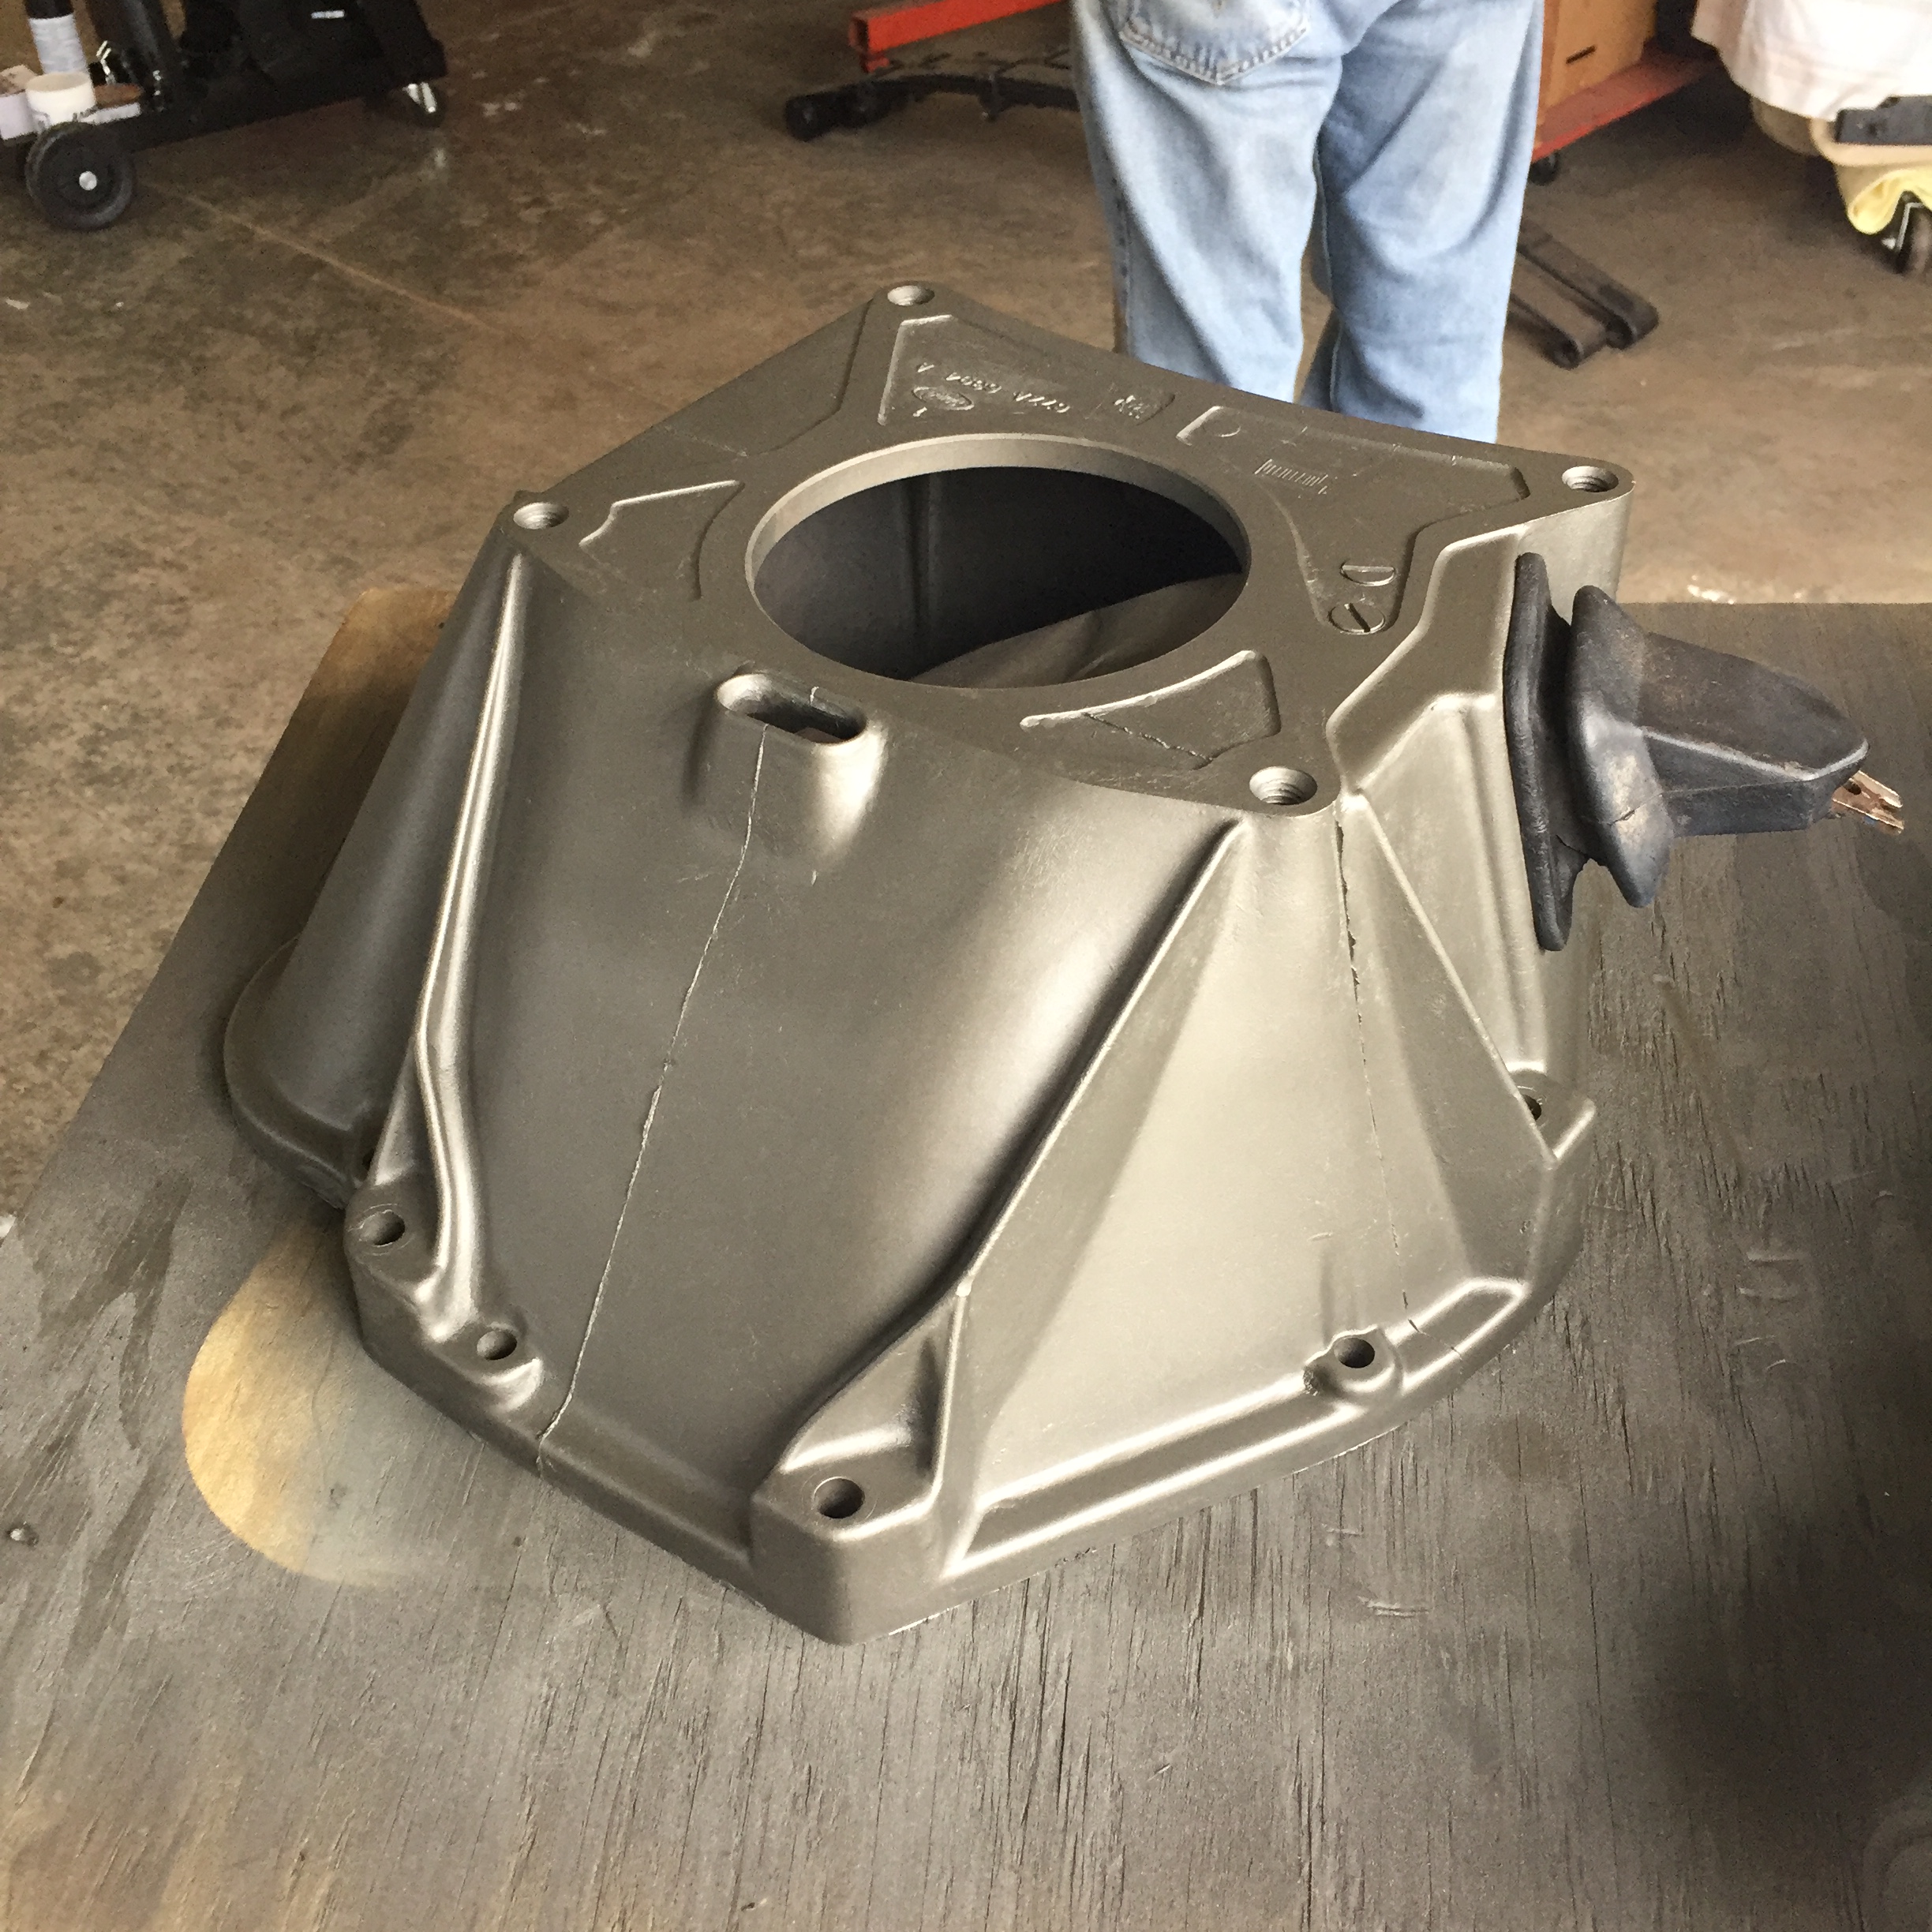
- Bell house painted.
-
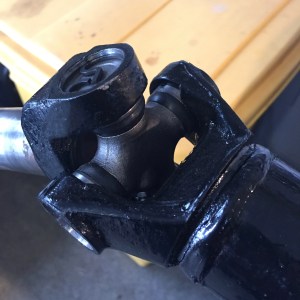
- Universal joint replaced.

-

- Starting the scraping of the wheel wells.

-

- Brother Mat surprised me by scraping one when I didn’t know it. Love that kid!
-
- The beginning of the patching. We bought 20 gauge steel and tin cutters for the first few. We learned.

-
- Our first real patch!!!

-

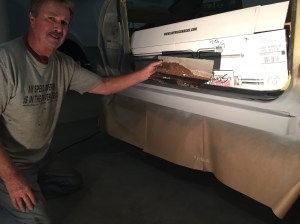
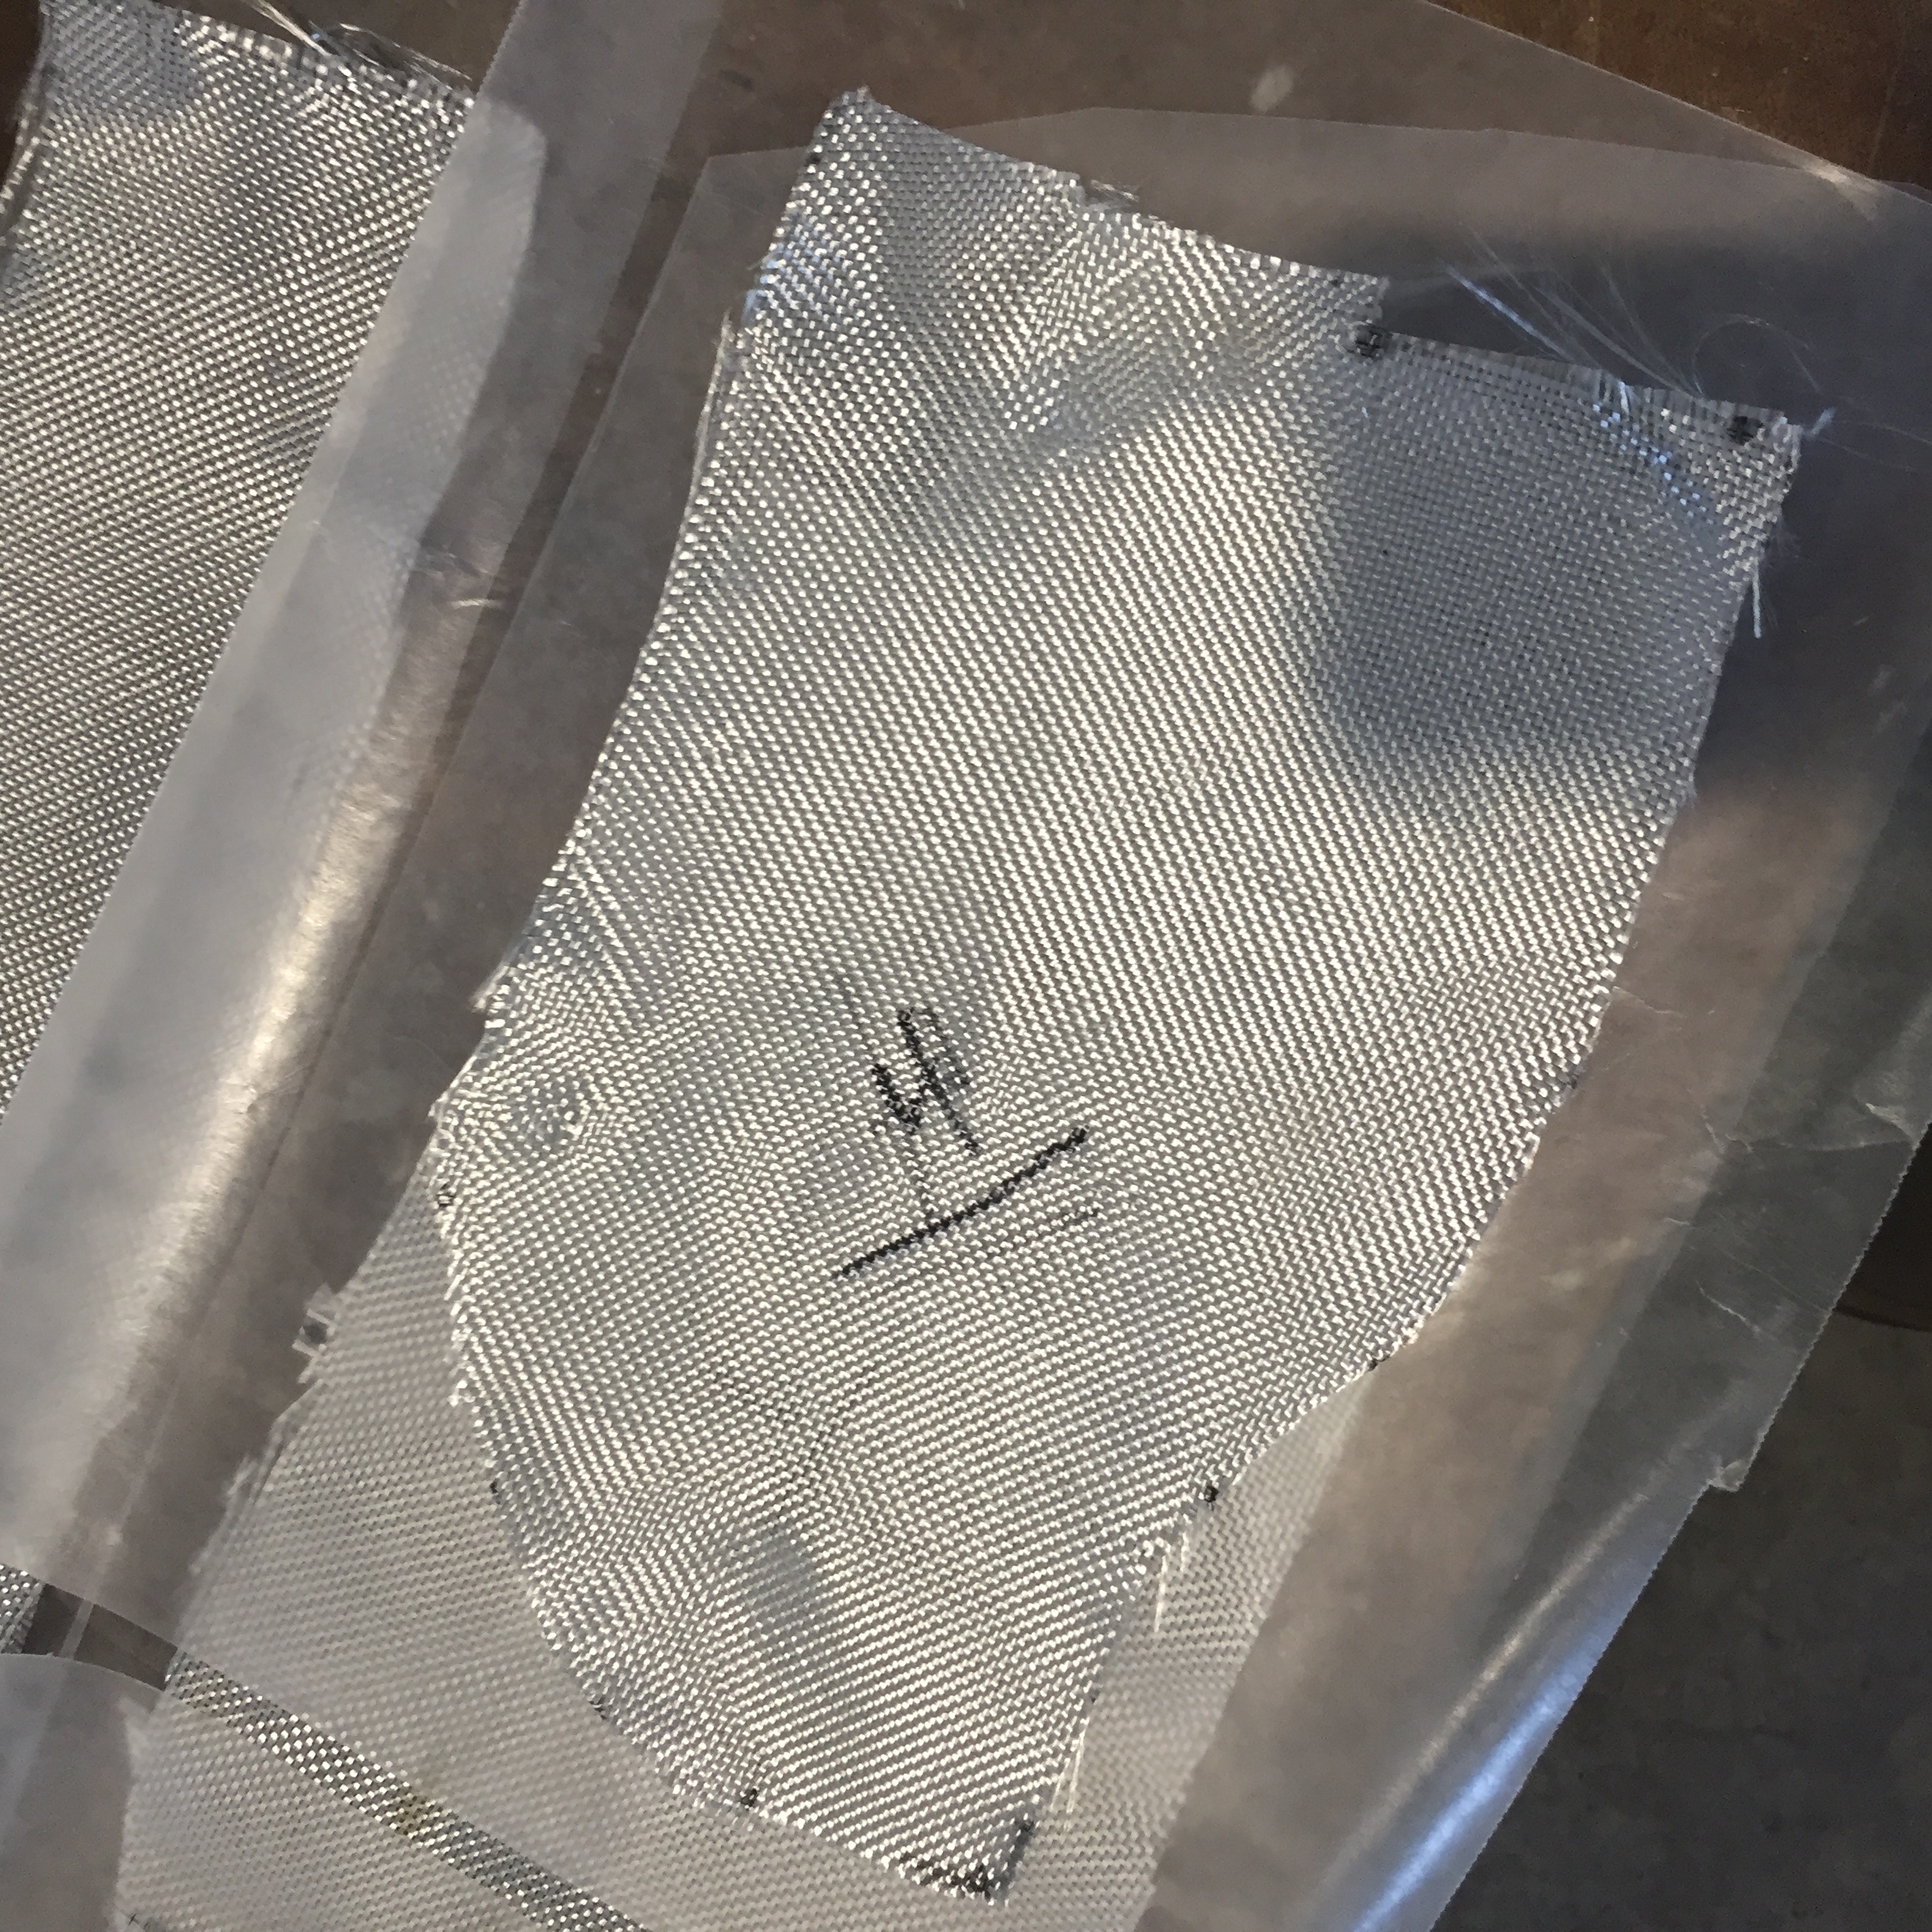
- Lots of fiberglassing too. She was in rough shape under there.

-
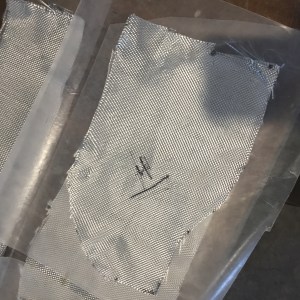
- Pop and I got a real system going to fiberglassing. Gotta work fast!
-

- Fiberglass attack.
-

- Everything was scraped, ground and treated for rust before patching.
-

- More holes….

-
- …and more holes.

-

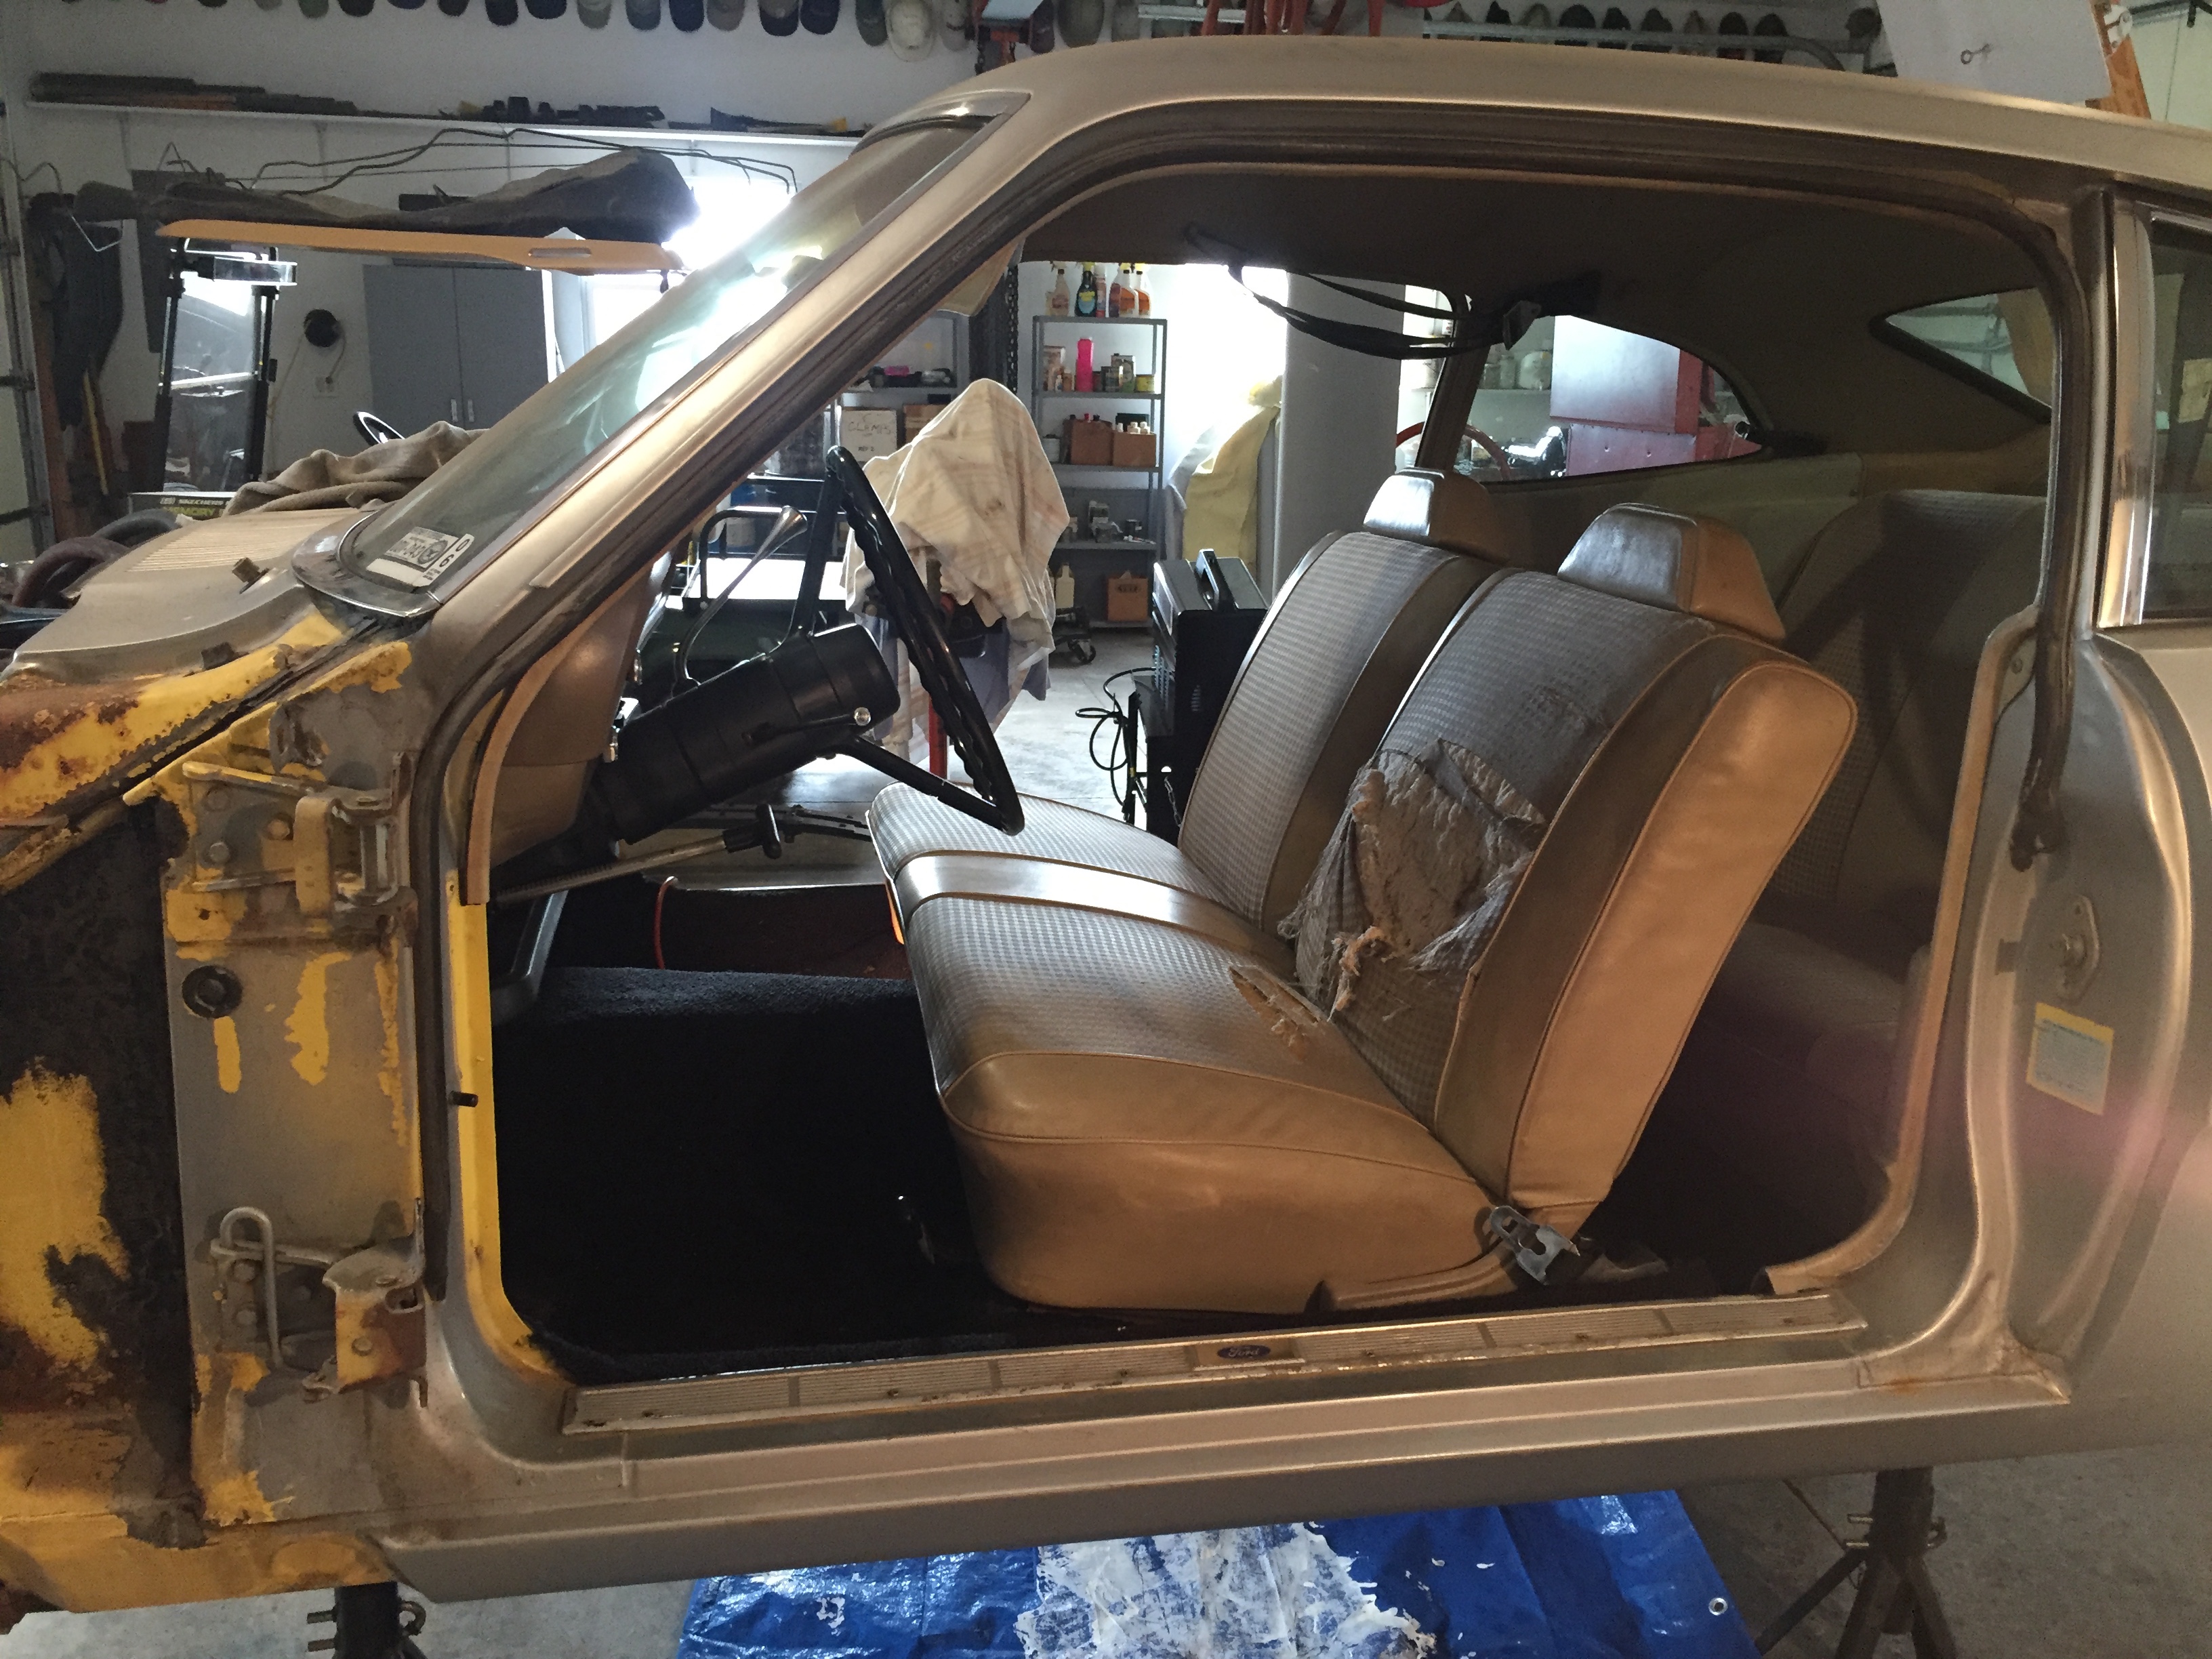
- Doors off!
-
- Seats out!

-

- The inside is totally stripped so we can start cleaning it up, treating for rust and patching.

-
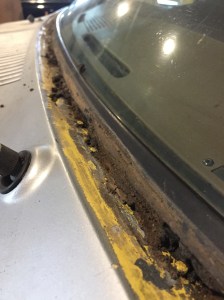
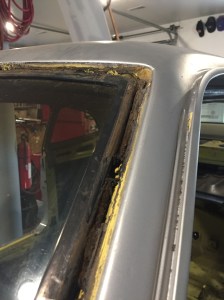
- Got all the rubber thingy’s that go around the windshield and back window out. Look at all that great stuff I get to pick out!

-
- More fun stuff to scrape out!

-
- Trunk lid, tail lights and bumper gone.

-

- Fenders and wheels off the front.
-
- Anything removable under the dash is out.

Jan/Feb 2017 Visit
-
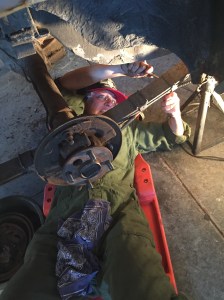
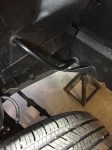
- This is me getting the leaf springs off. I think I asked Pop to take a pic cuz I felt cool…I don’t look cool.

-
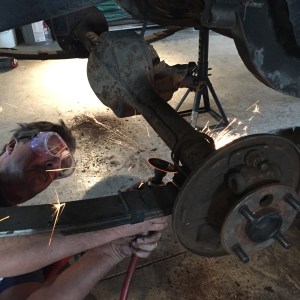
- Pop removing the axle, he looks cool.

-

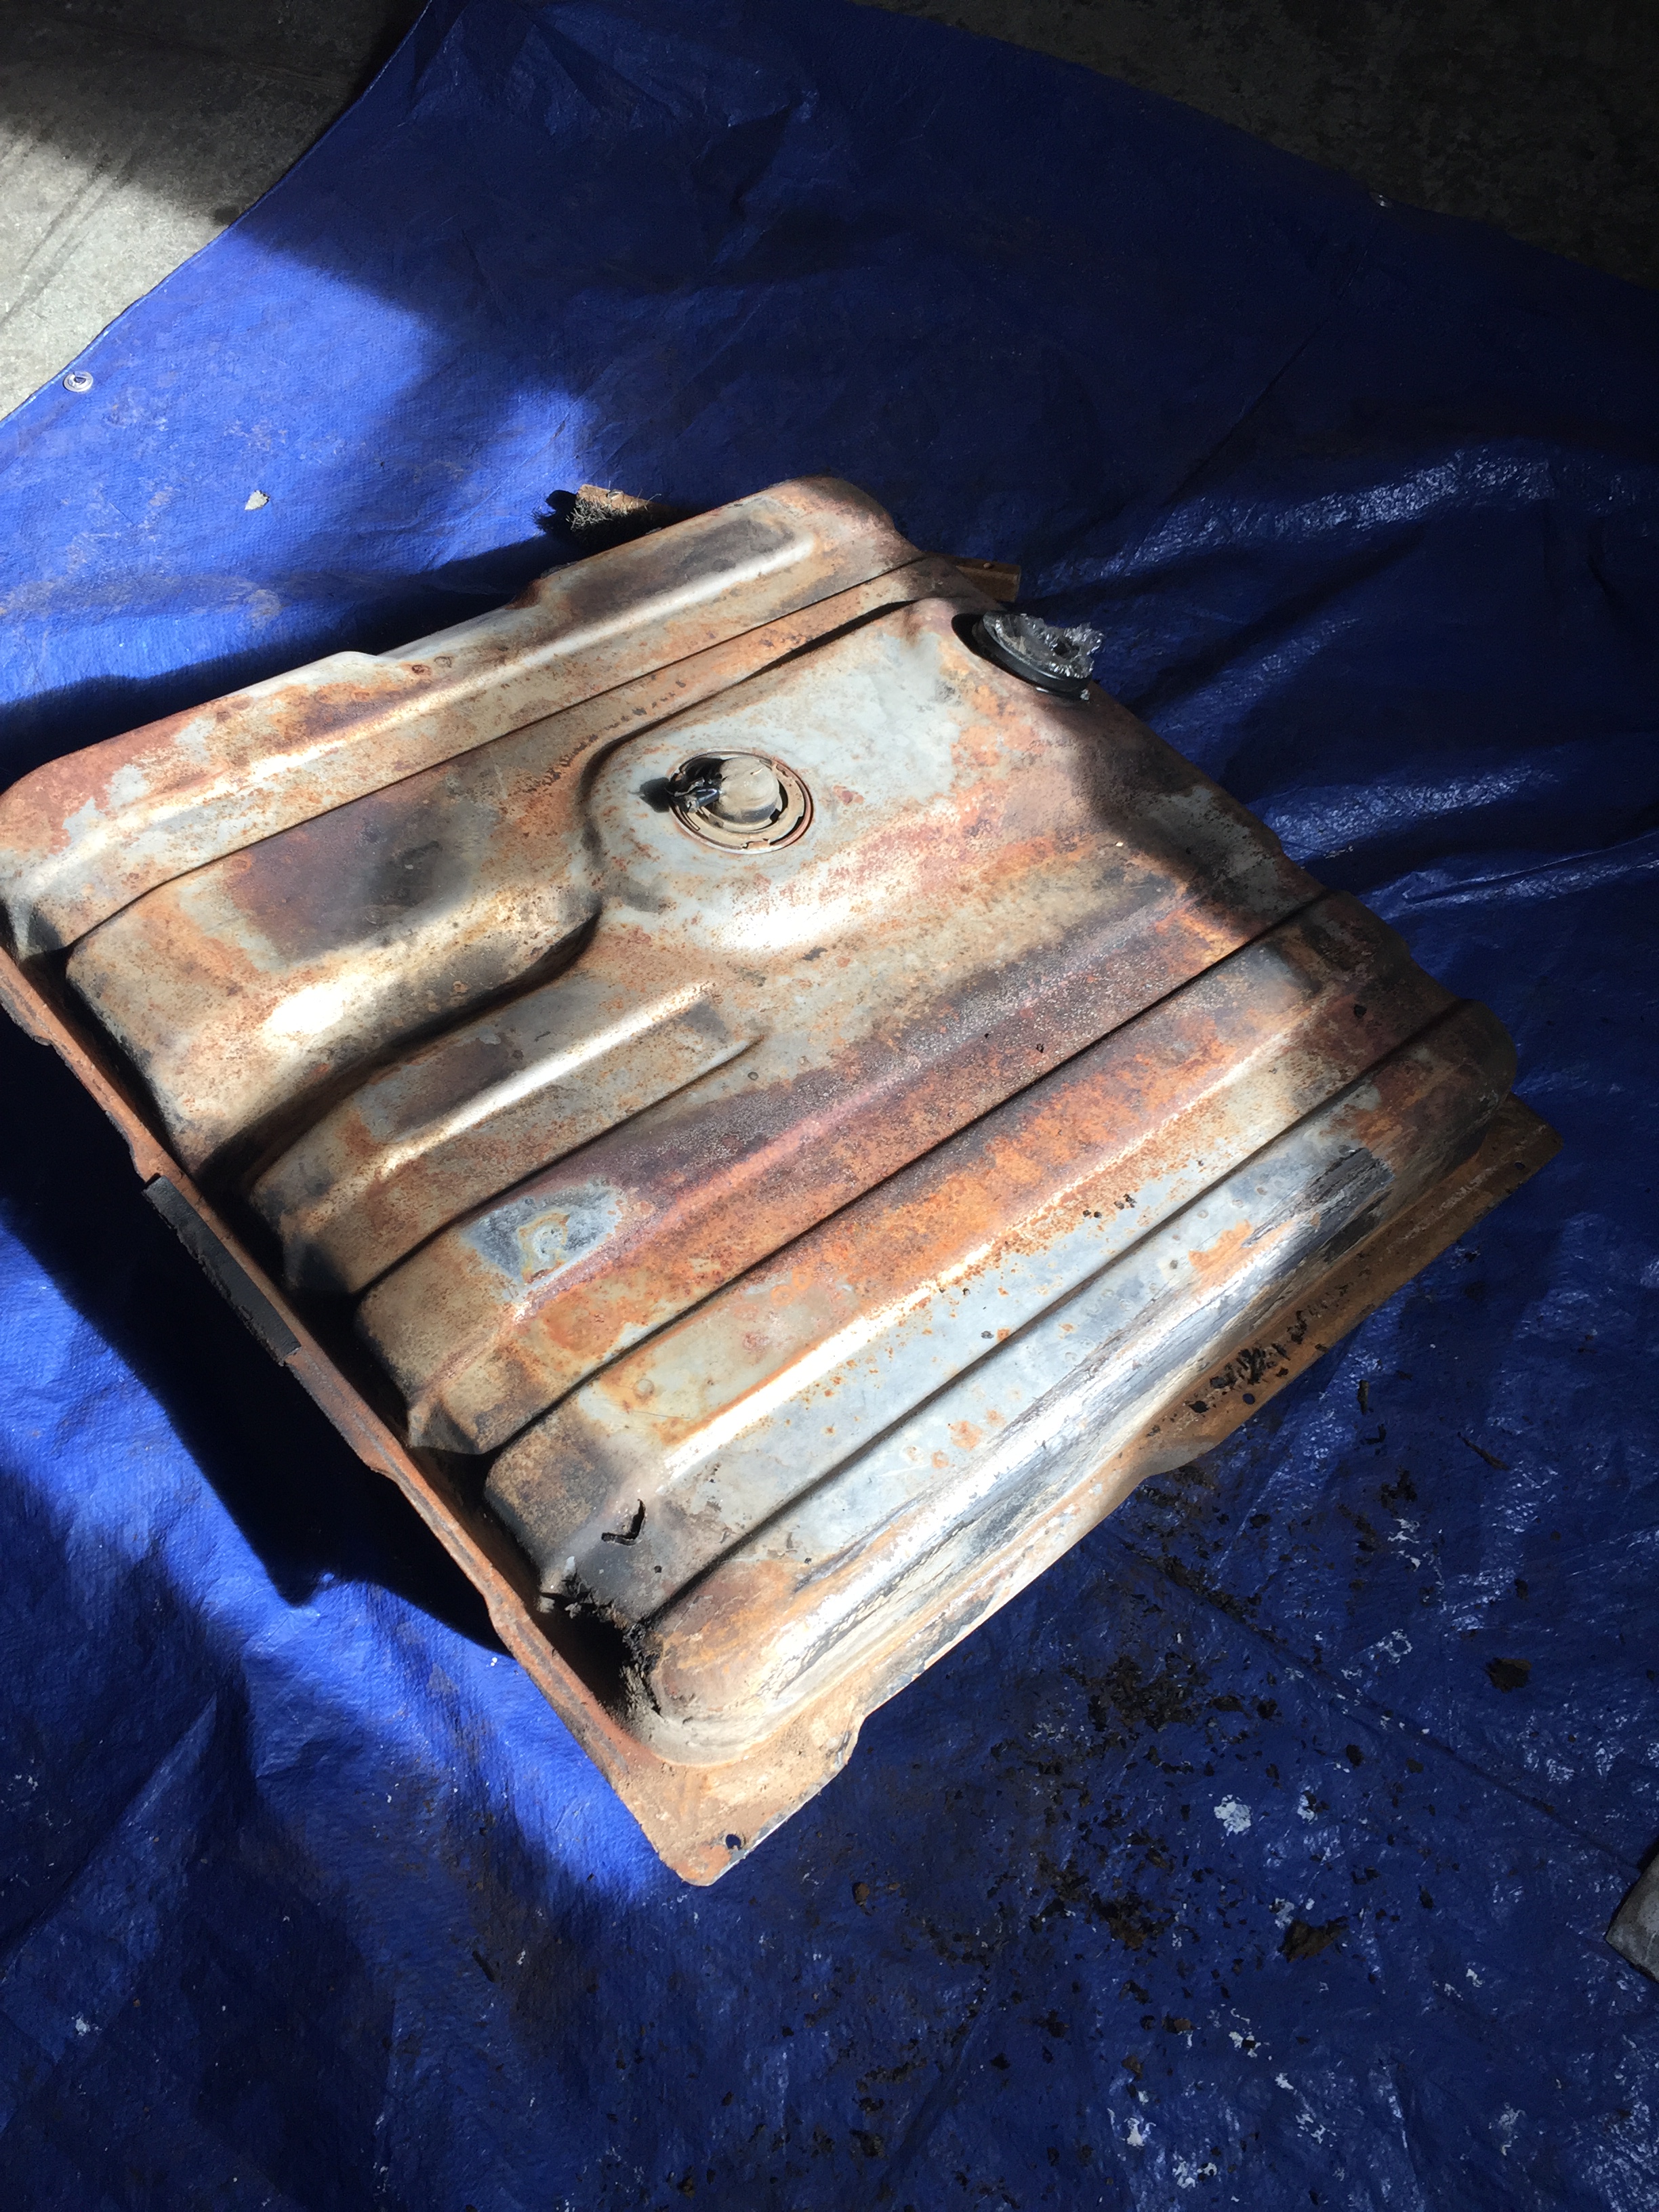
- Gas tank out.
-
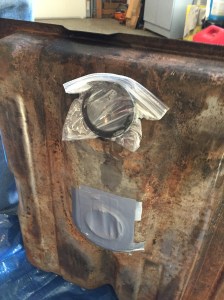
- Inside of gas tank treated for rust and any tiny holes.

-

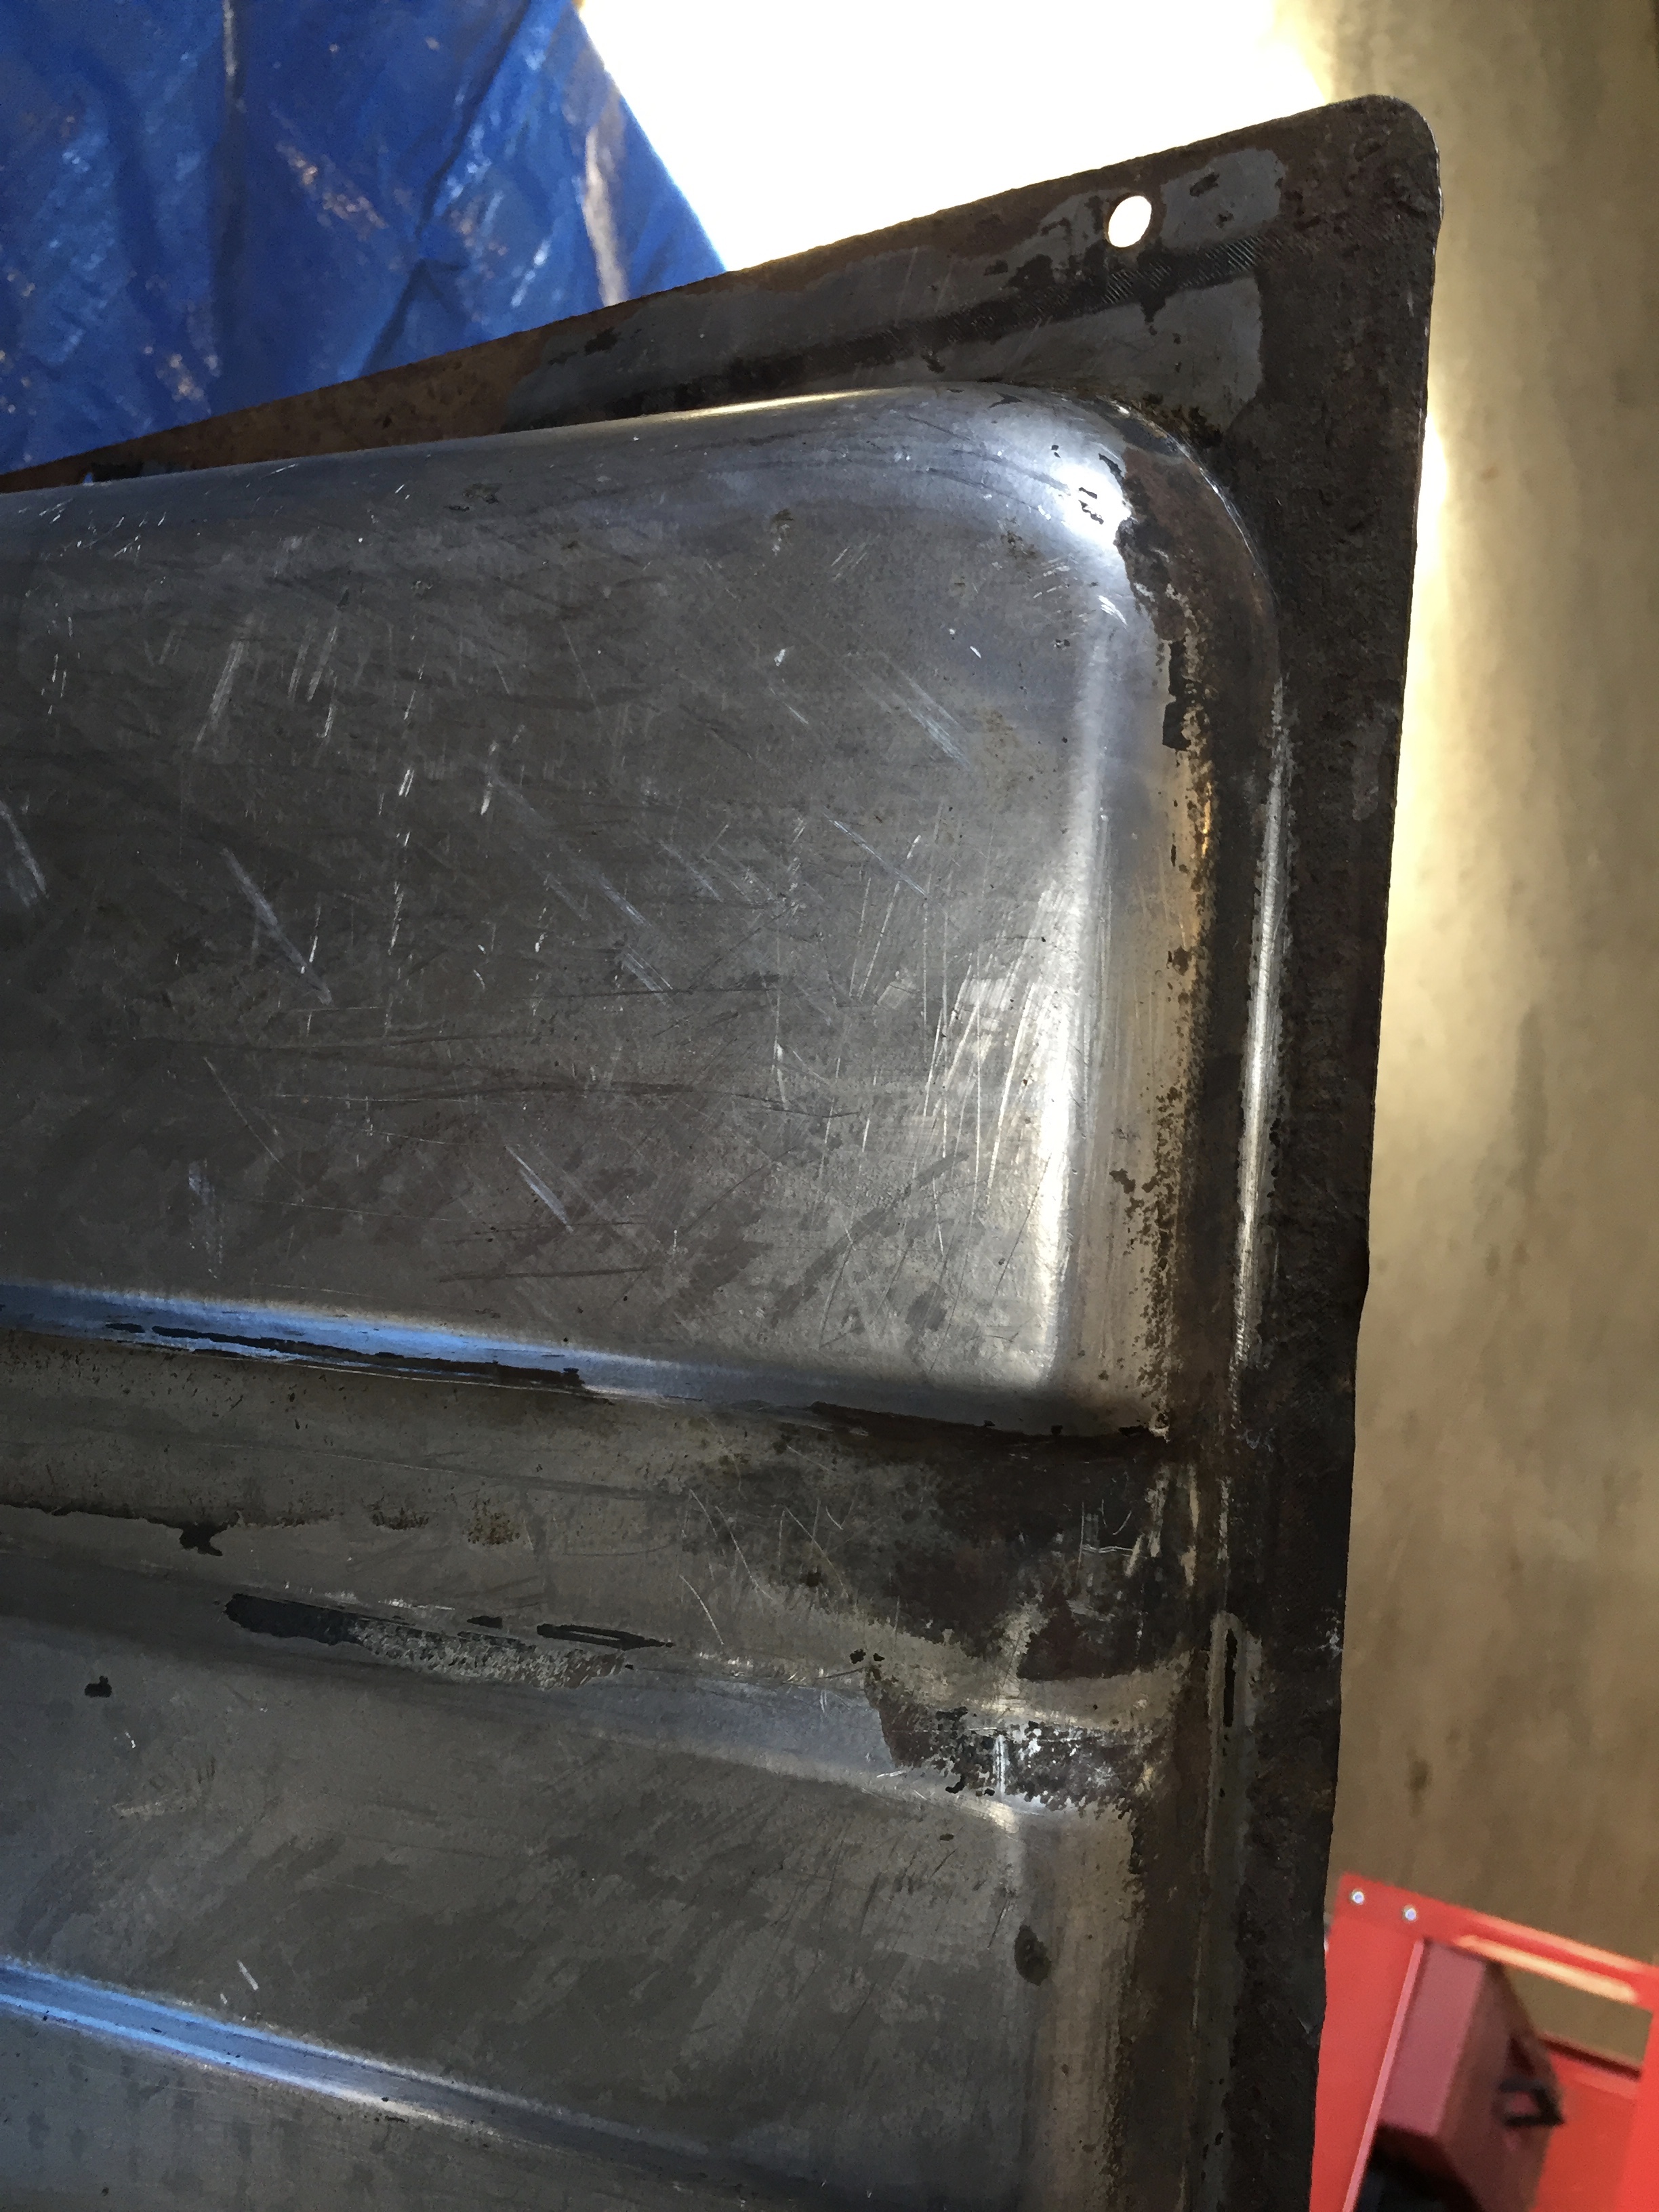
- Initial scrape down of tank.
-
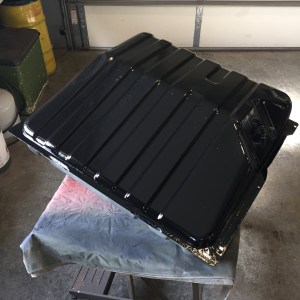
- Pretty! Painted with a rust protection black gloss.

-
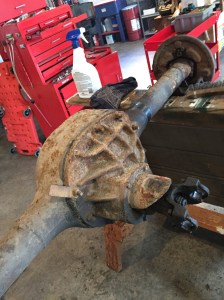
- Differential out.

-
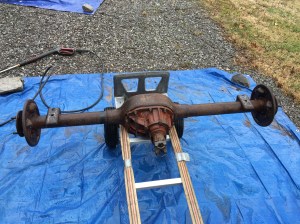
- Differential power washed.
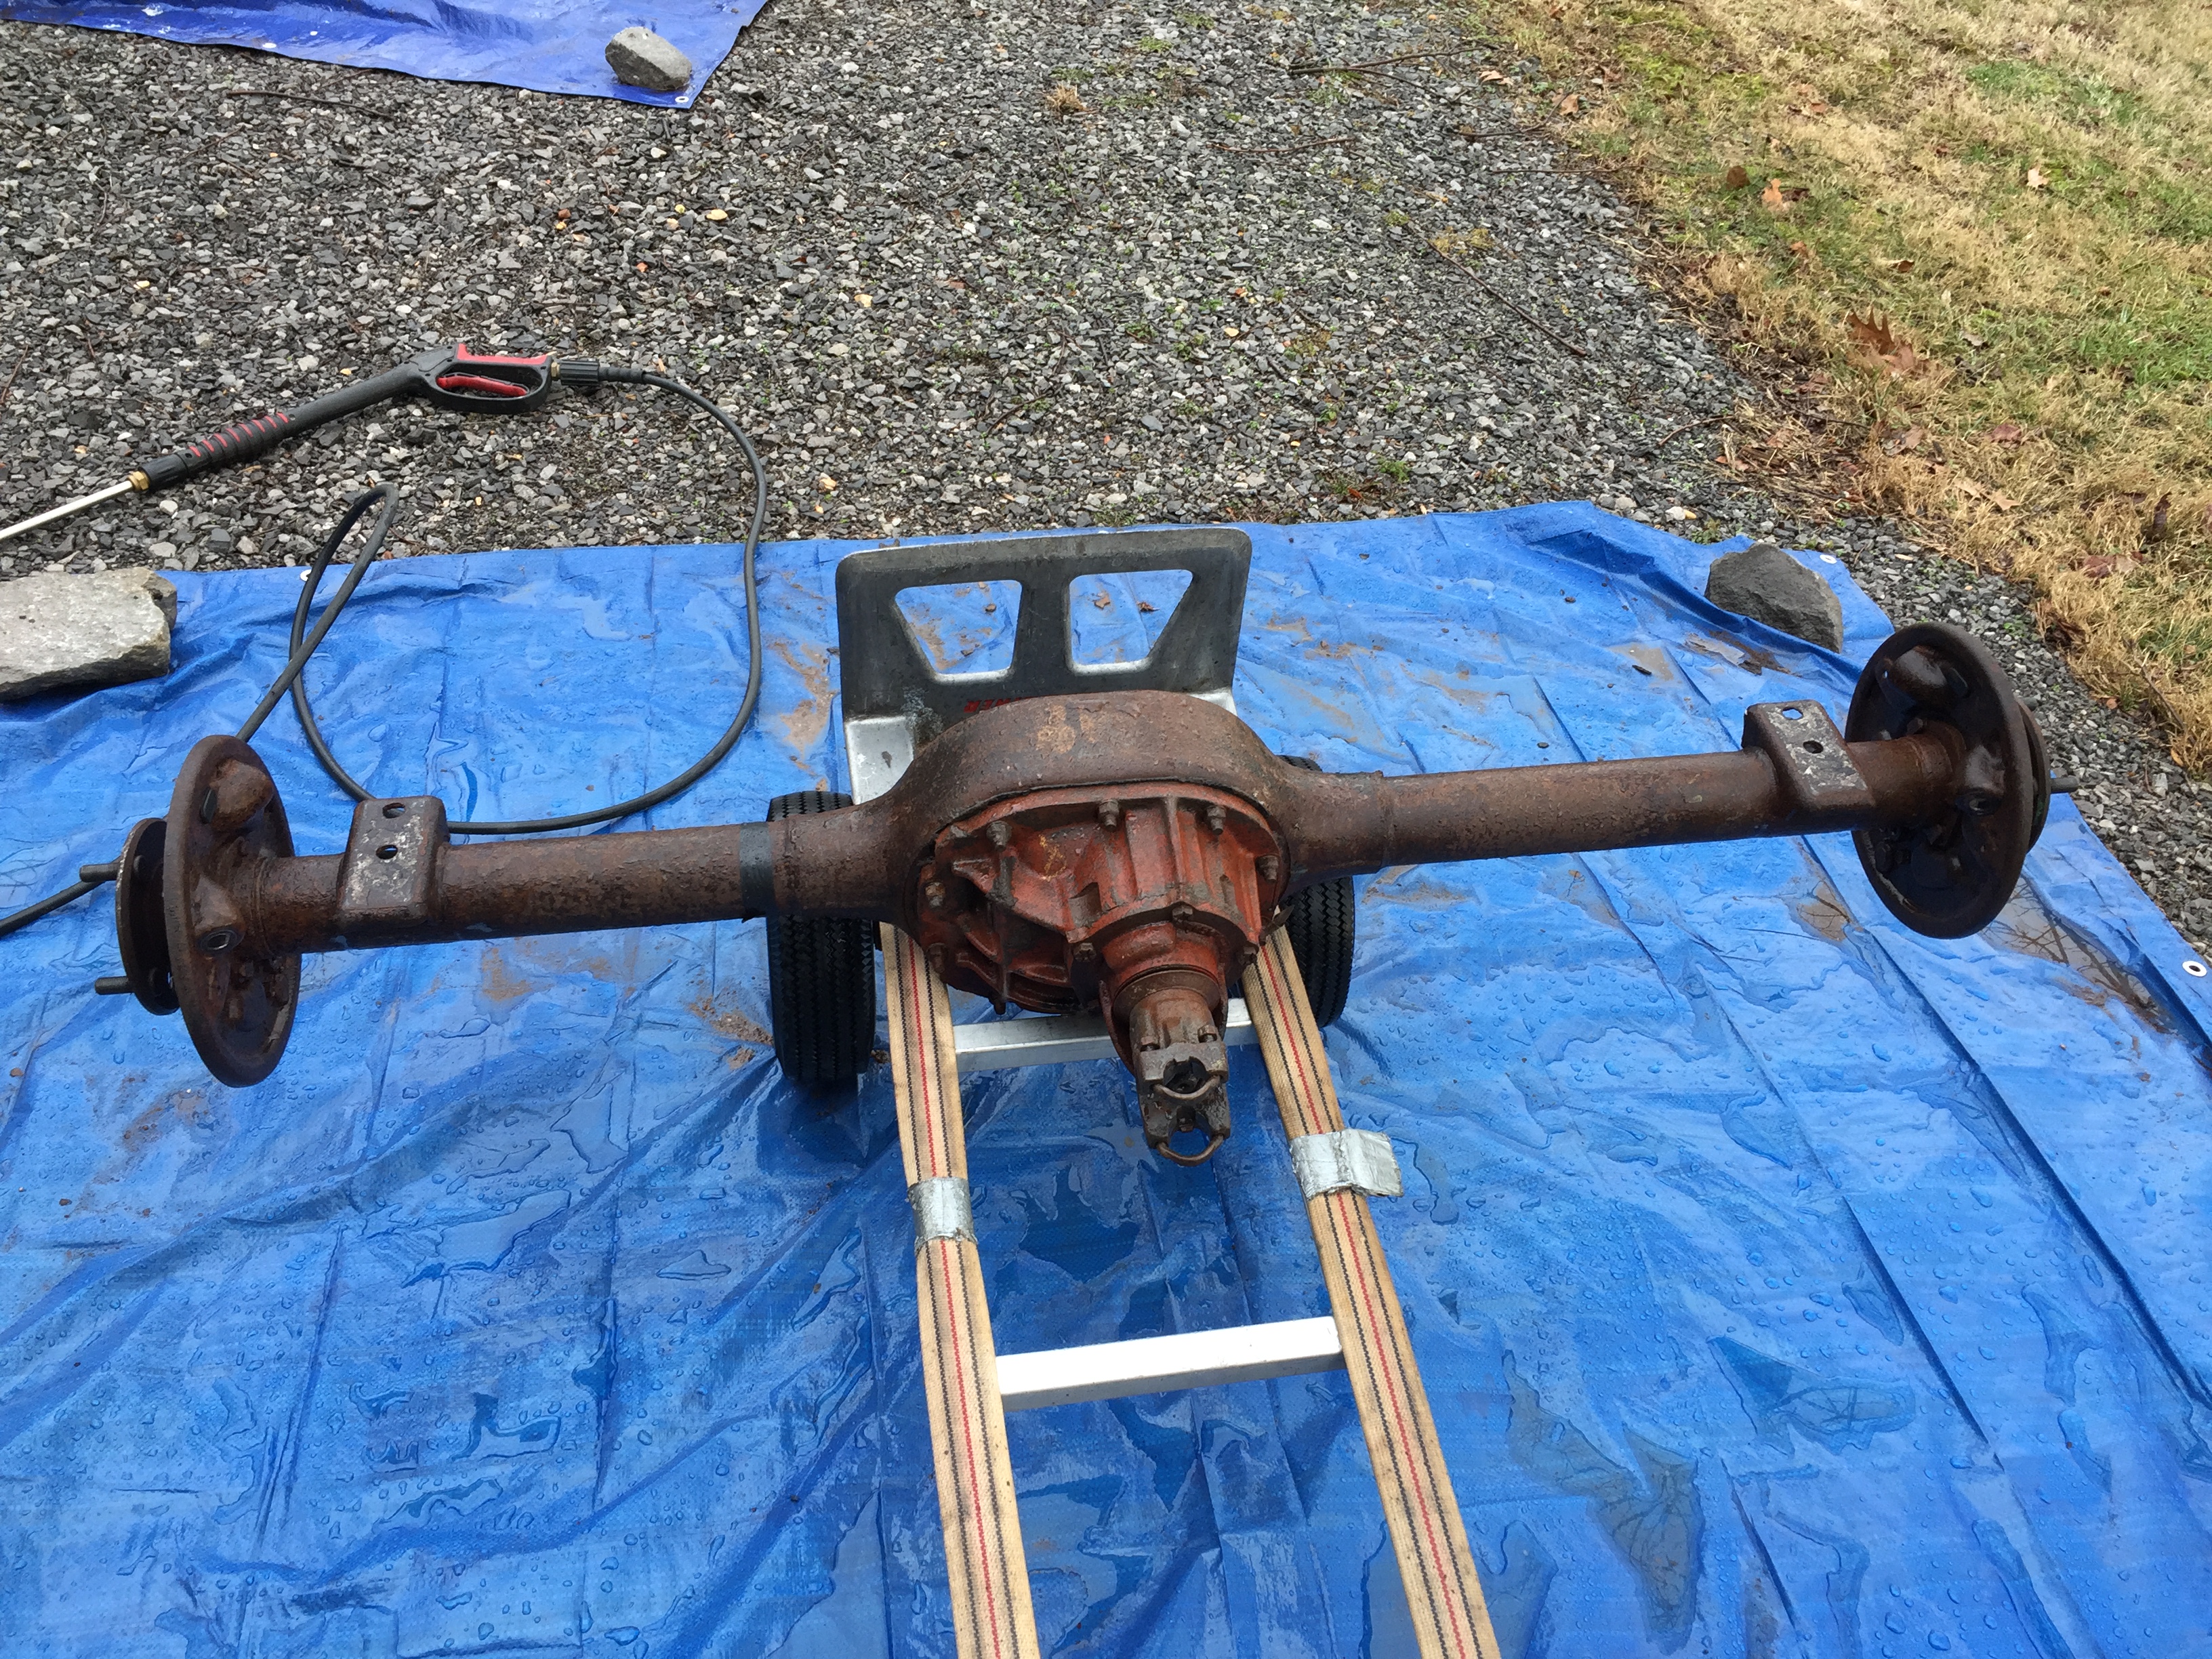
-
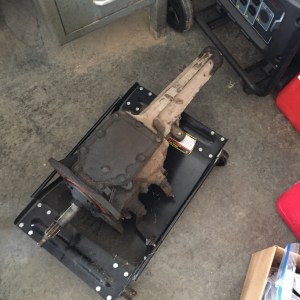
- Transmission out.

-
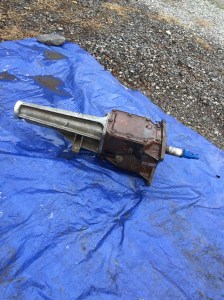
- It’s turn for a bath.

-
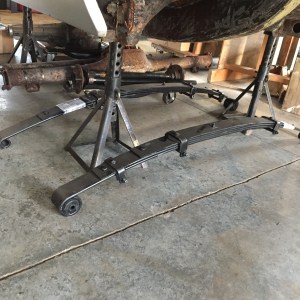
- Purchase of new 4 leaf springs.

-

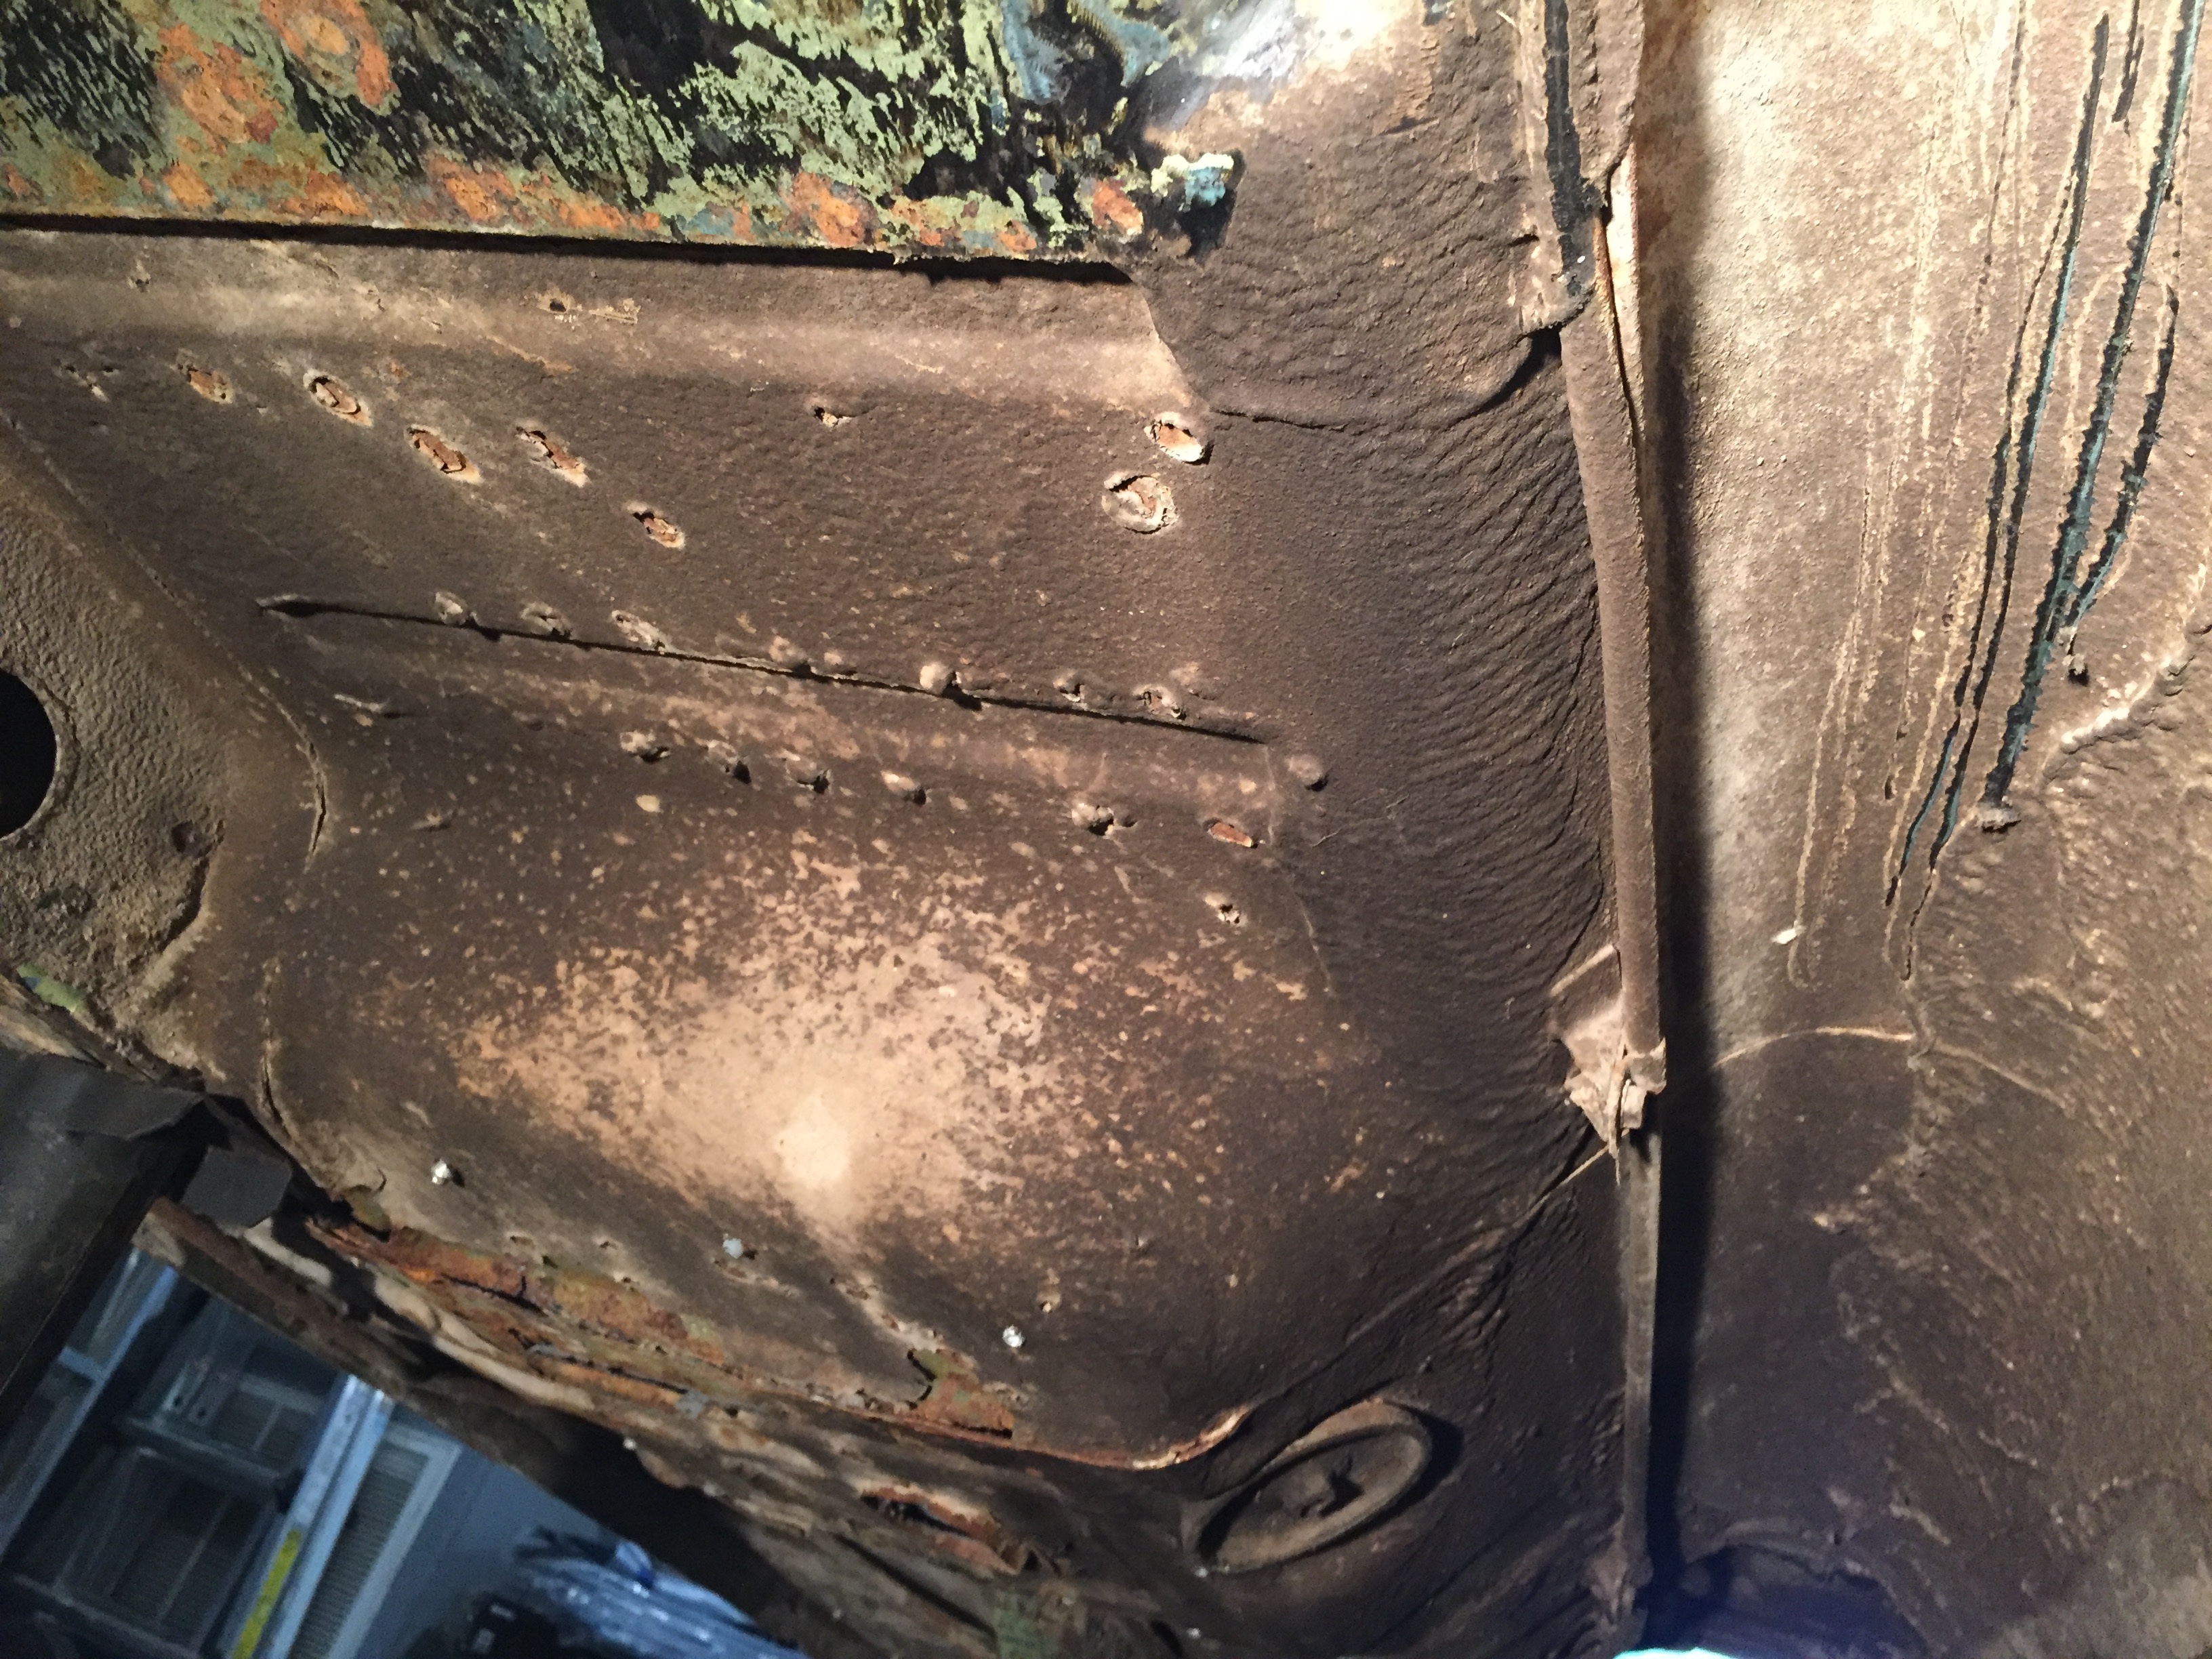
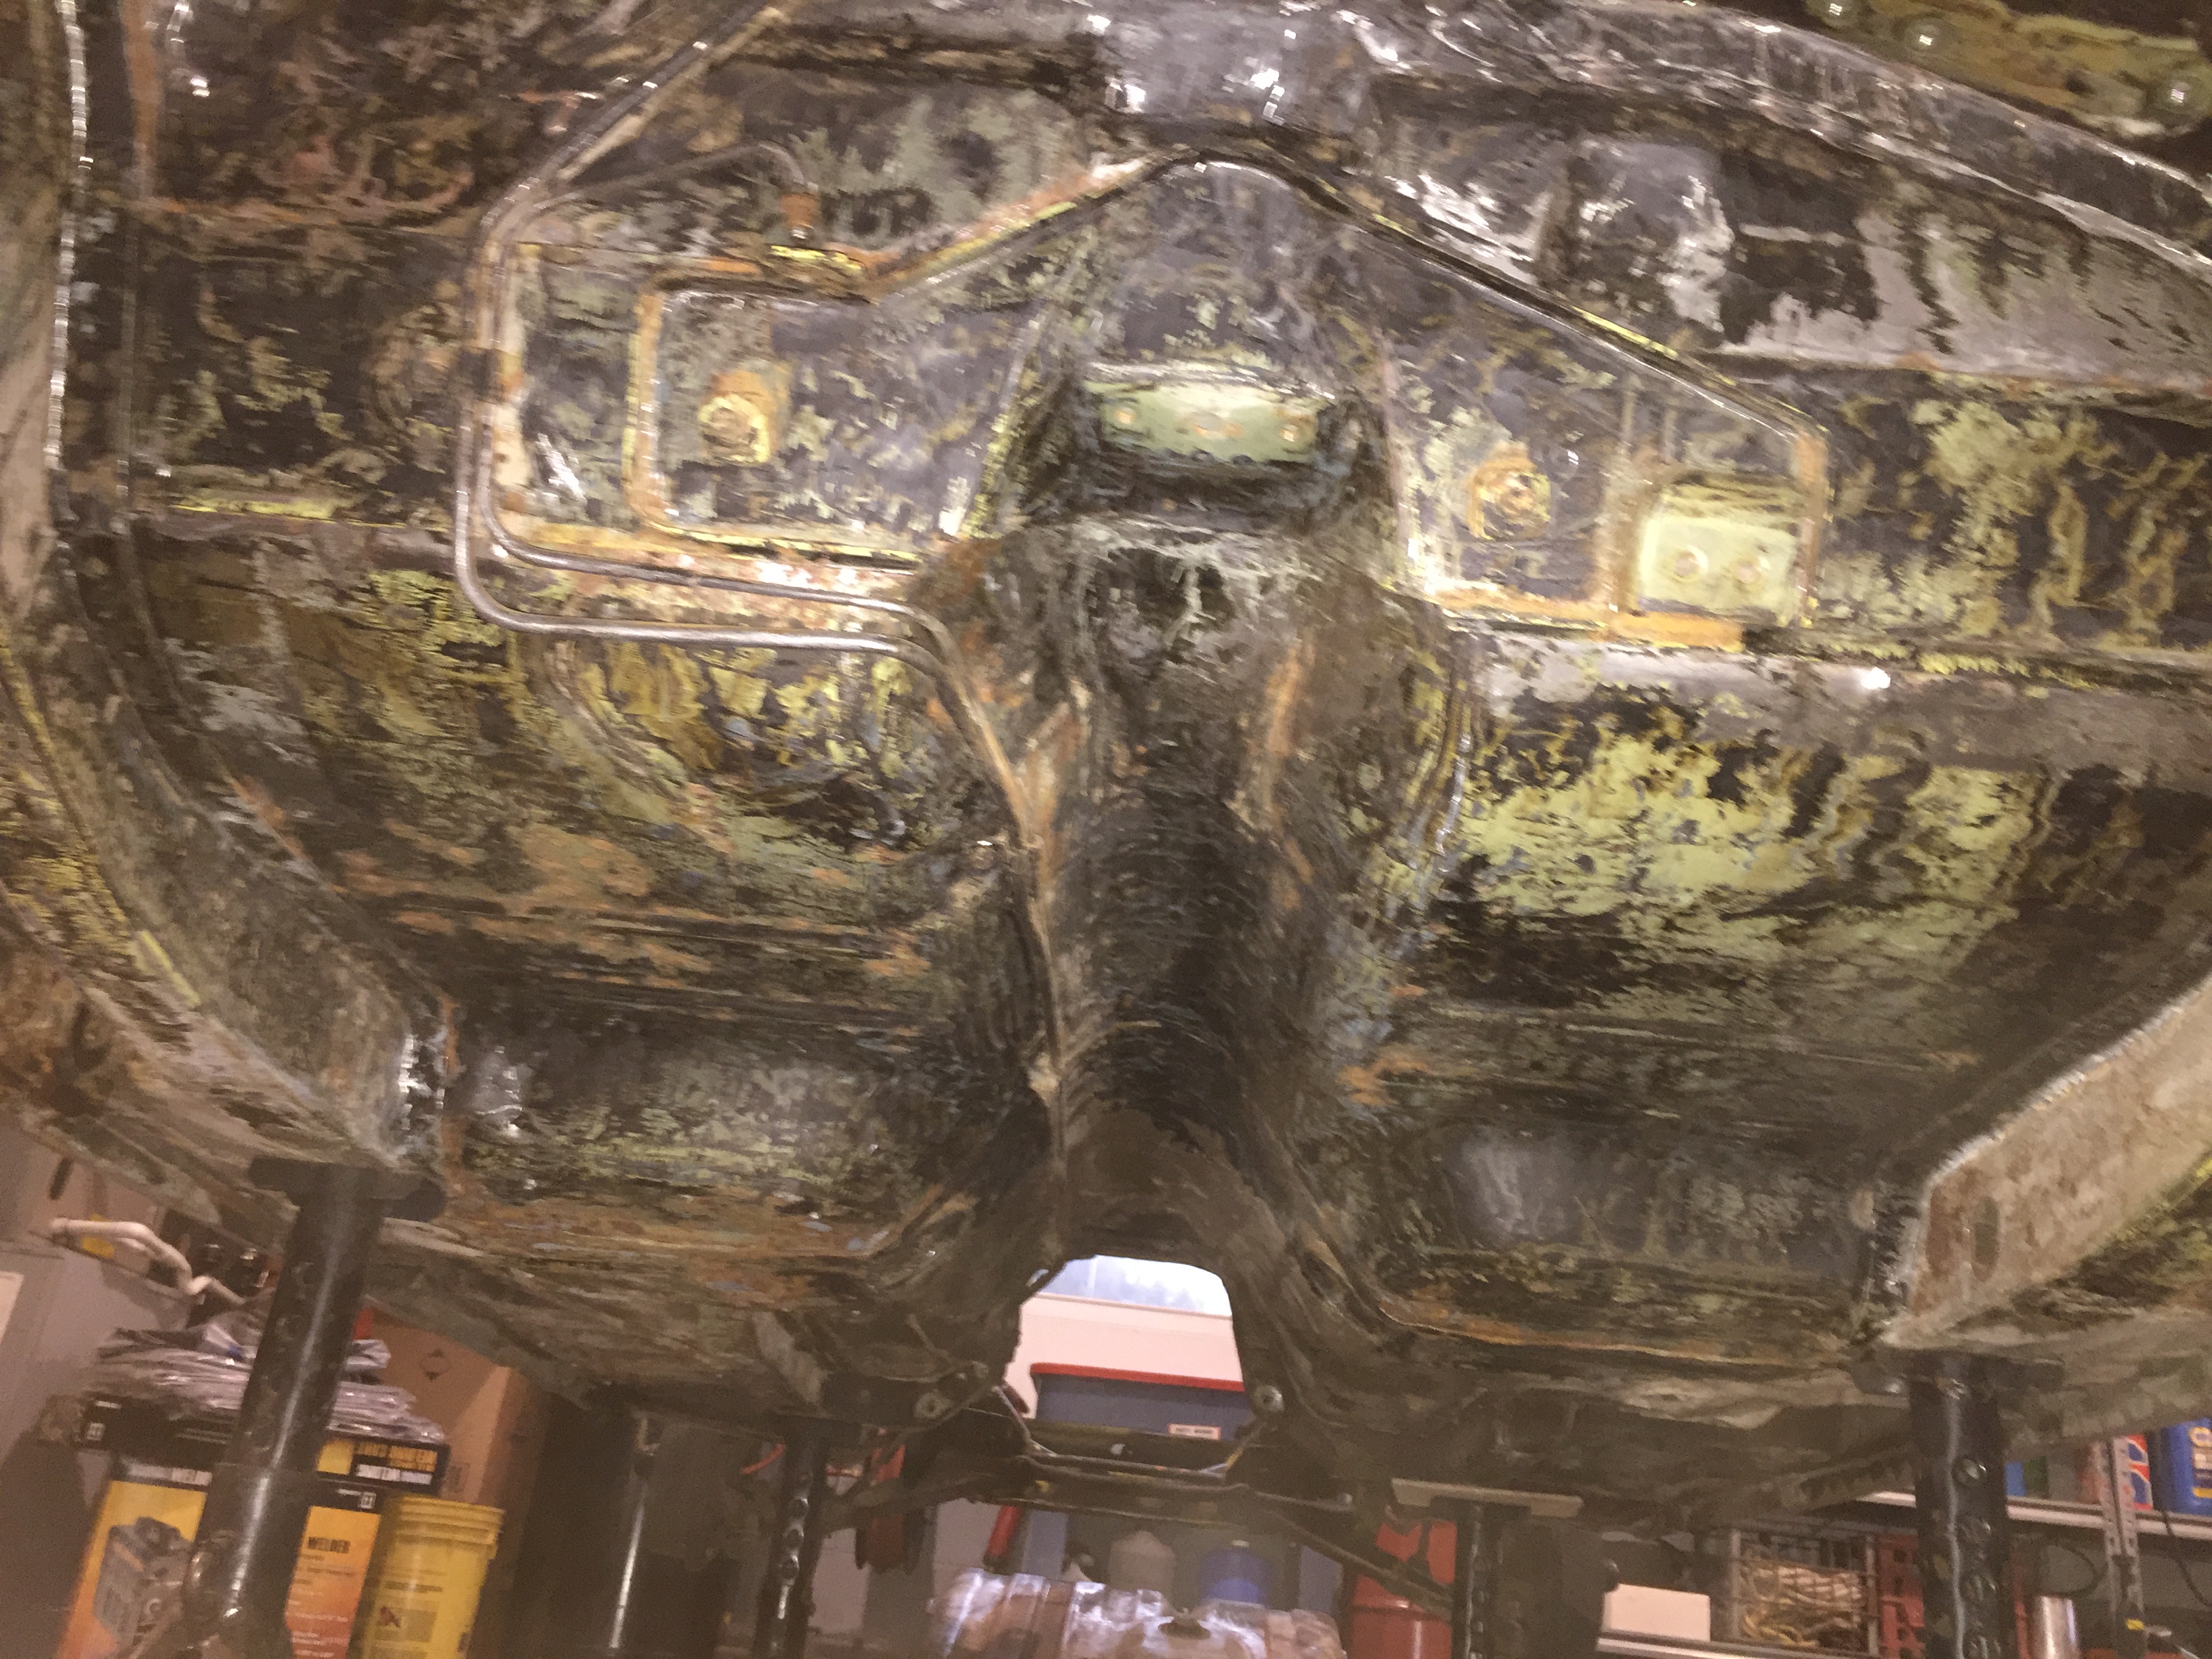
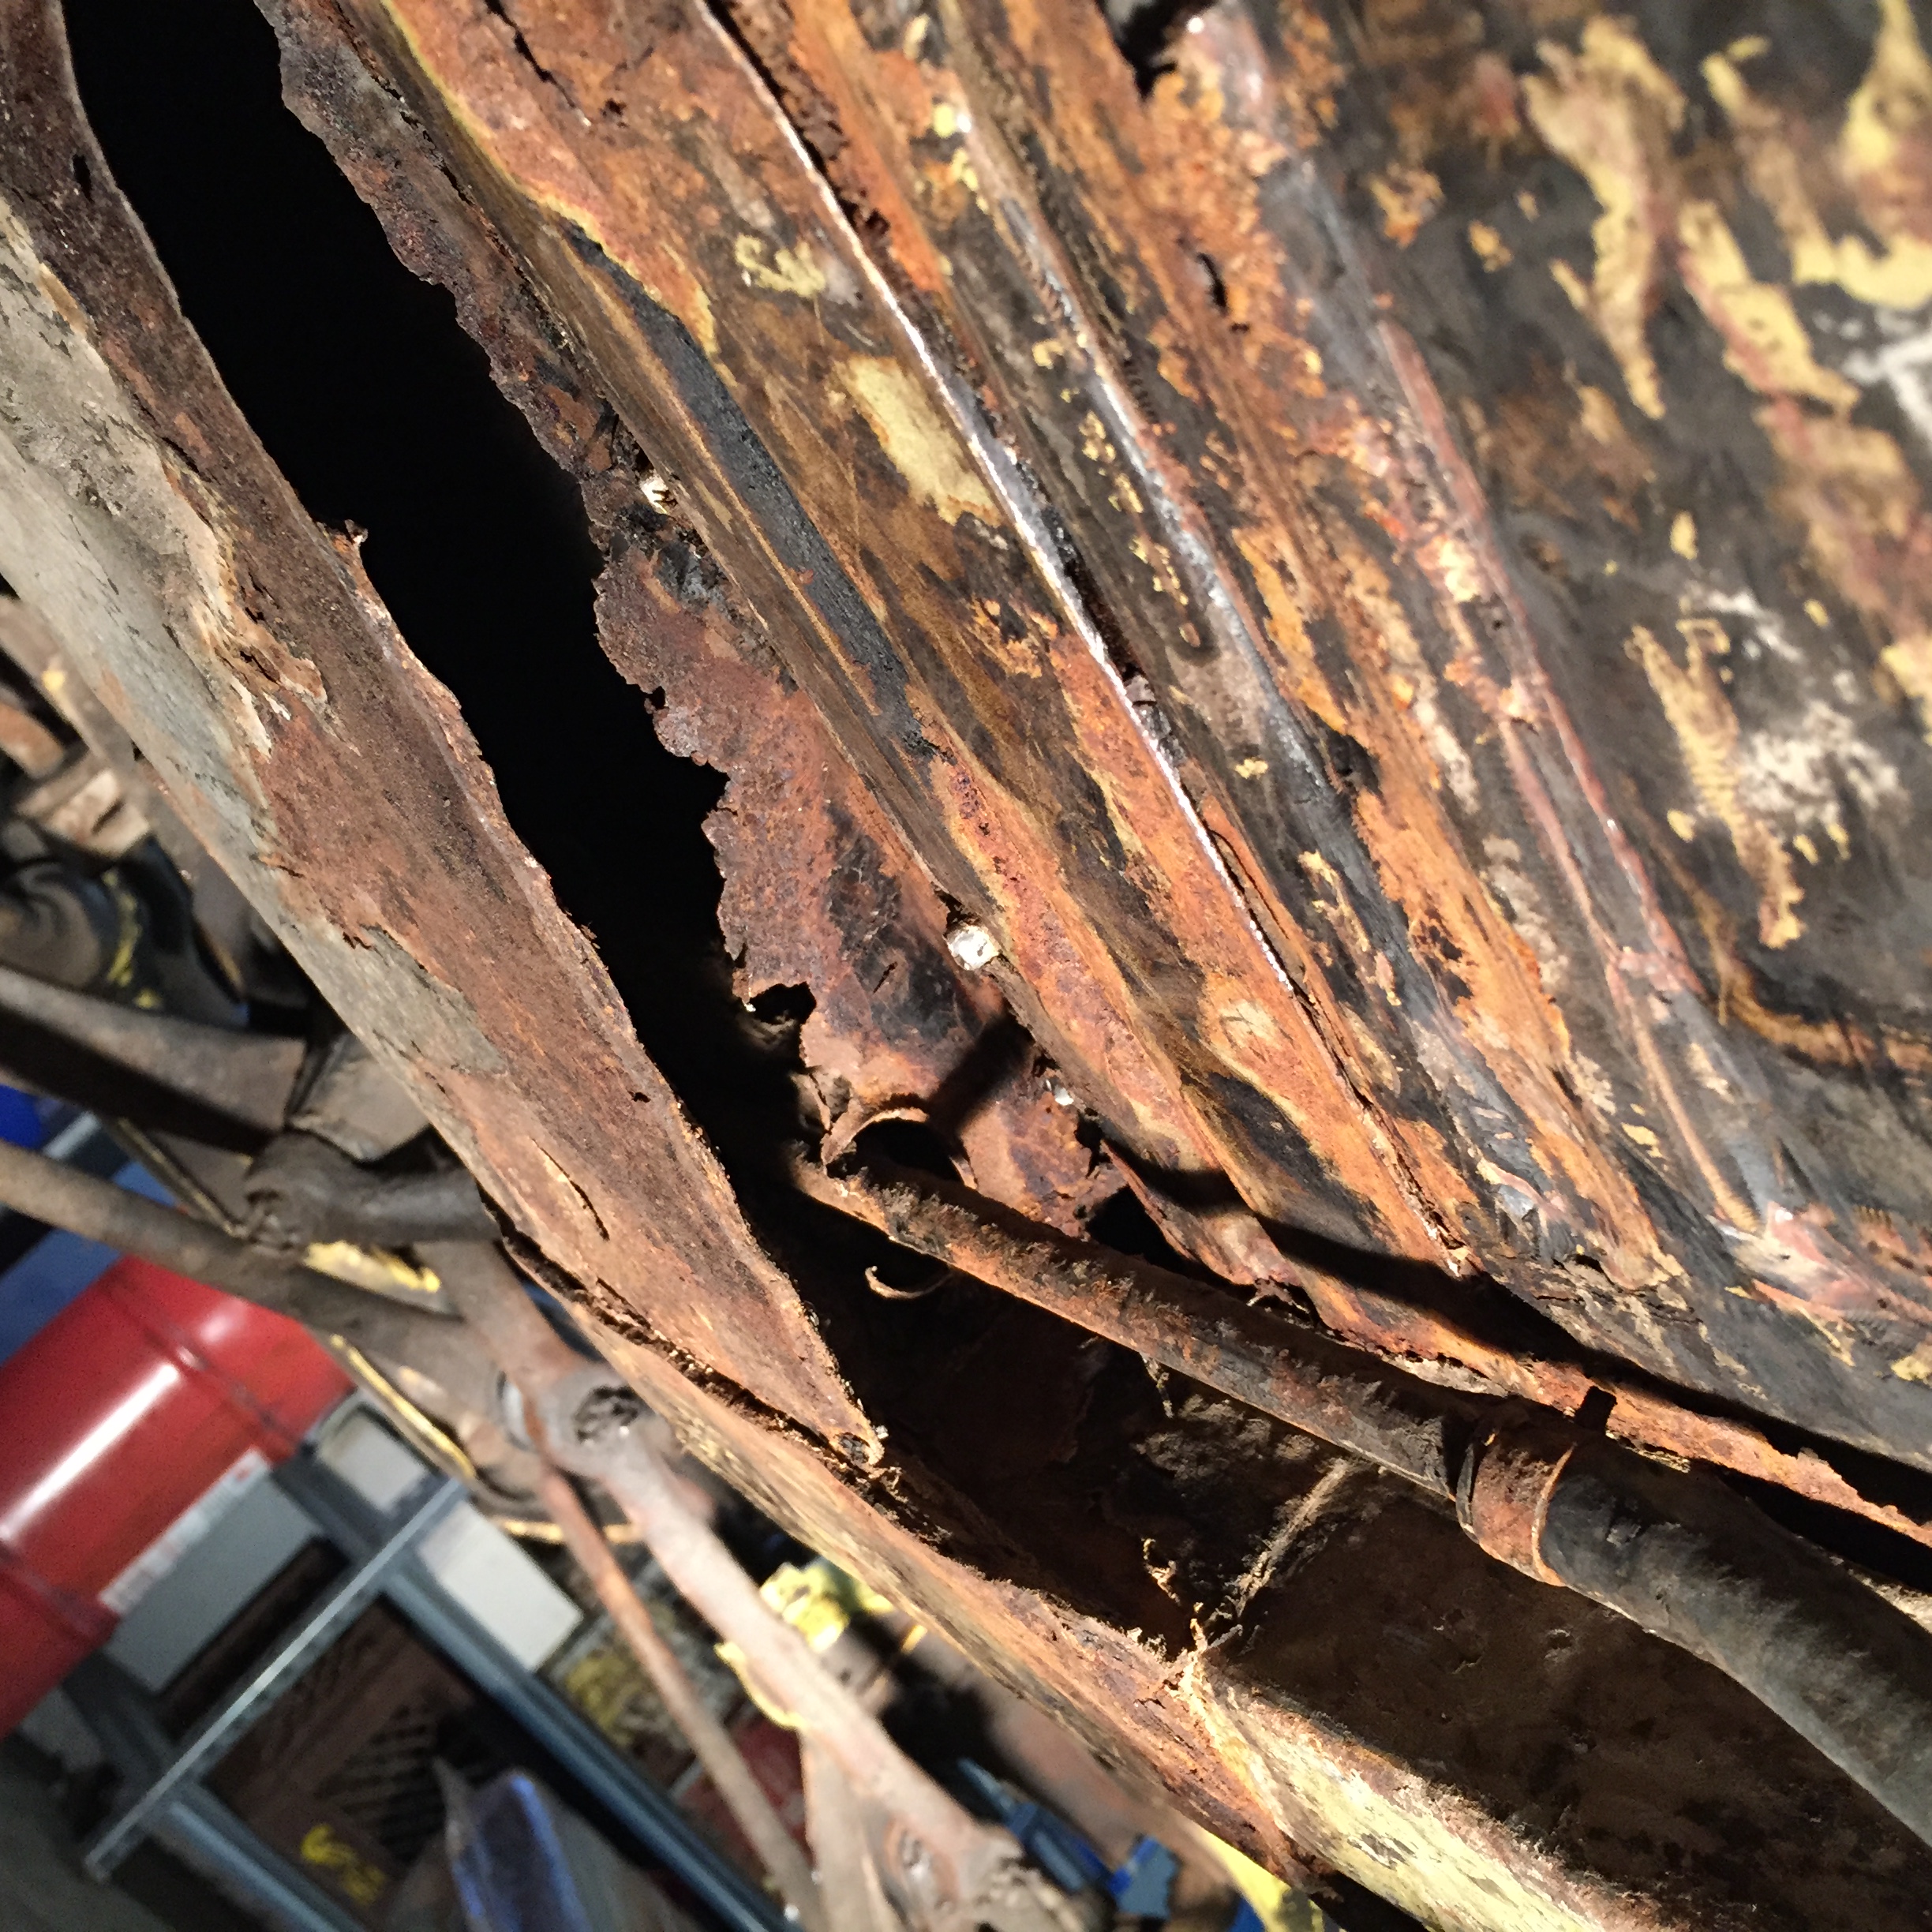
- Commencement of grunt work, scraping 40 plus years of crap off the undercarriage.
-
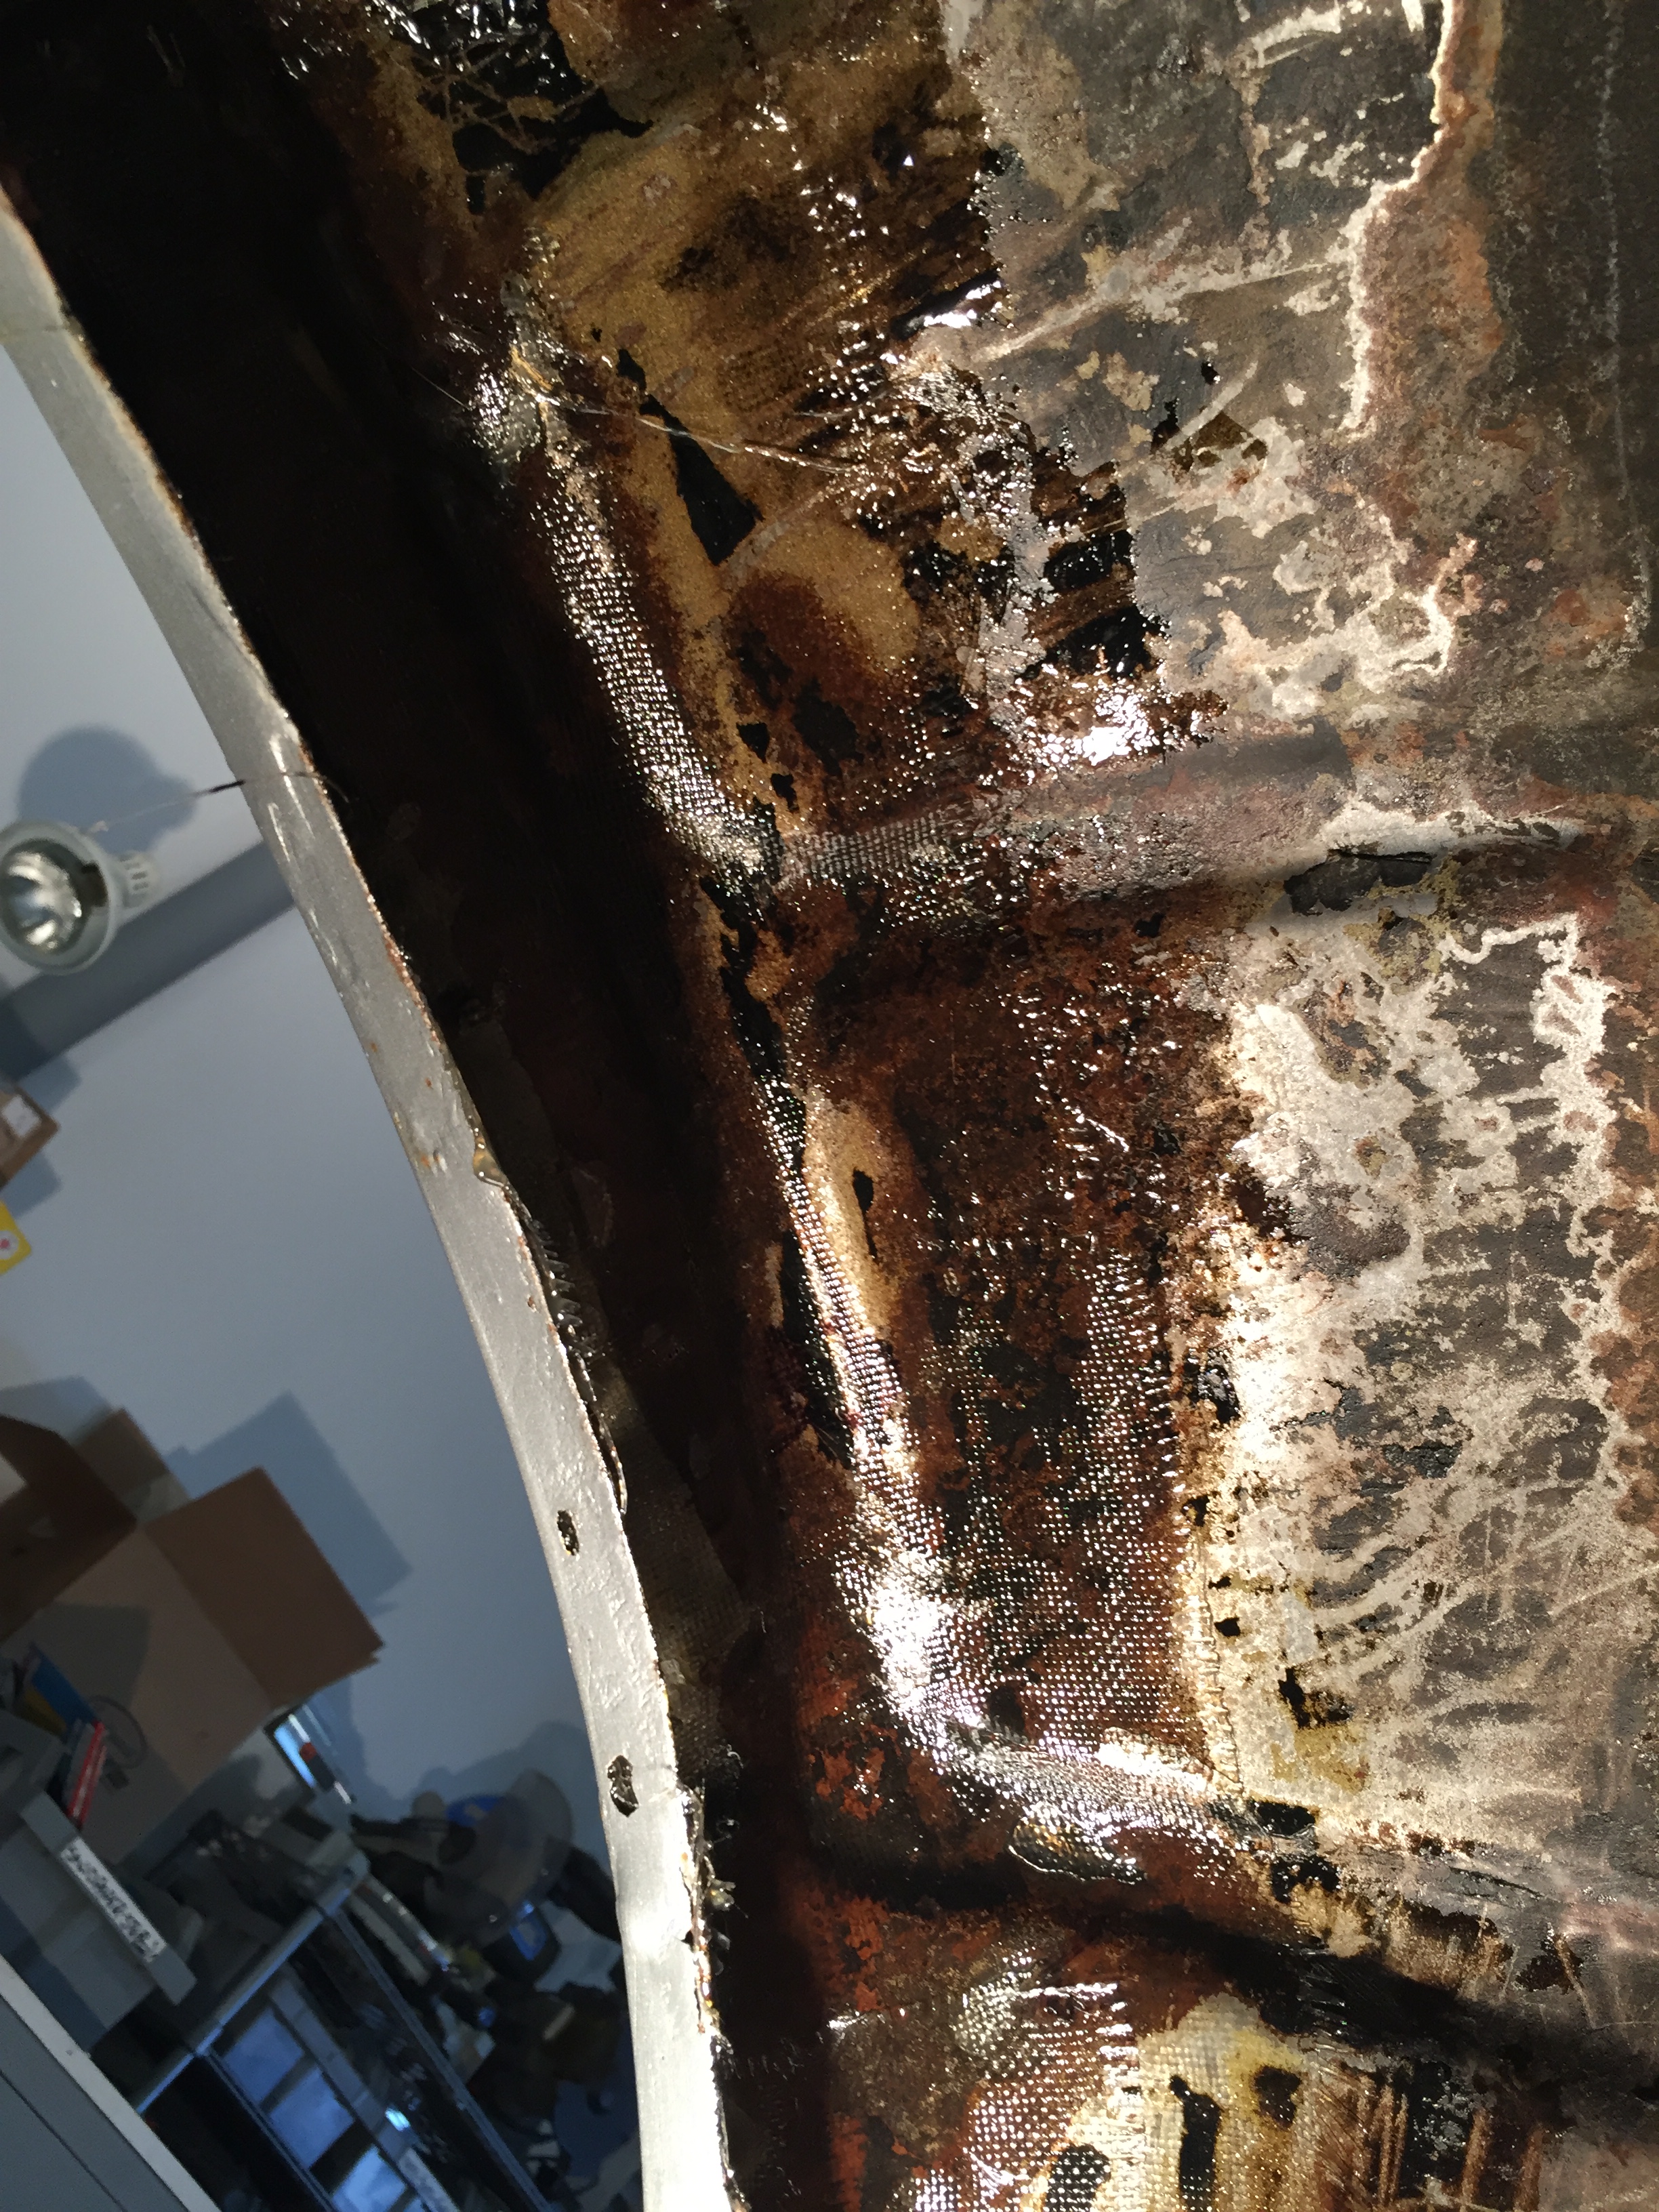
- Close up of how thick this shit is.
-
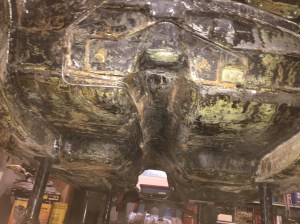
- Initial scrape
-

- Discovery of a fuck load of rust and holes. This is when we decided I needed to learn how to weld.
-
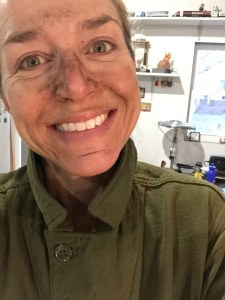
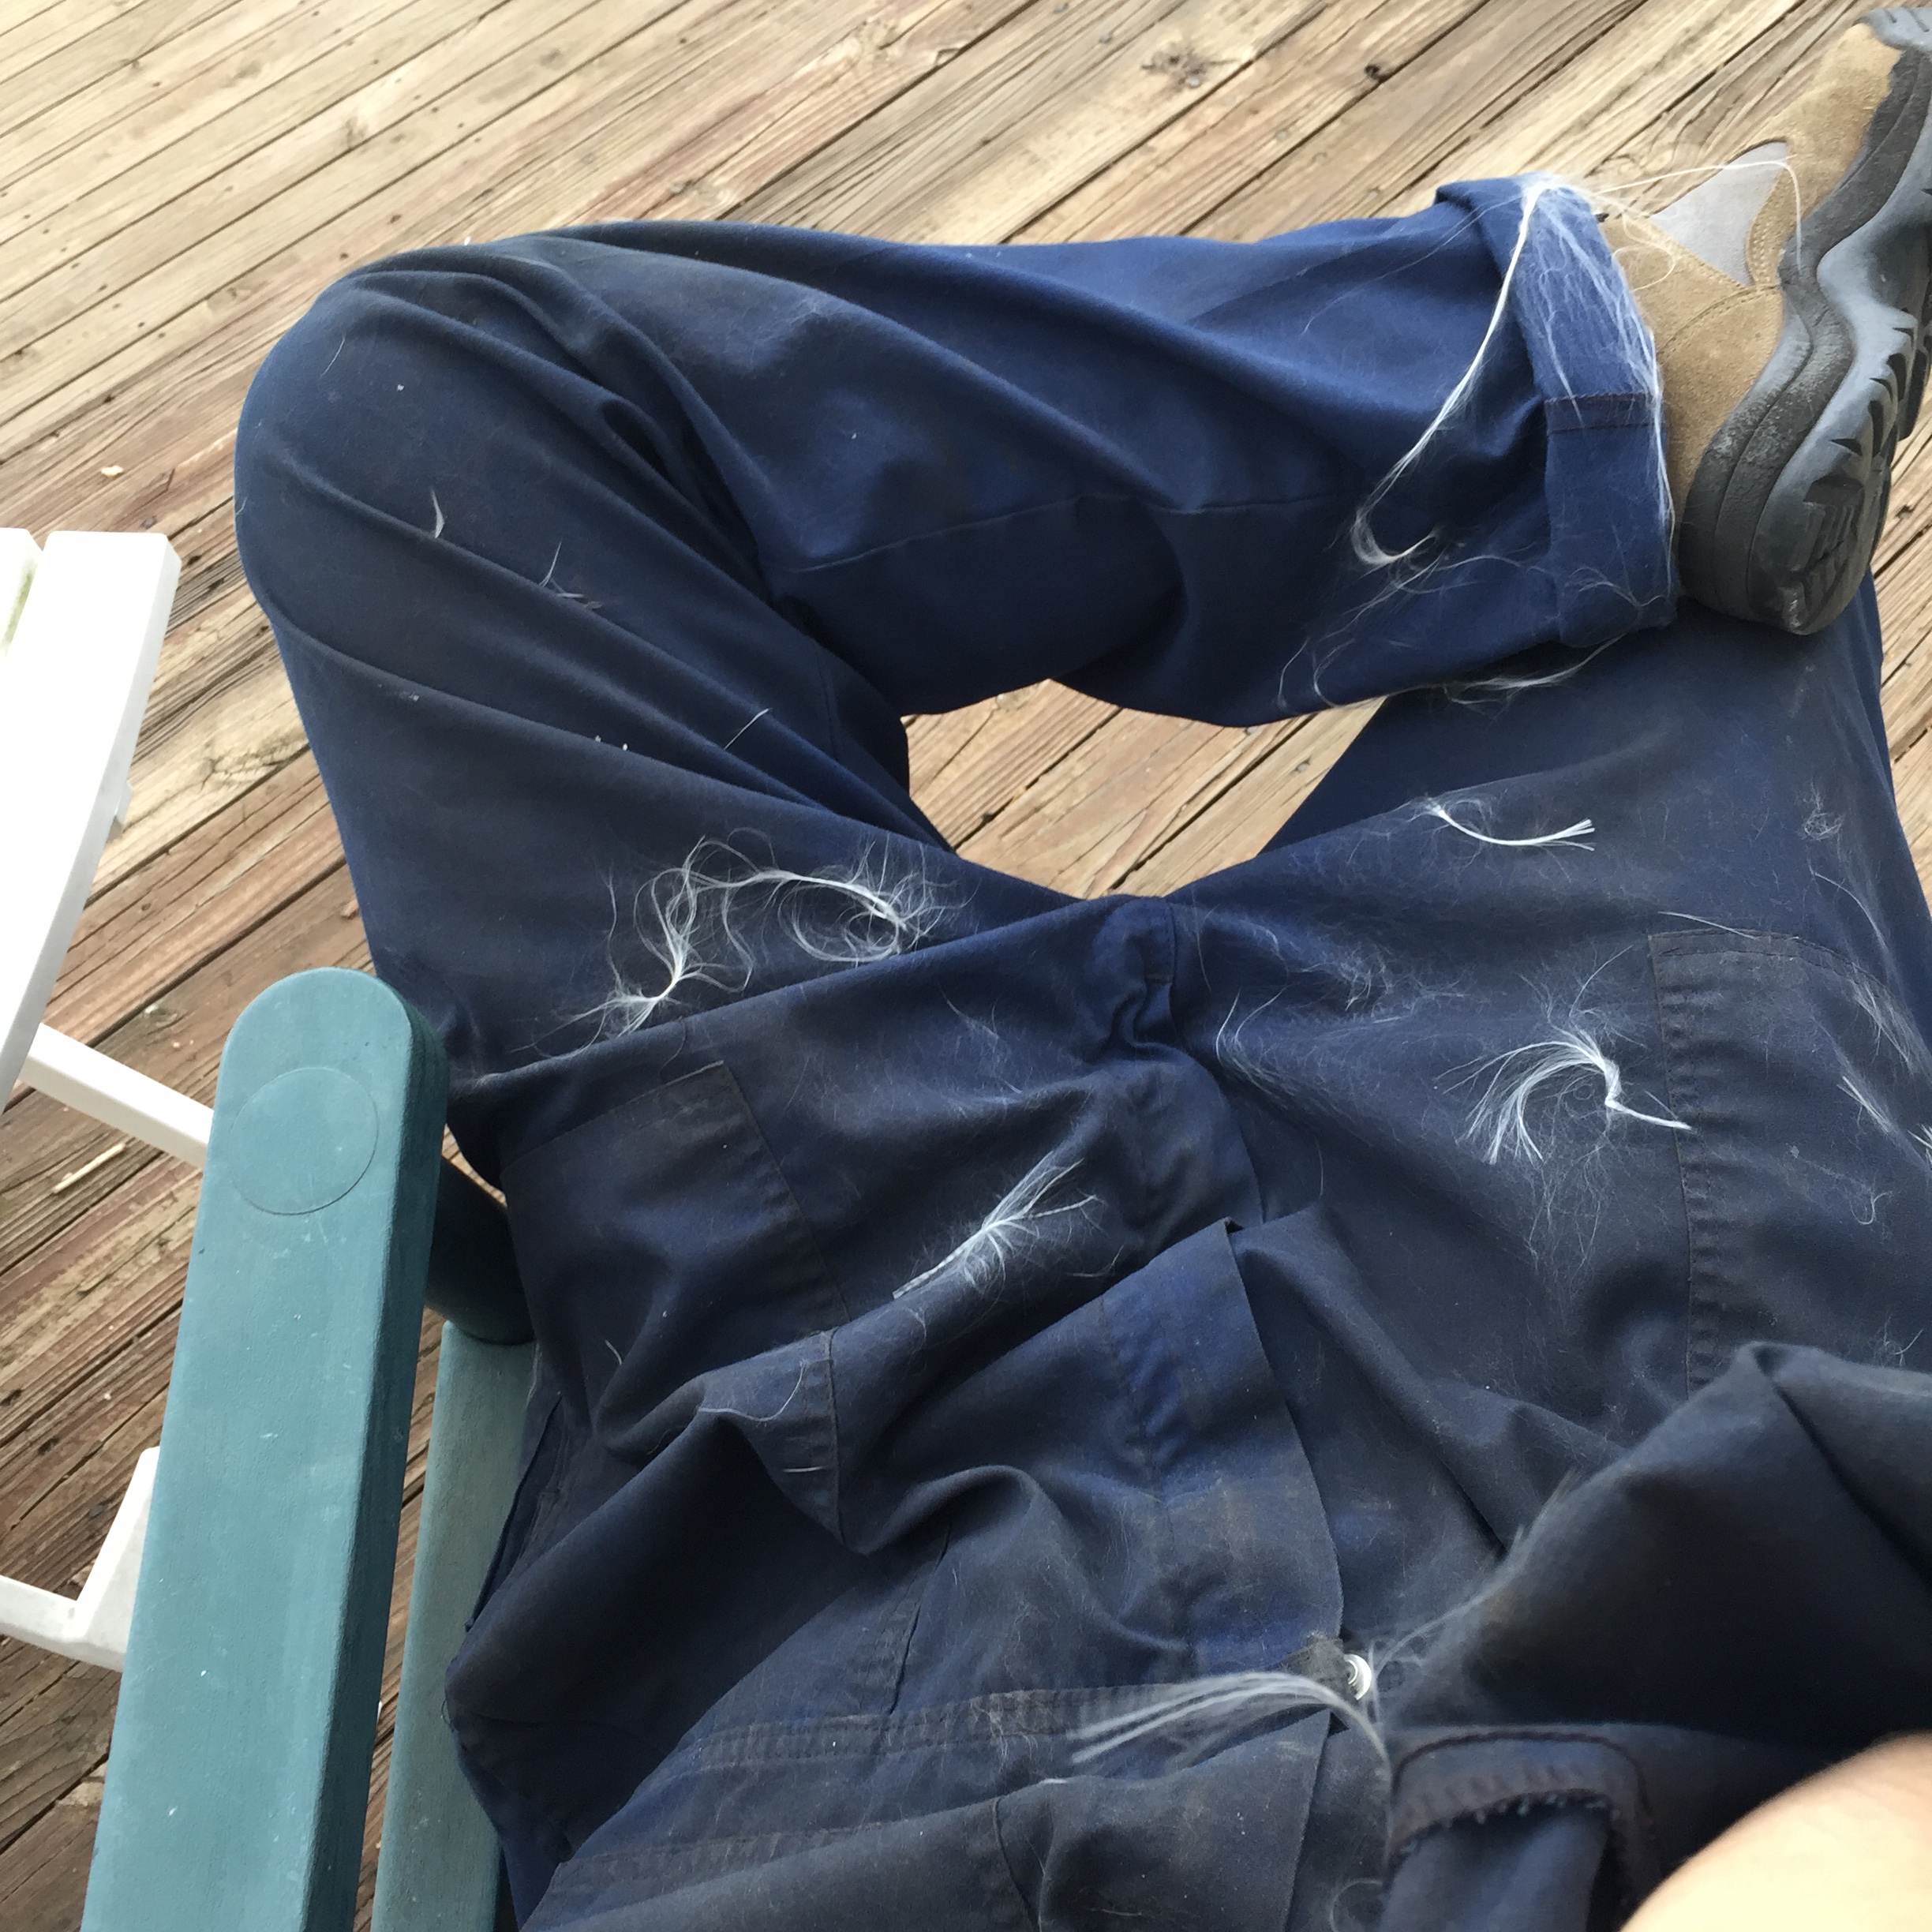
- At the end of each day…tired, covered and happy.

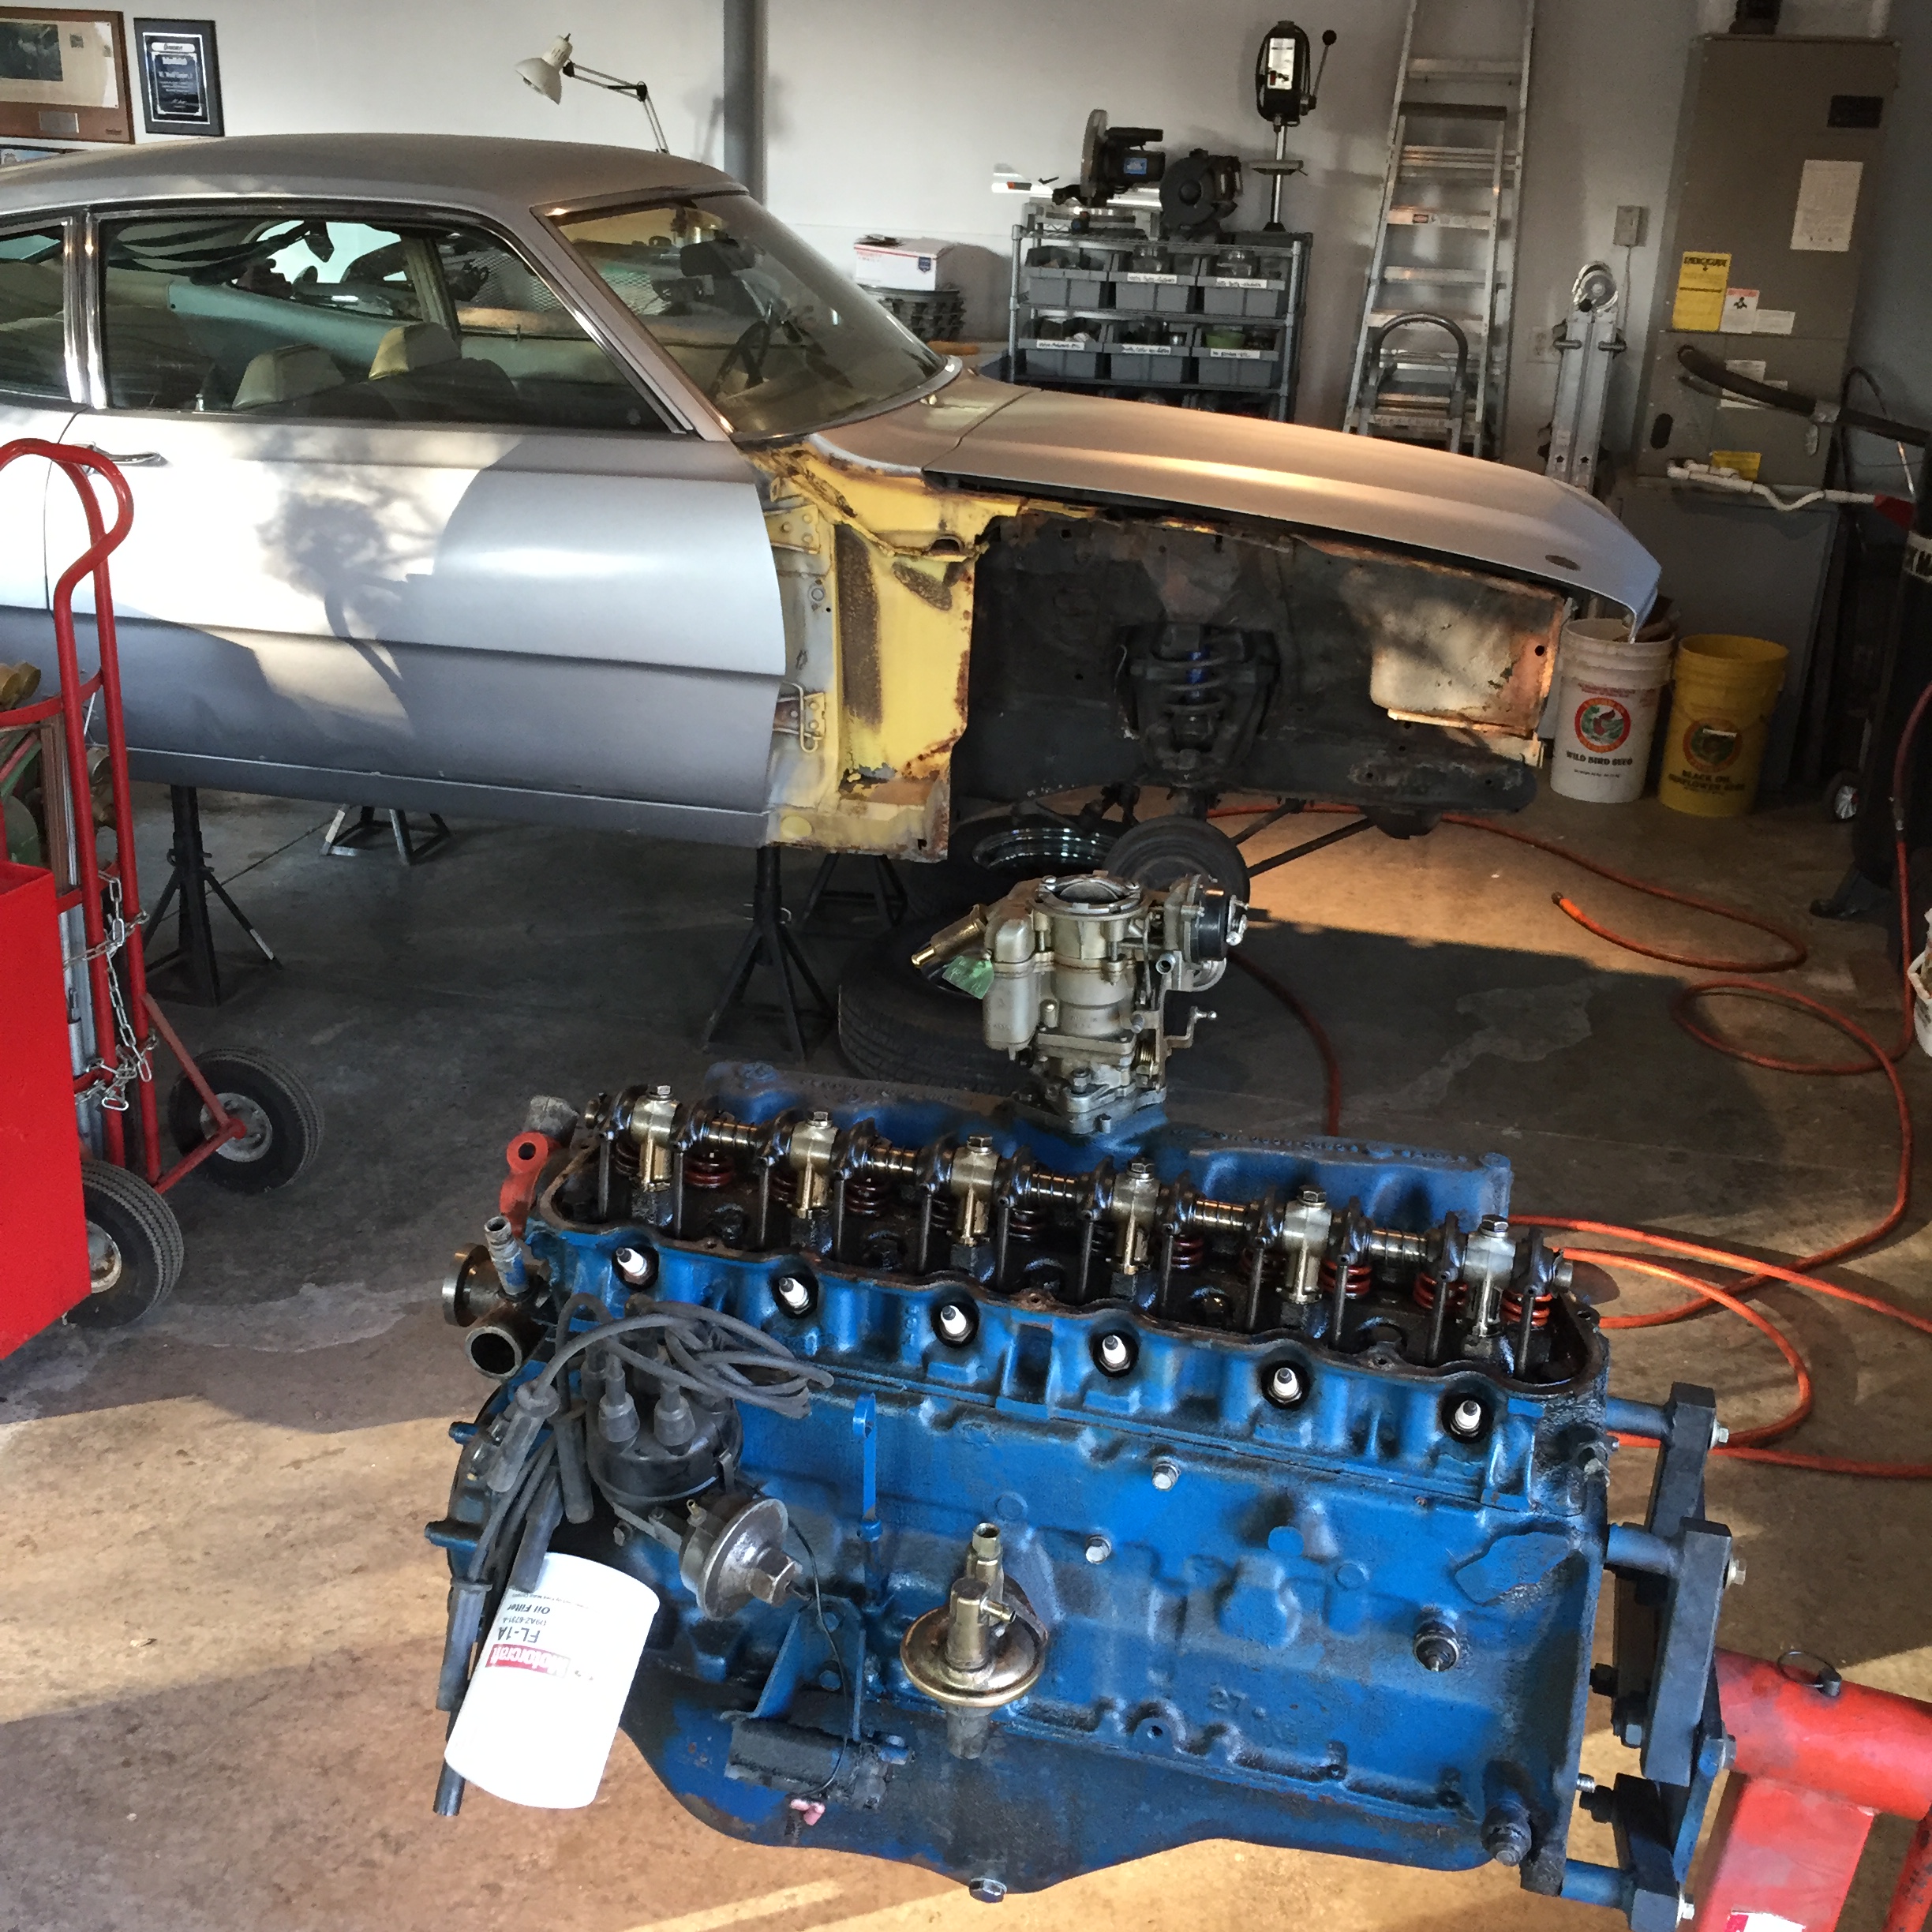
Oct/Nov 2016 Visit
-
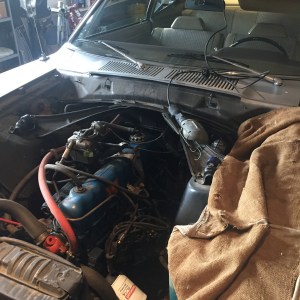
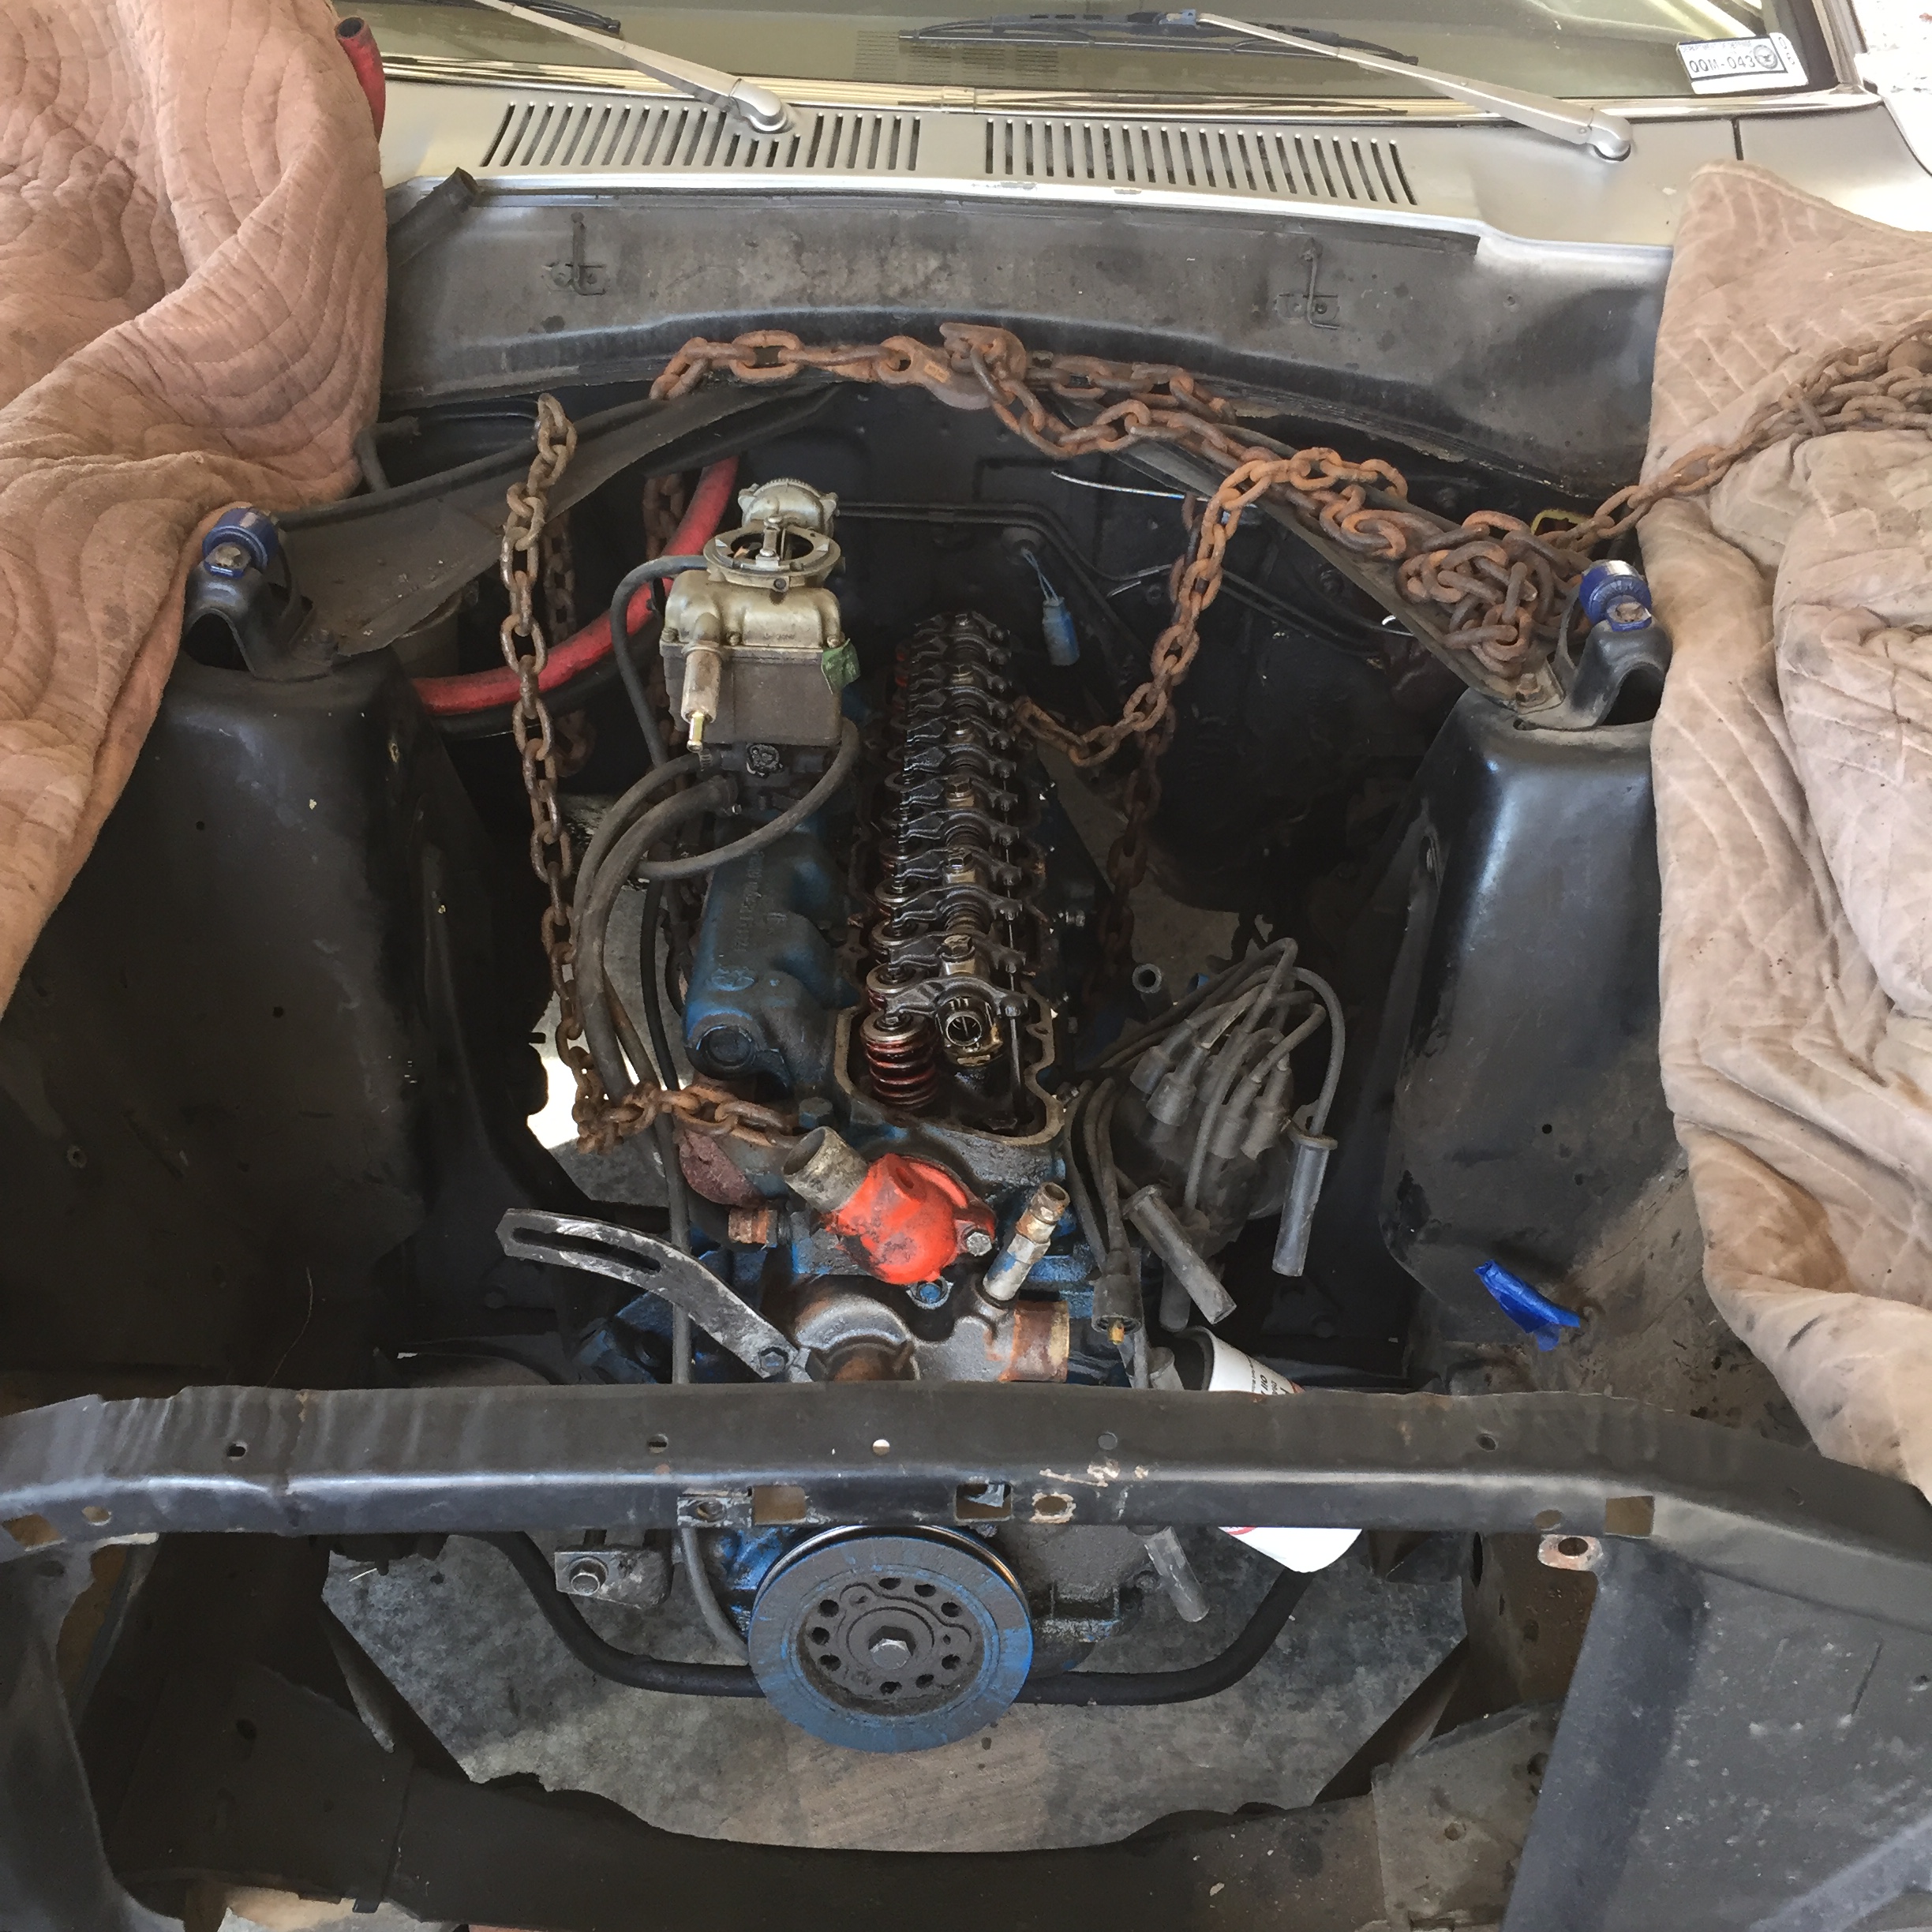
- Hood off and beginning to disconnect all wires and tubes from the engine.

-
- Tagging EVERYTHING for easier identification when we put this baby back together (could be years).

-
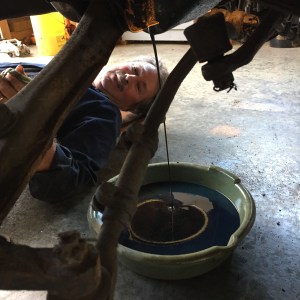
- Draining trans fluid, NOT THE OIL POP!

-

- Chained up and ready.
-

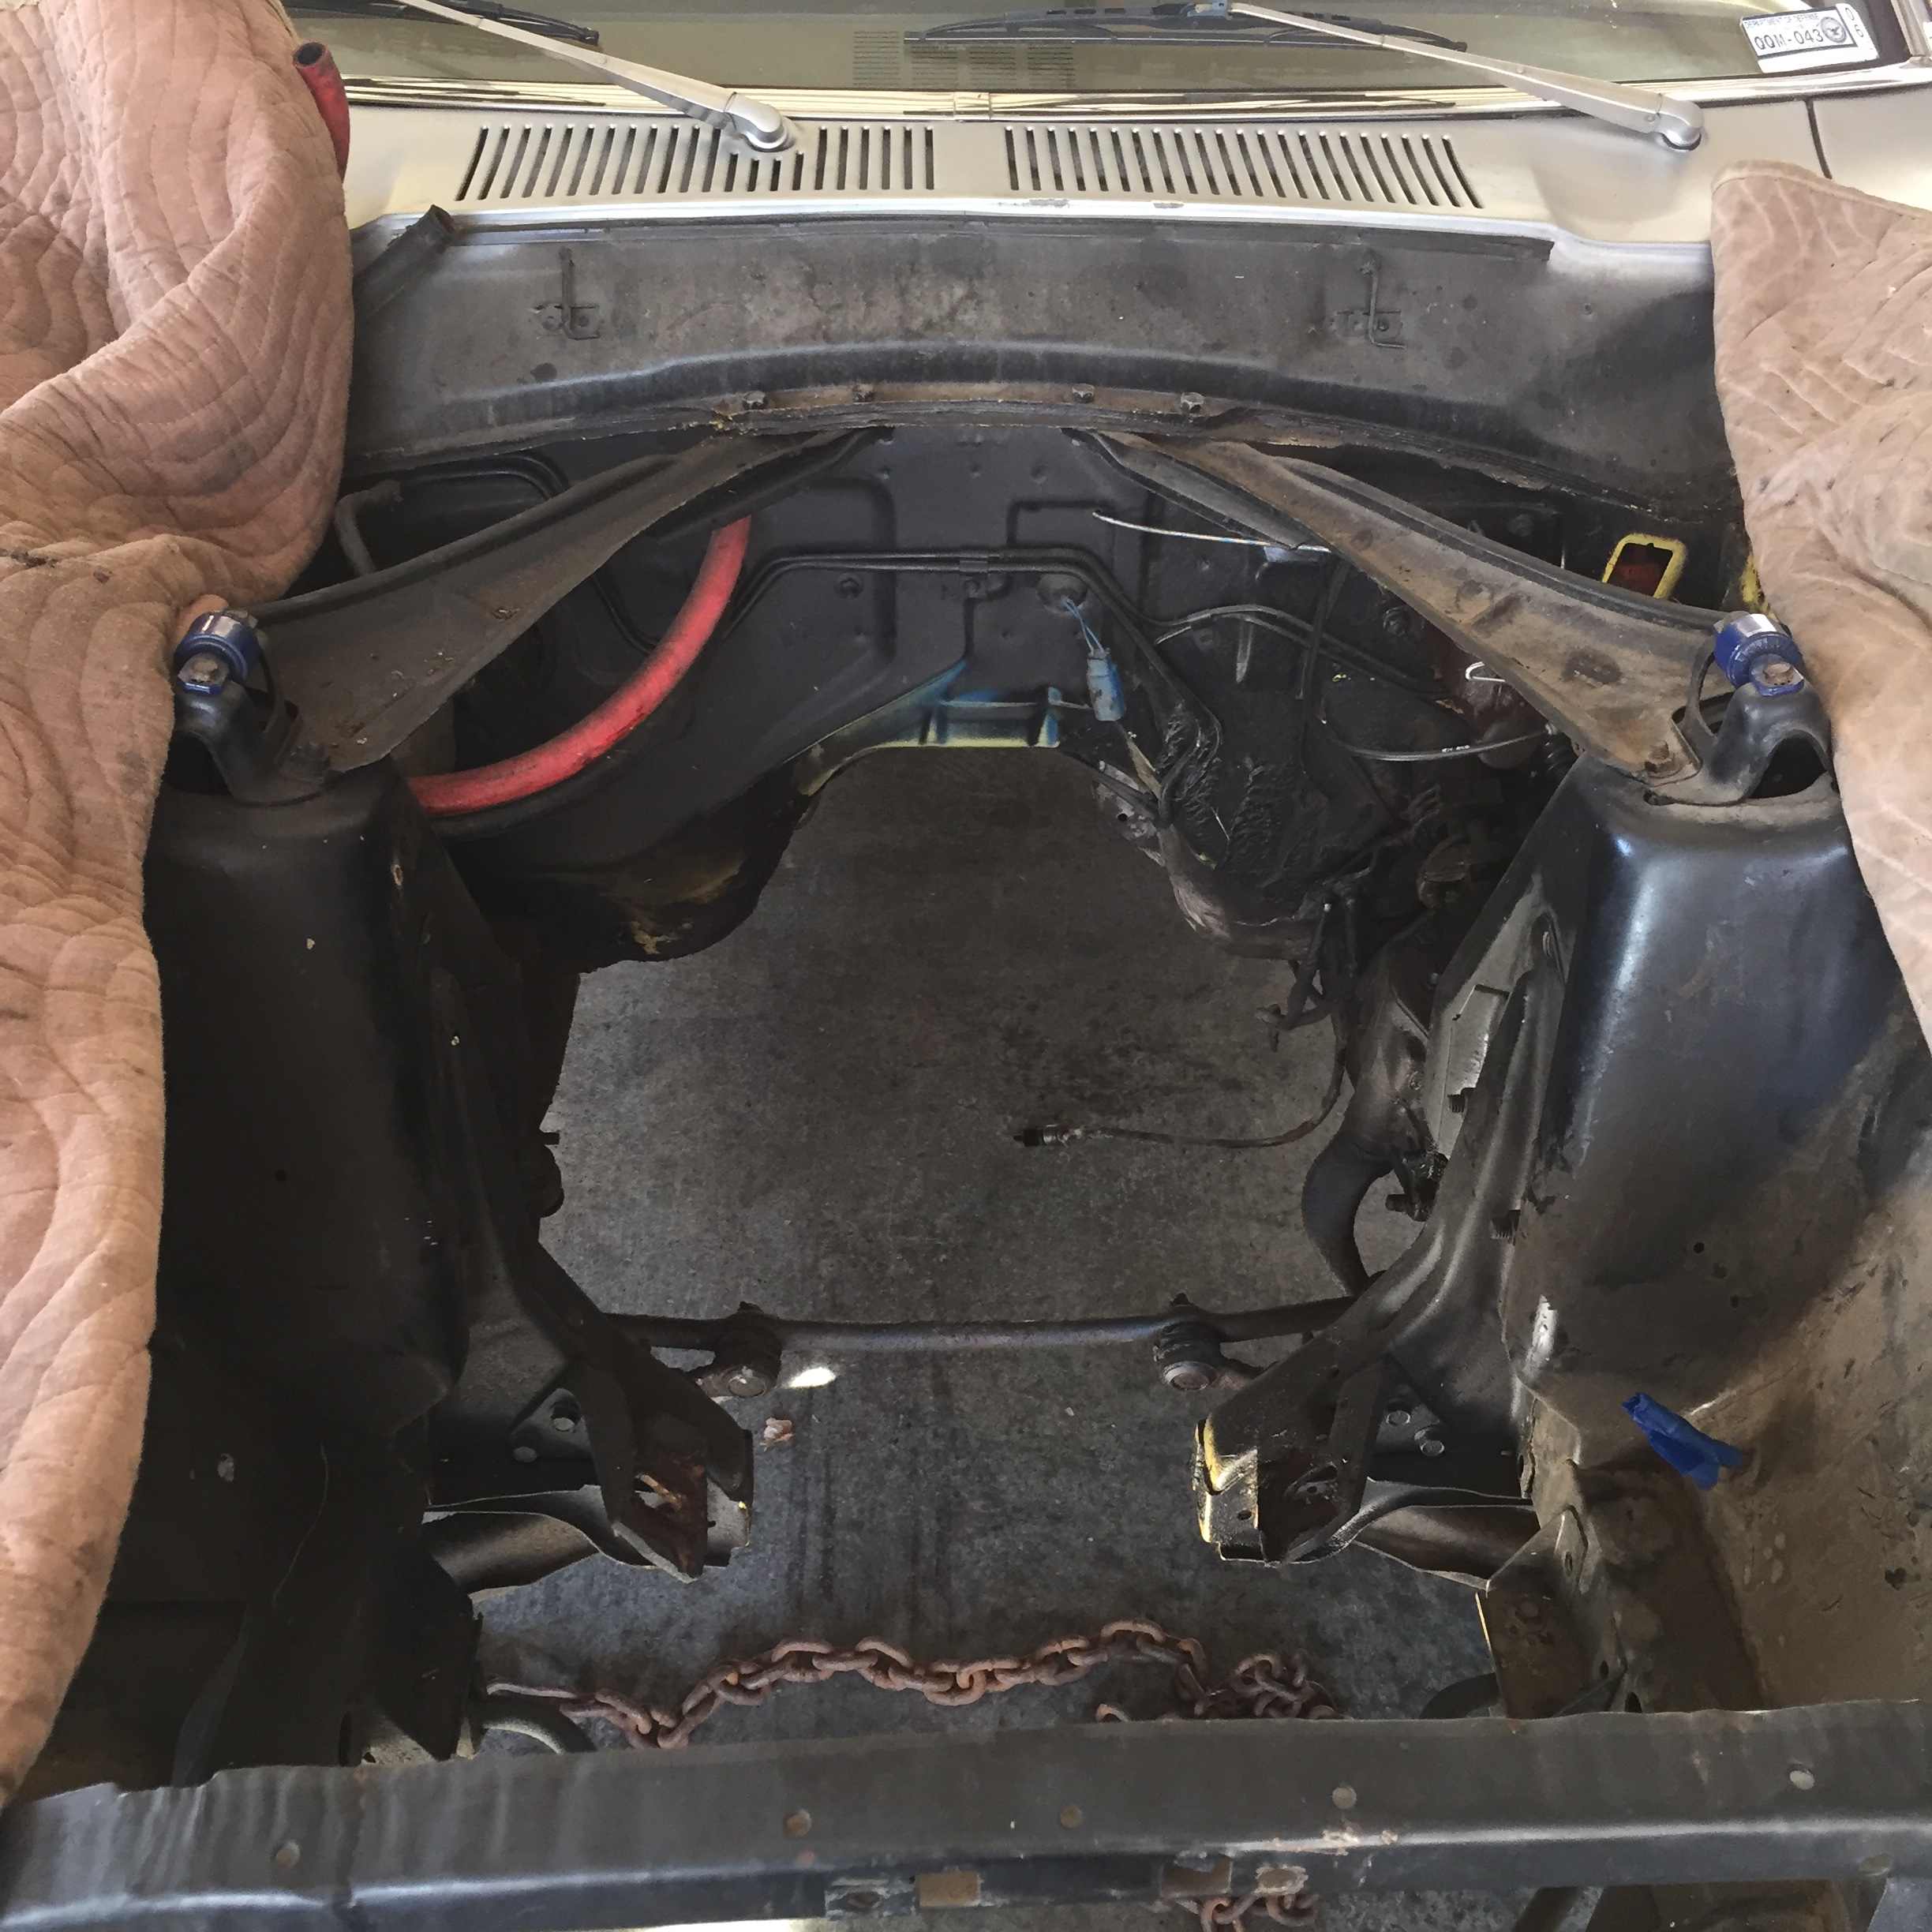
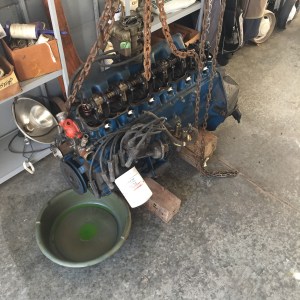
- Engine out.
-
- Draining what we thought was the last of the coolant, the engine continues to drip almost a year later.

-

- Got the engine up and on the stand.
-

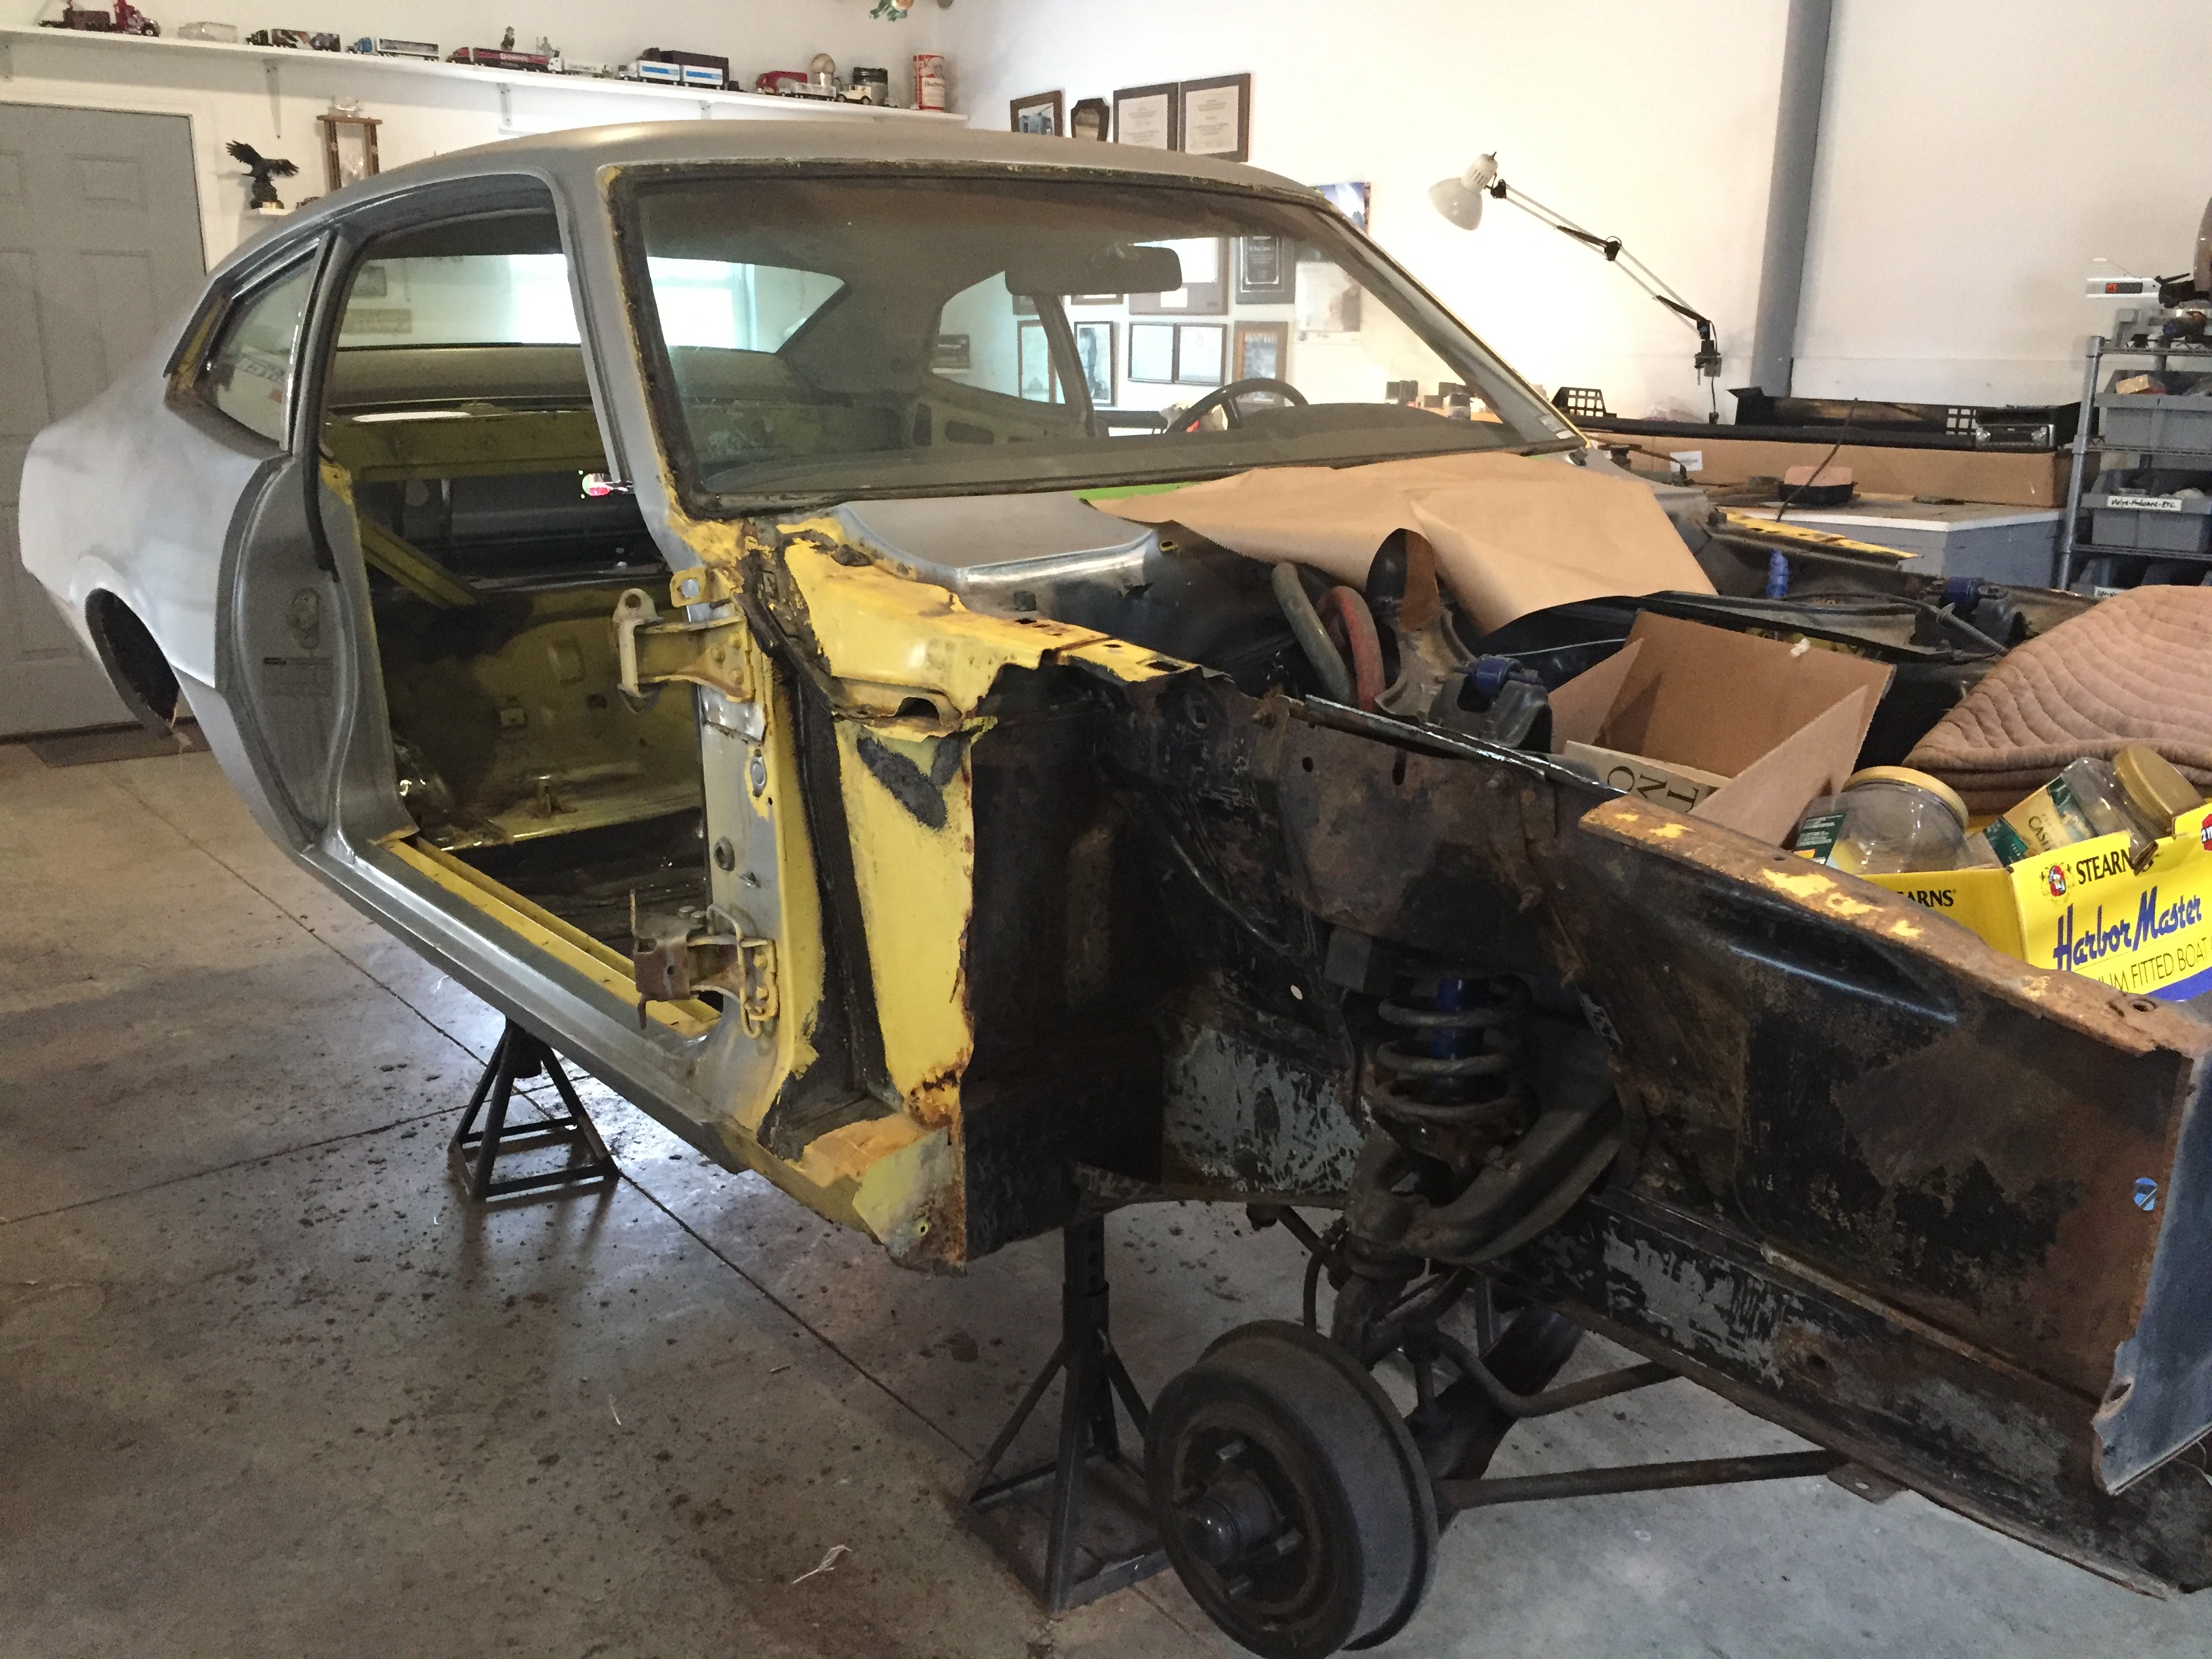
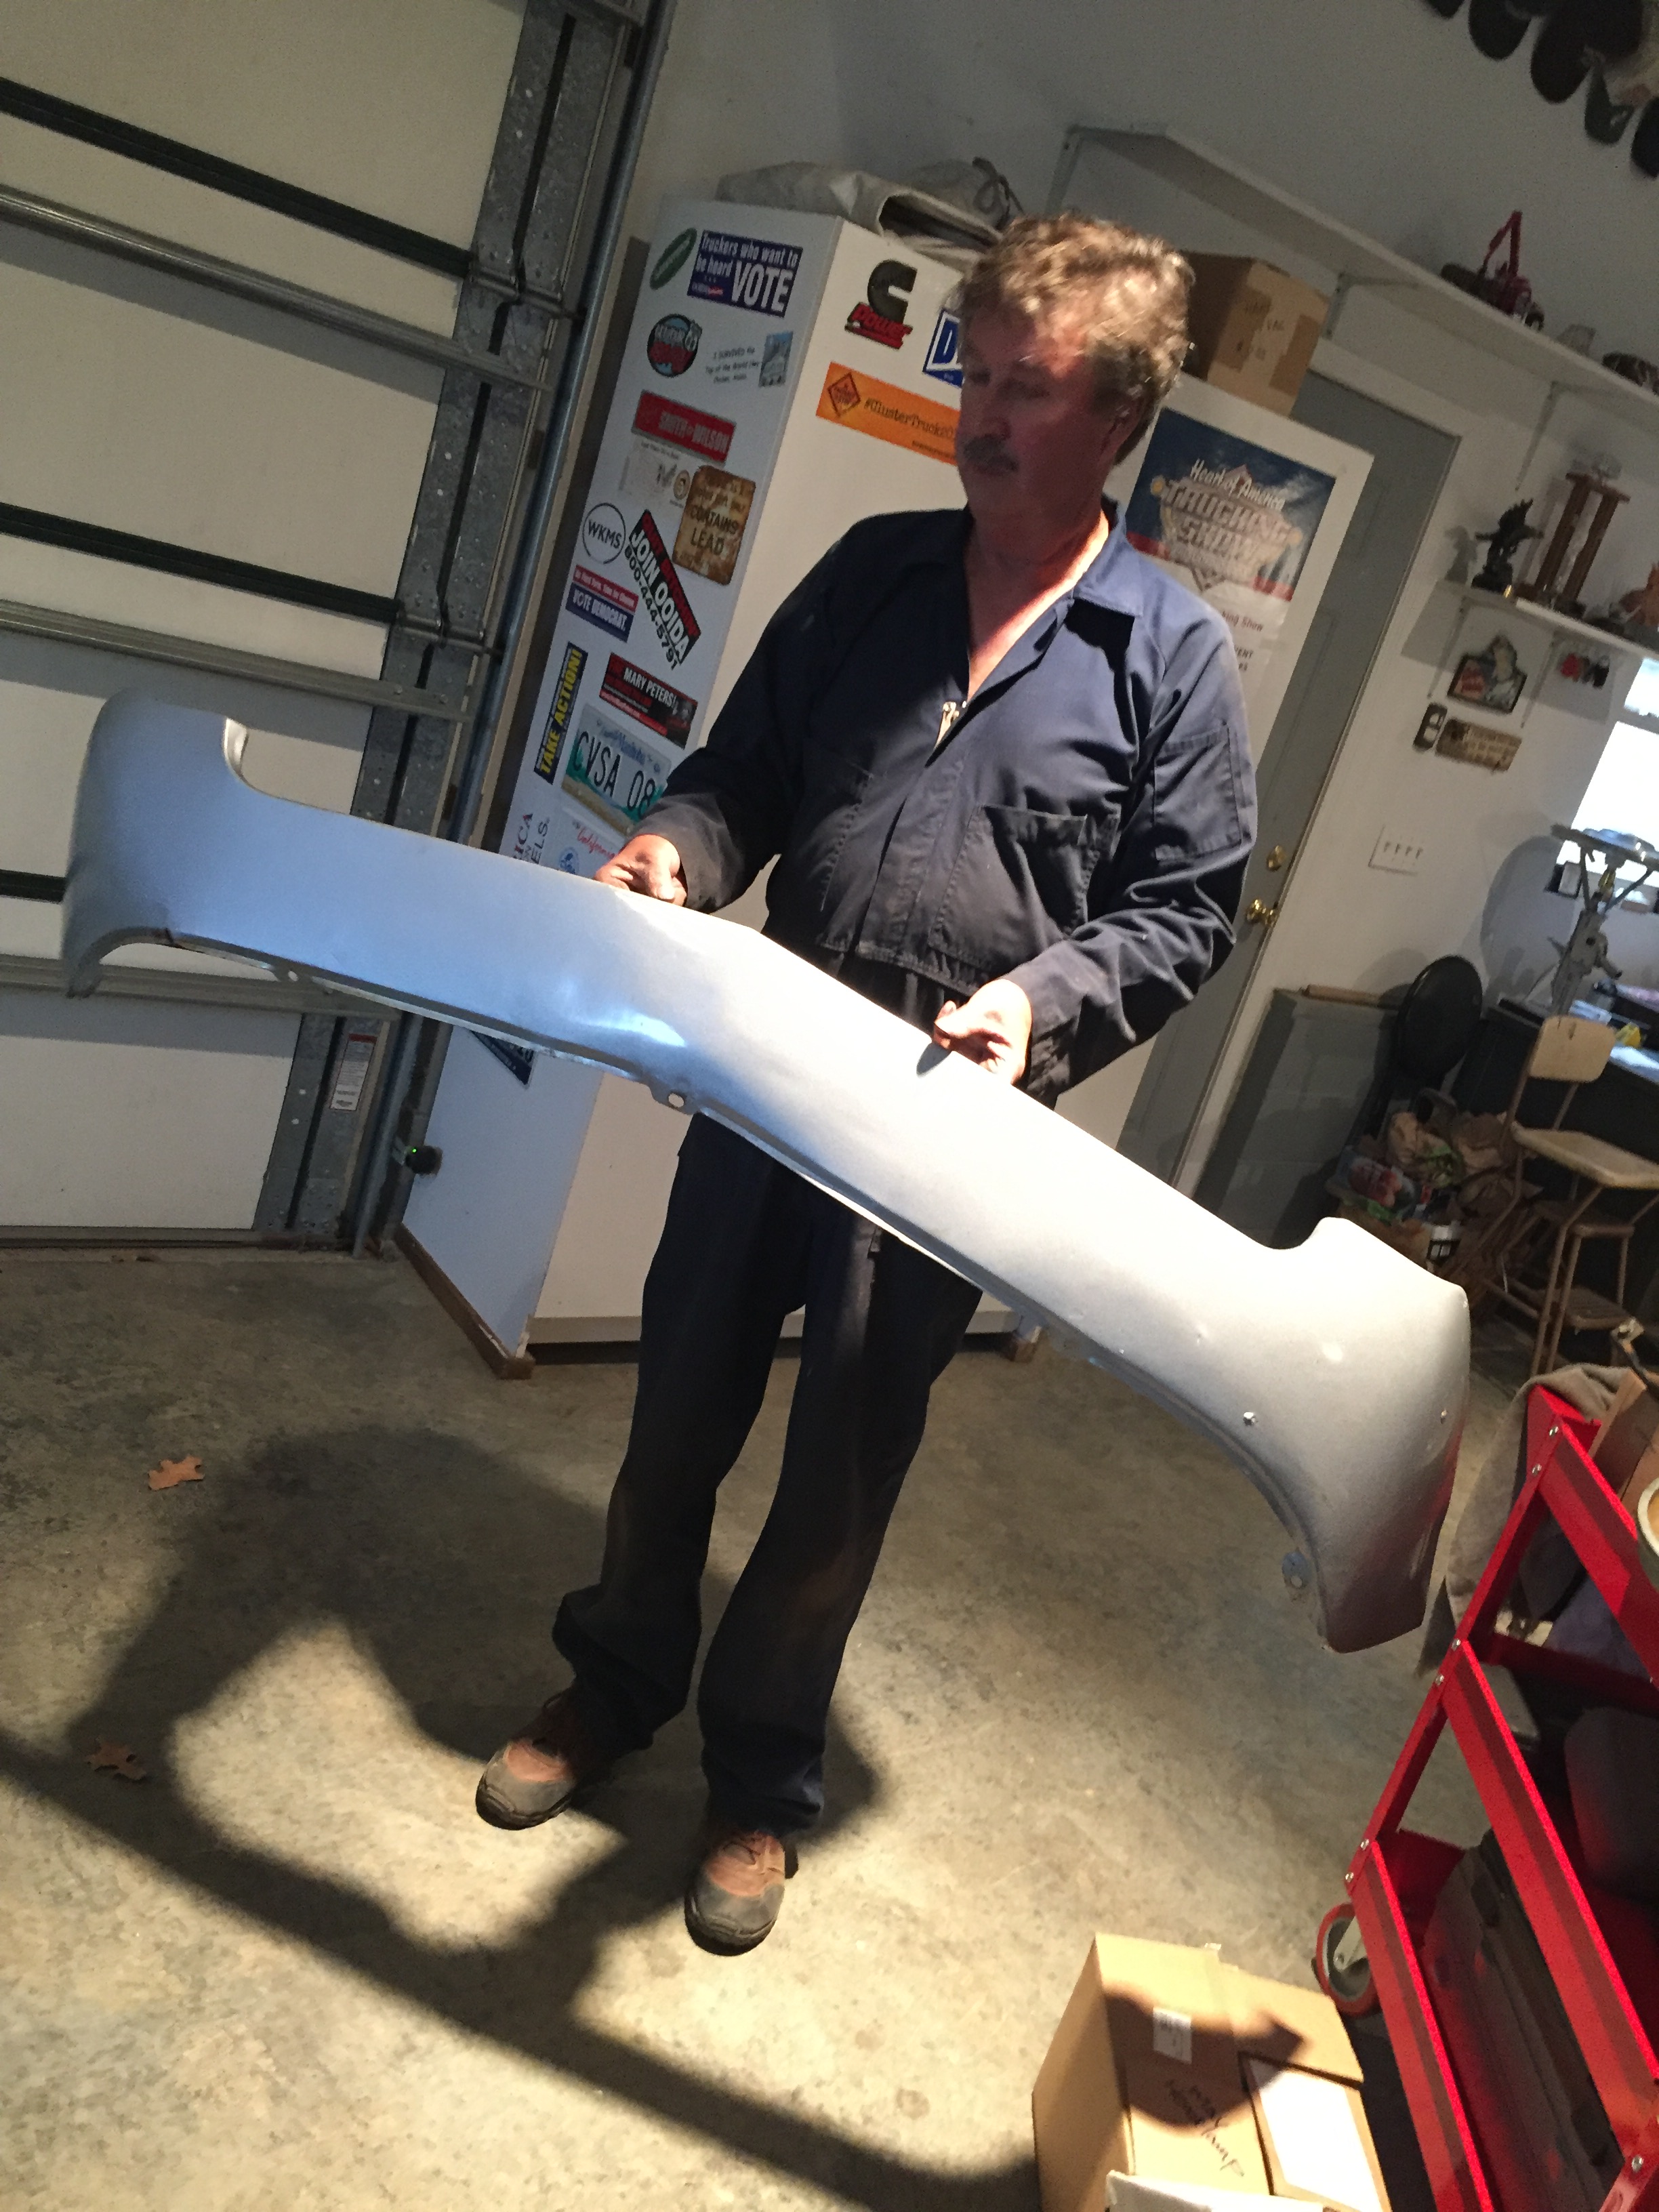
- We removed all of the removable body parts, fenders…
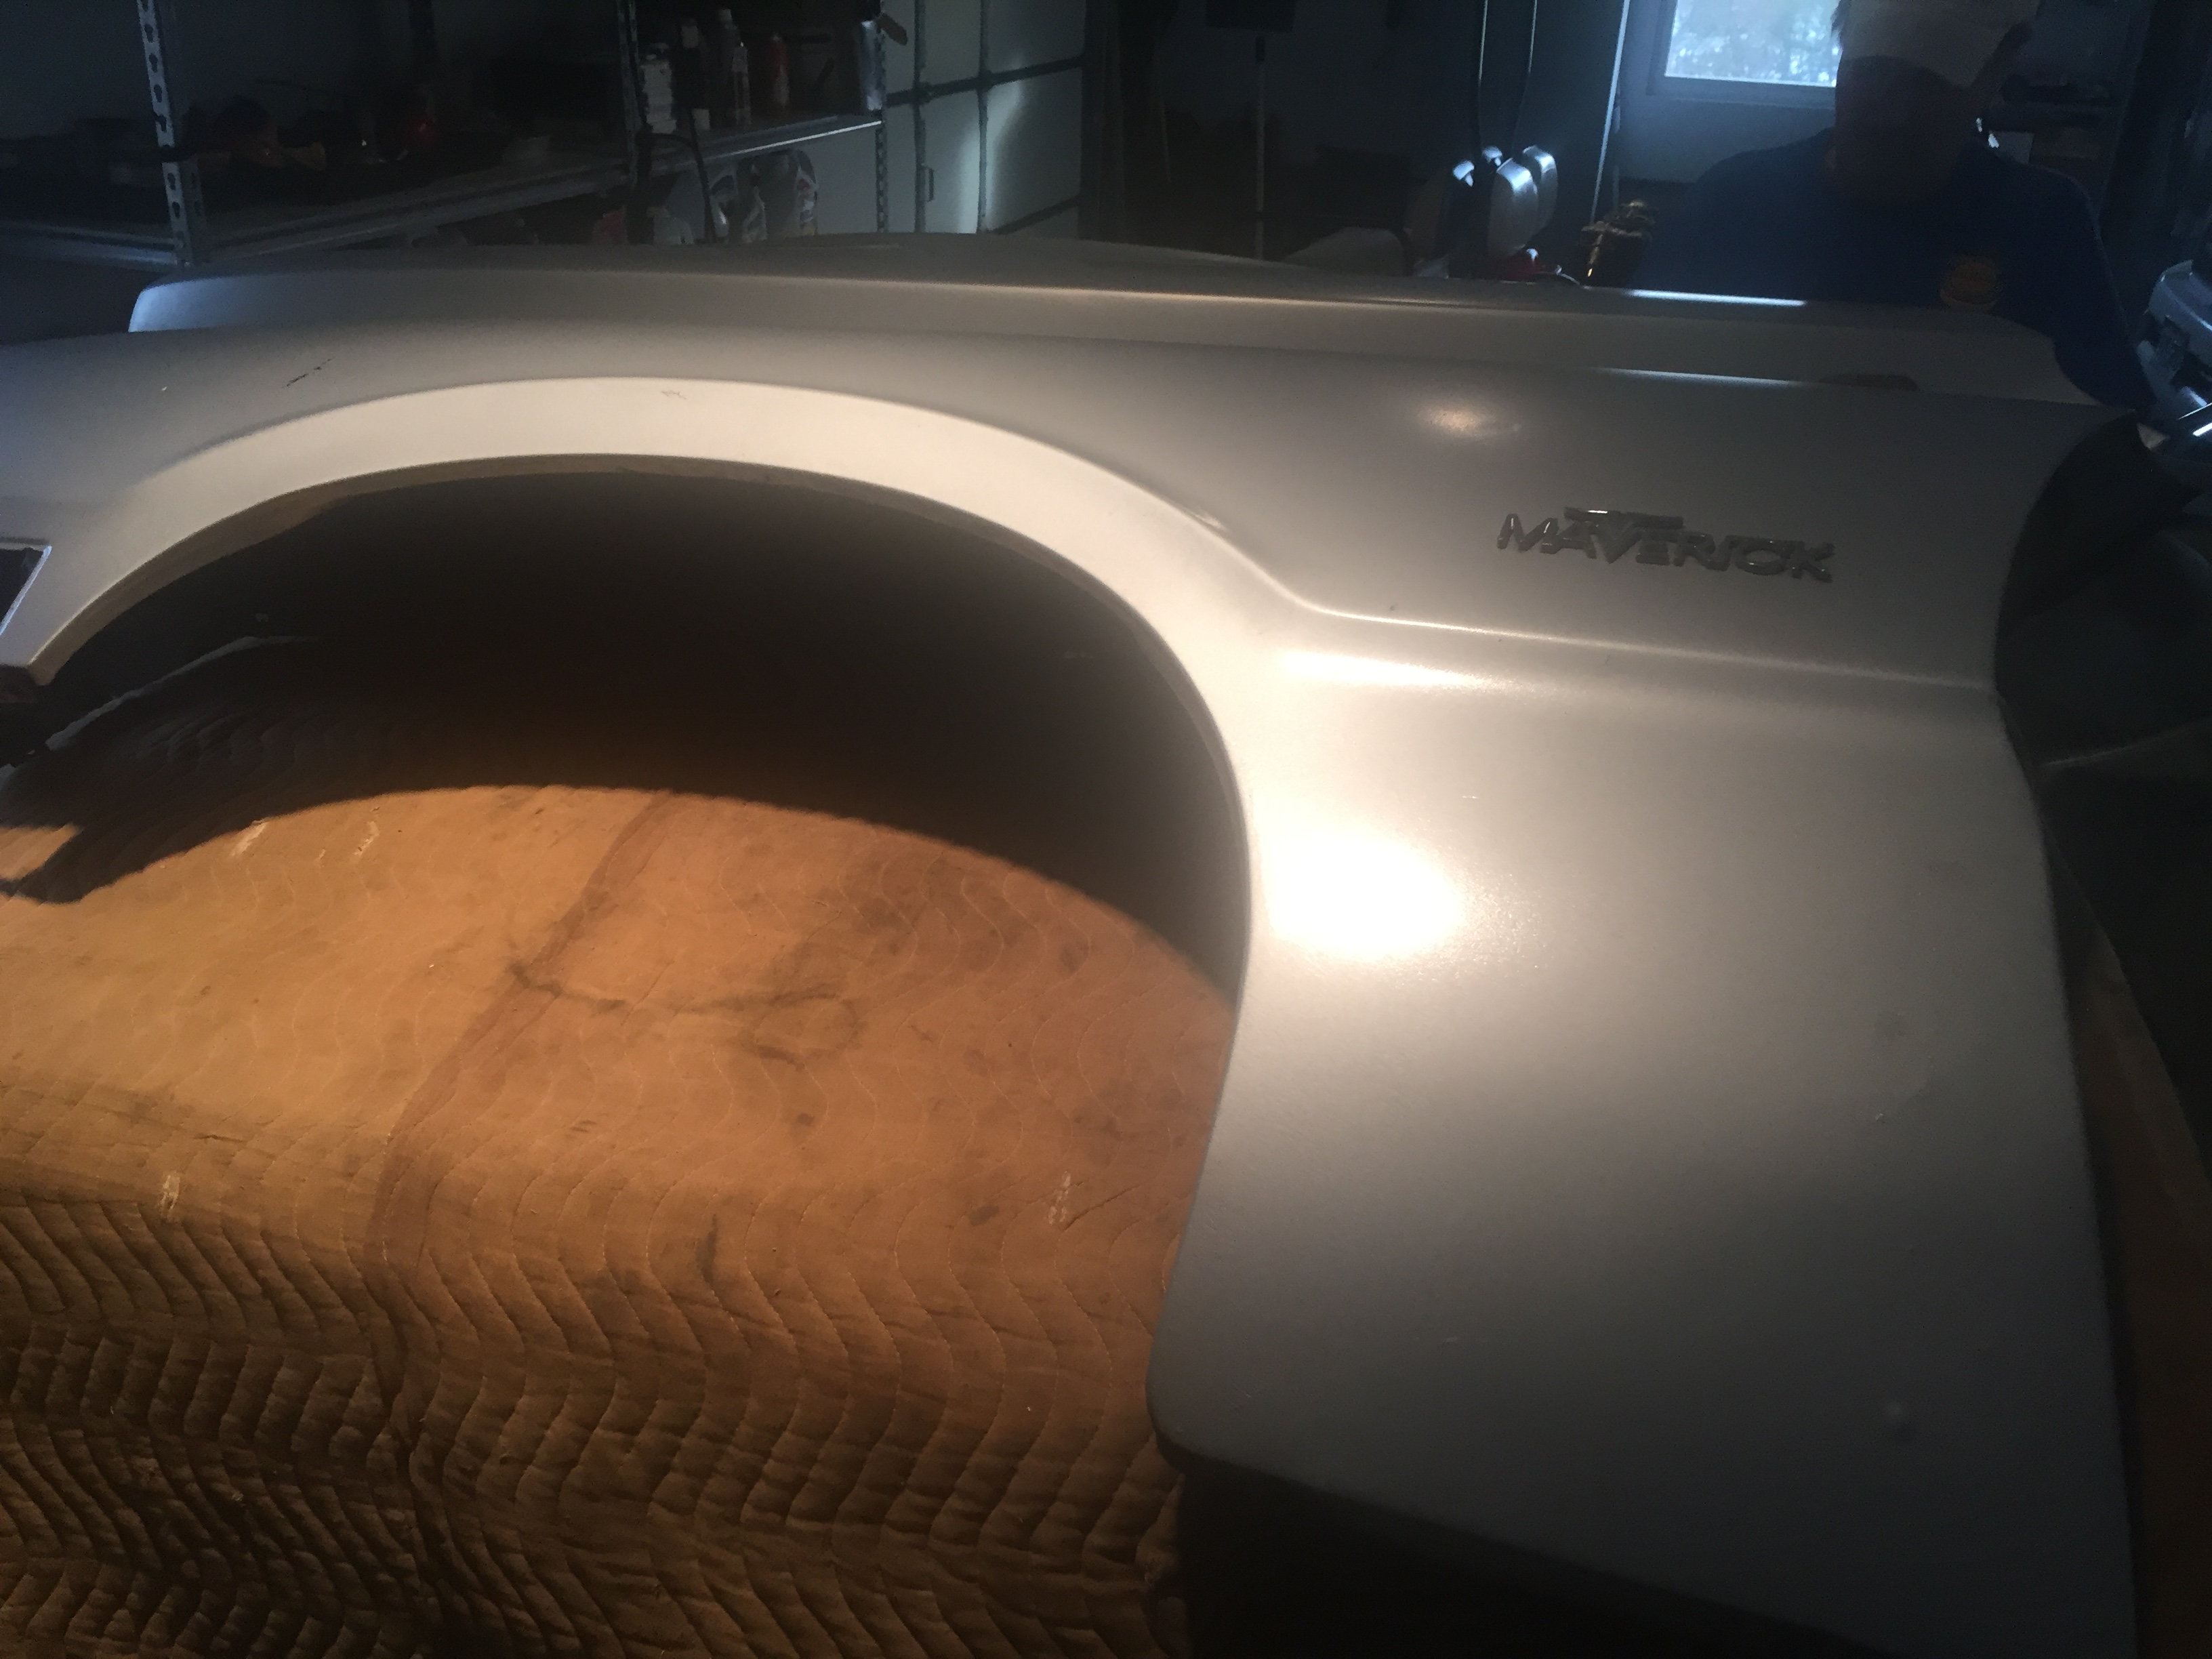
-

- and what ever this is called. 🙂
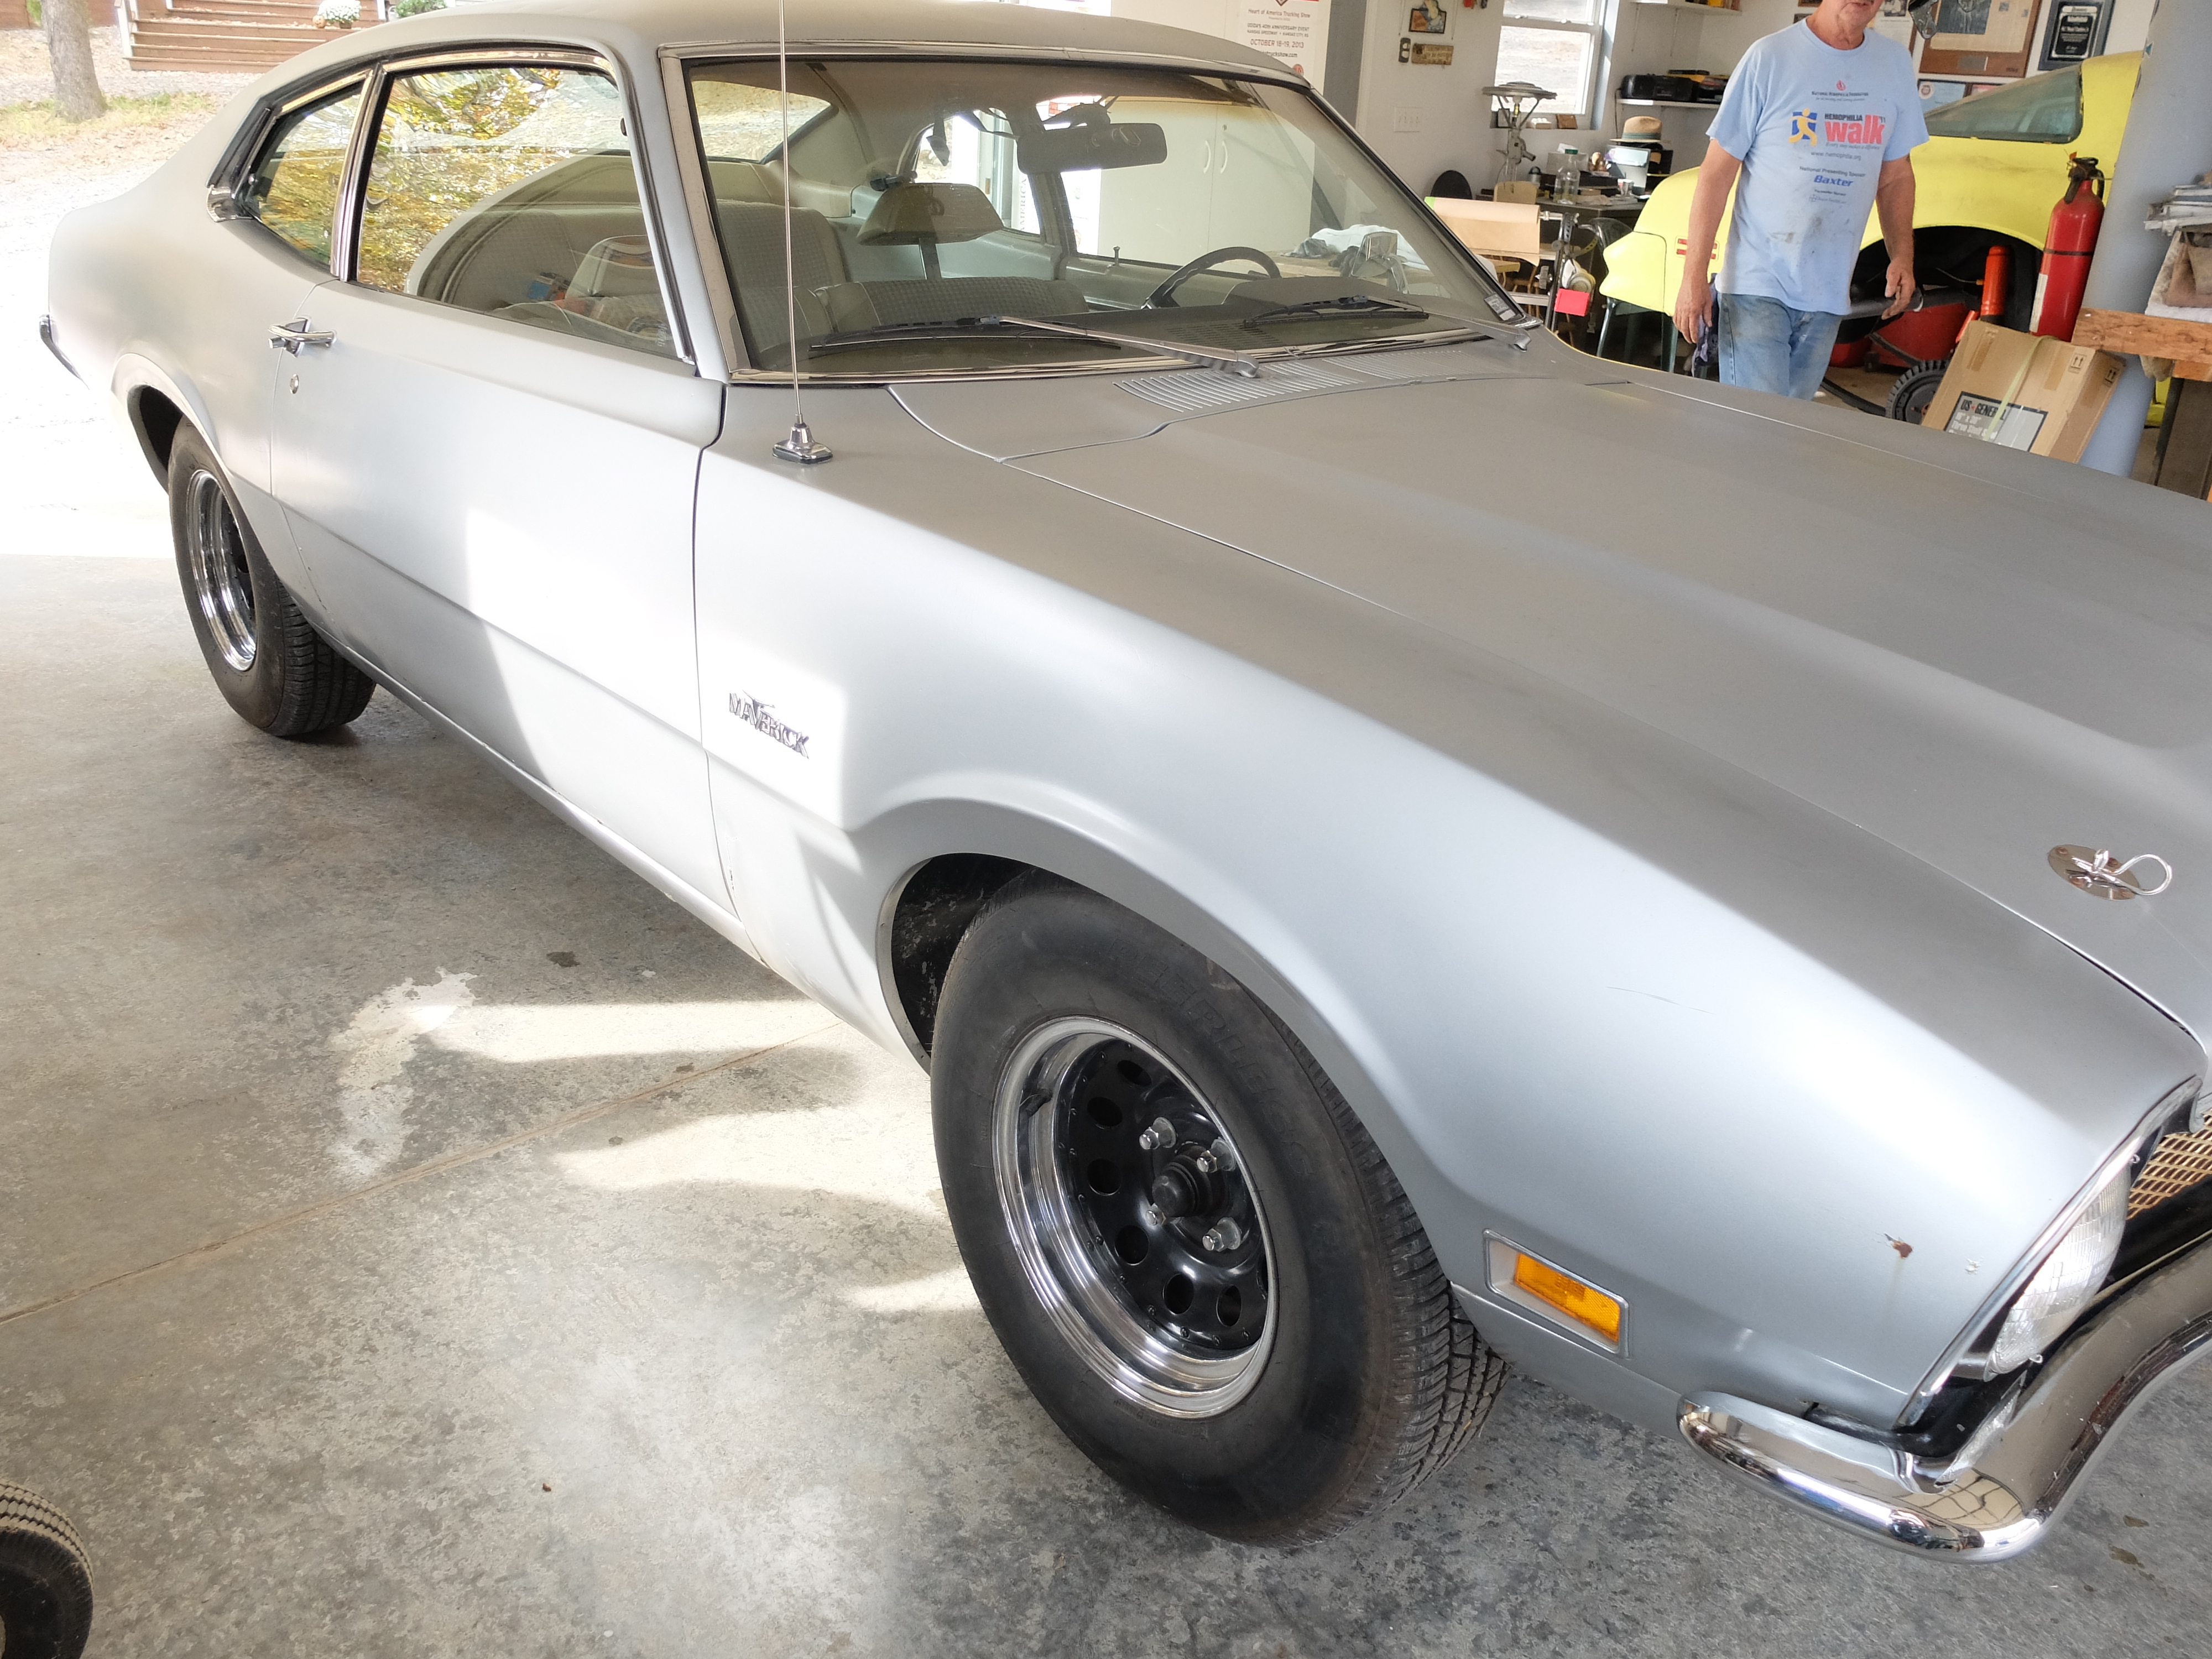
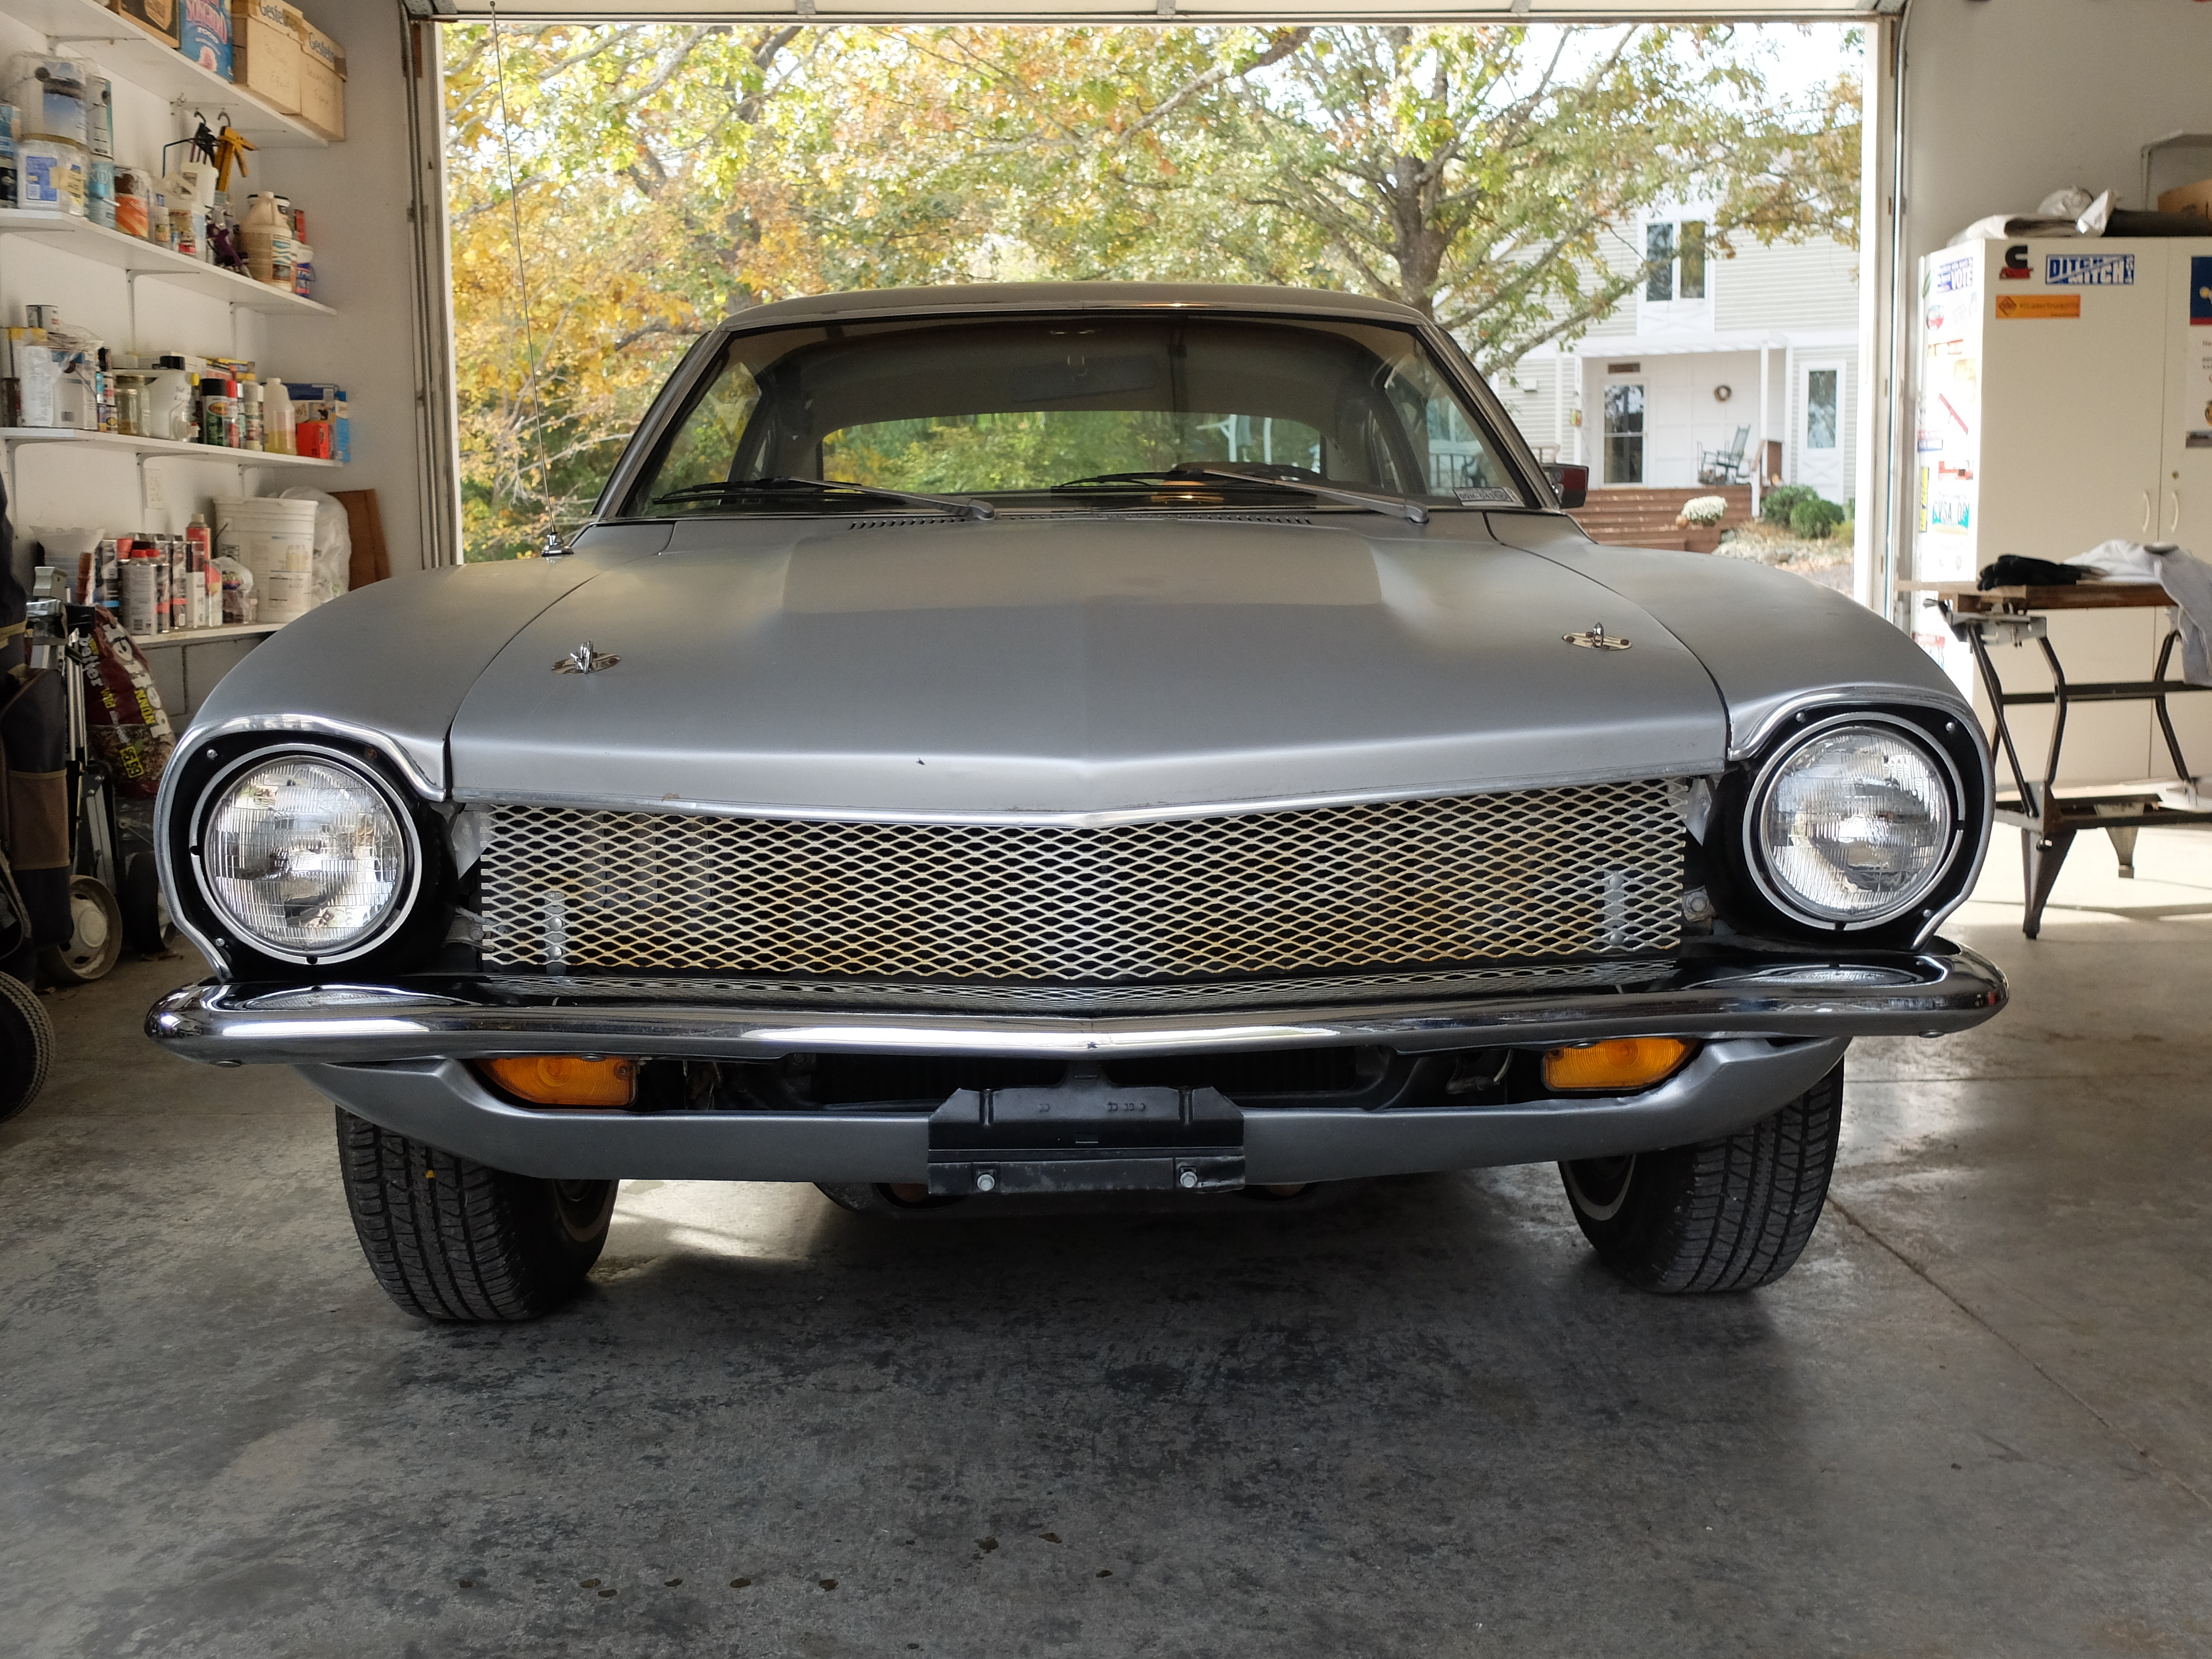
Initial shots before any work done – Oct/Nov 2016 visit
-

- Isn’t she pretty?

-

- Love that Mavis has the skinnier front bumper. They started putting the fatter ones on later.
-
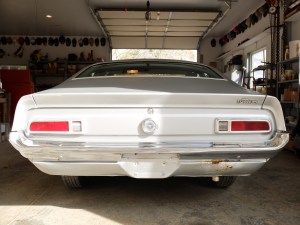
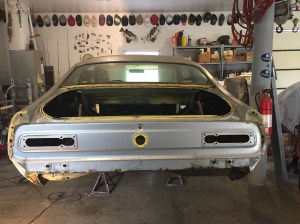
- Nice back end!

-

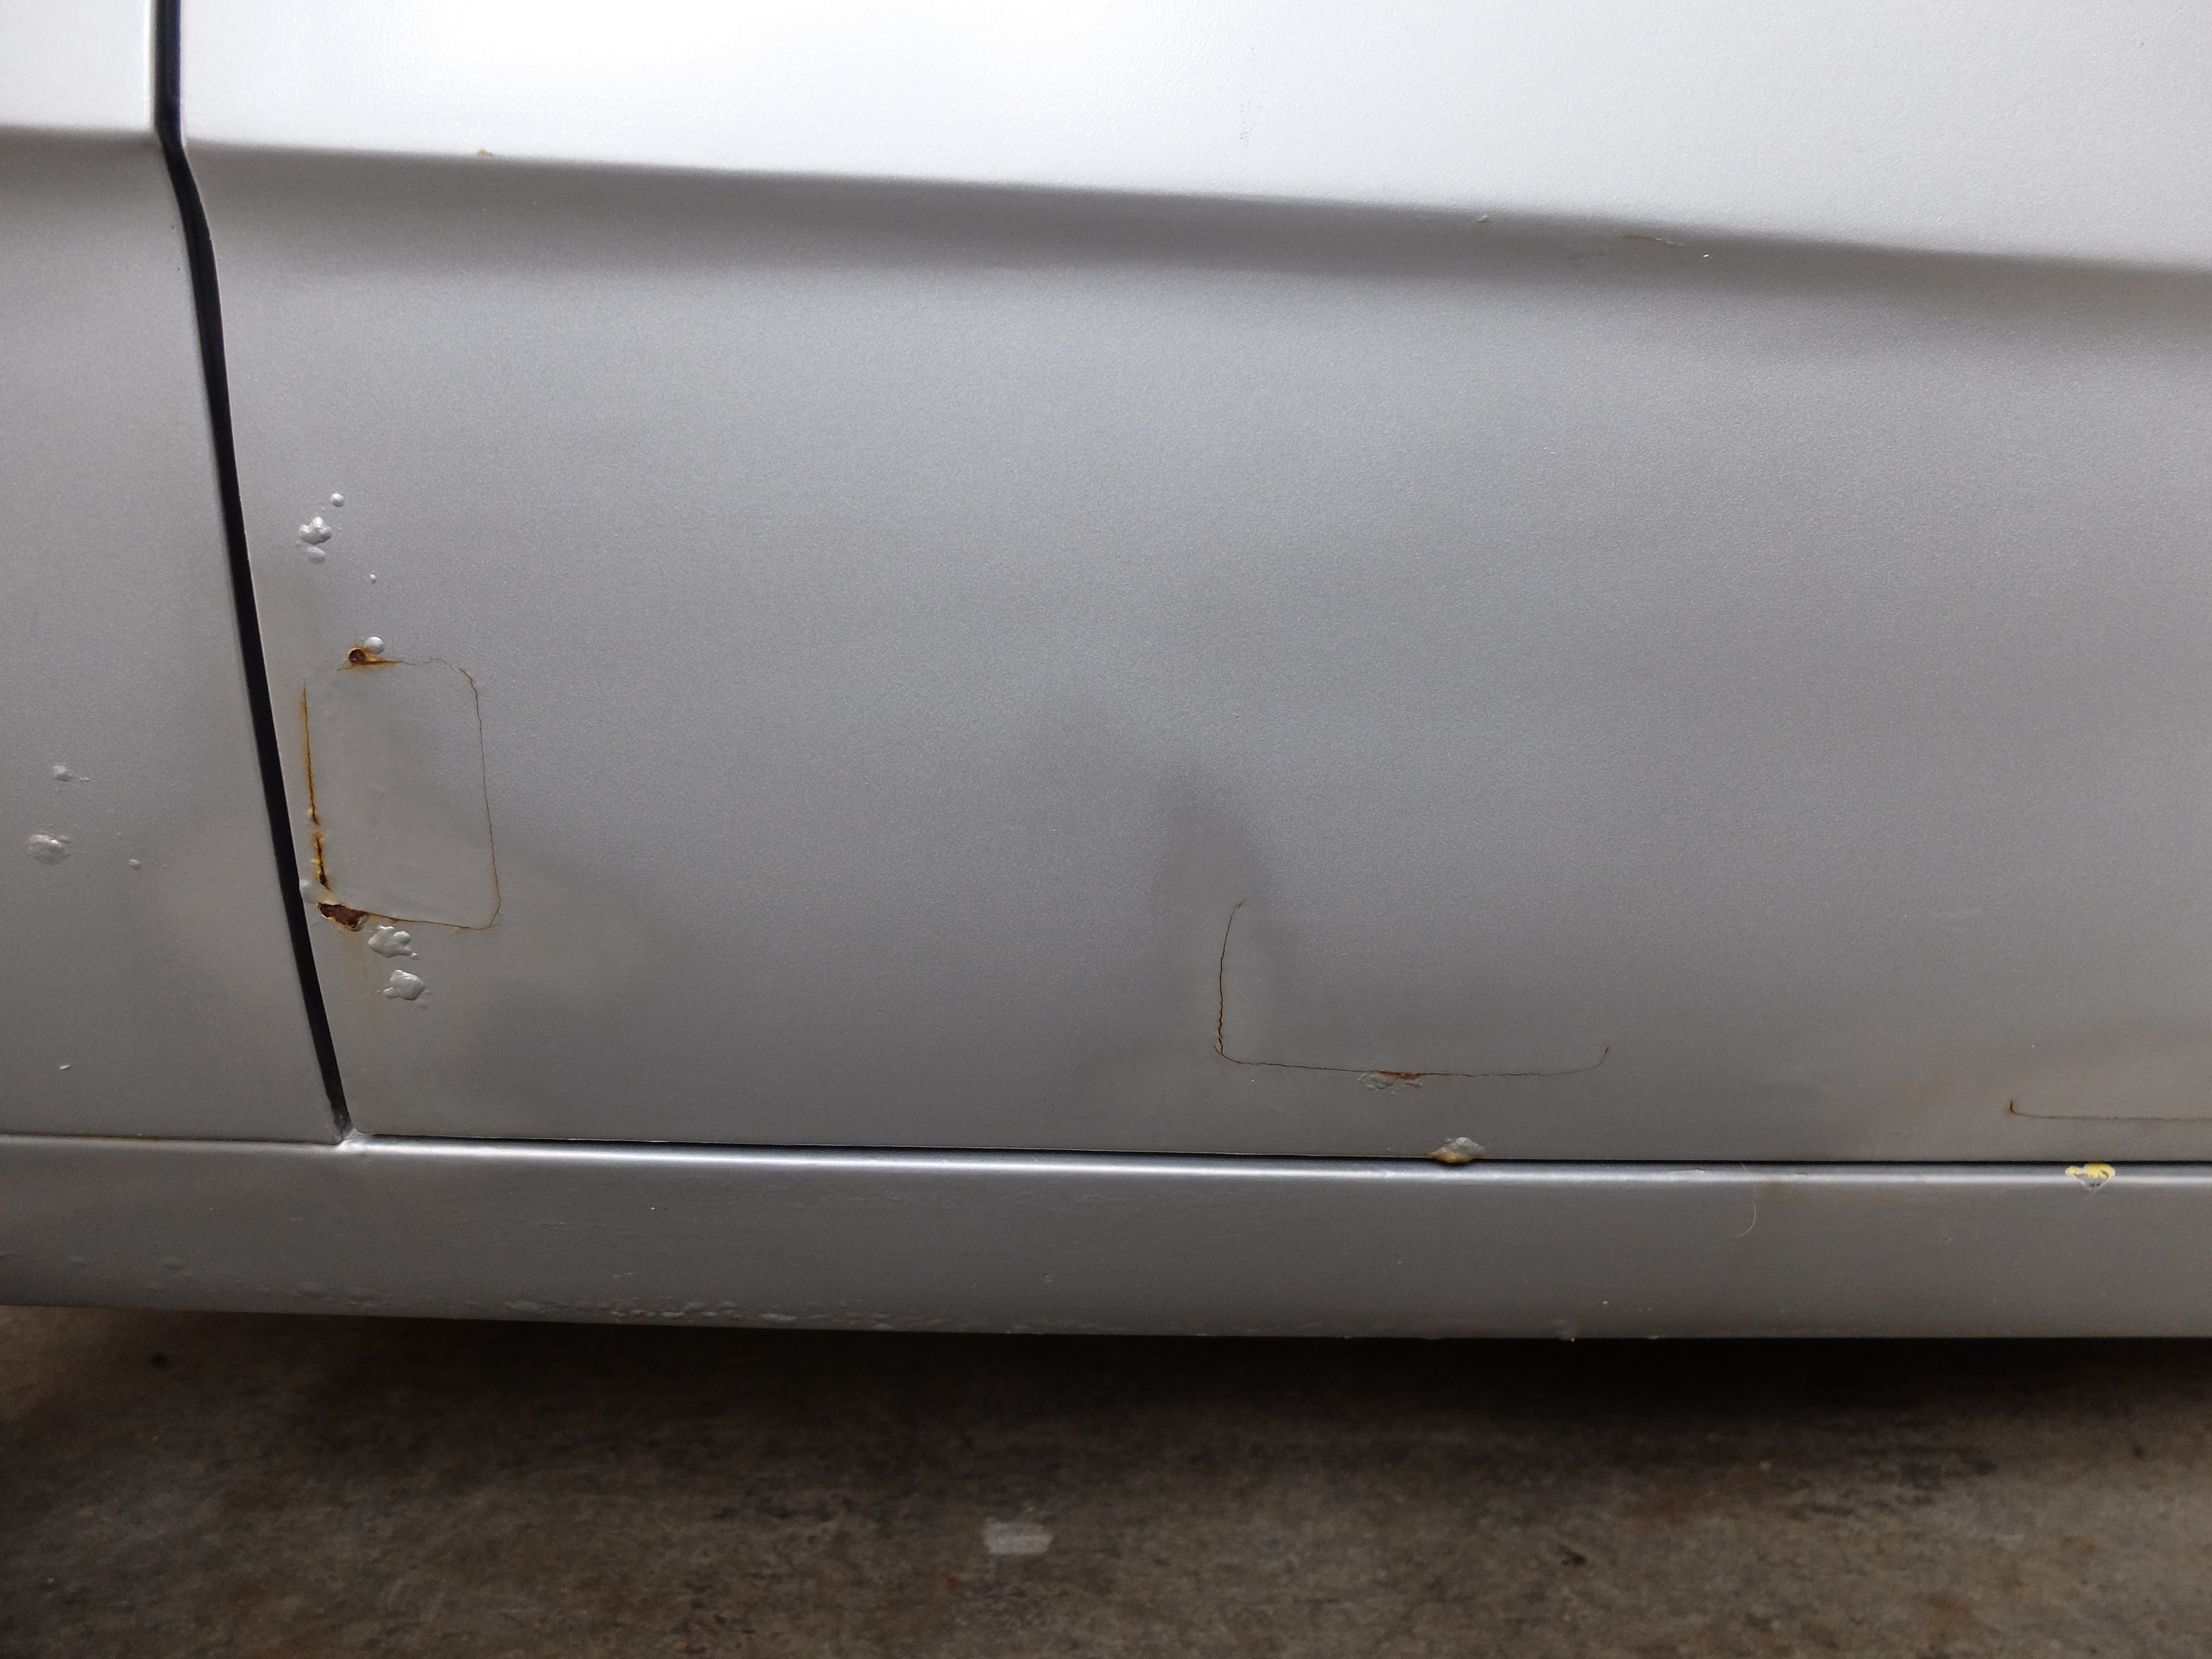
- Drivers side door and rocker panel. NOT GOOD. You can see the patches and rust that lies underneath.
-

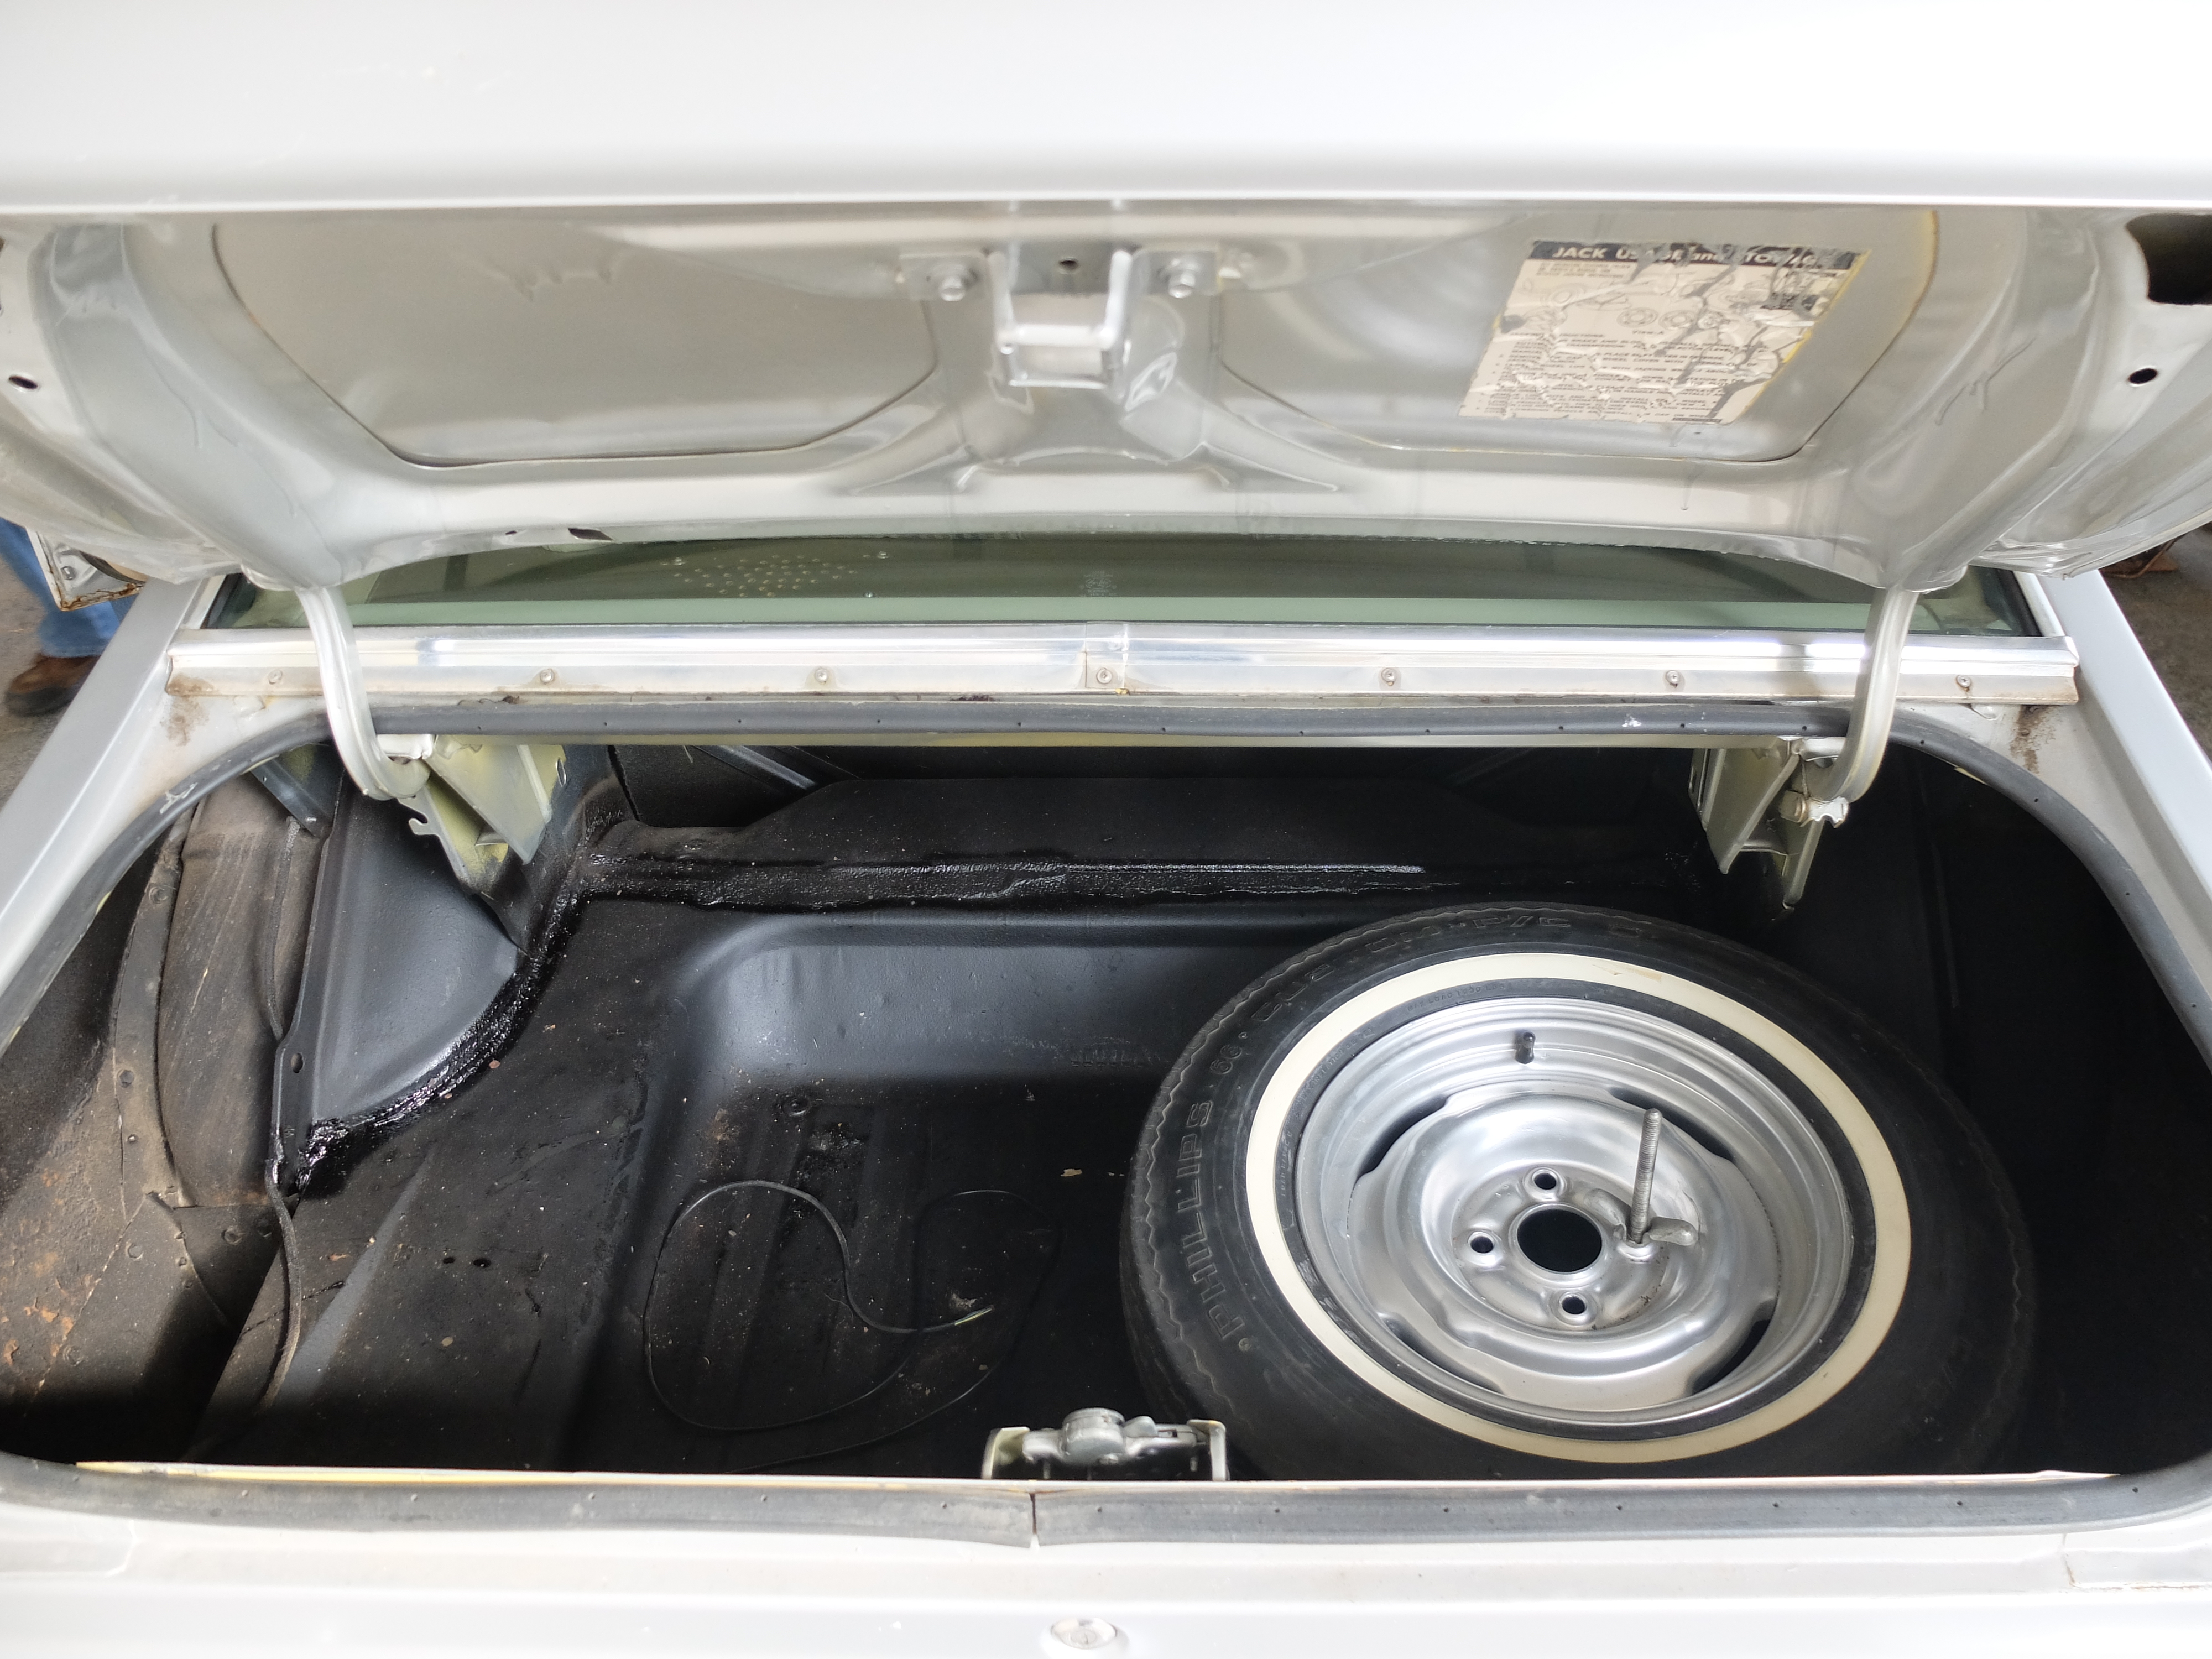
- Mavis came with her original spare tire!
-
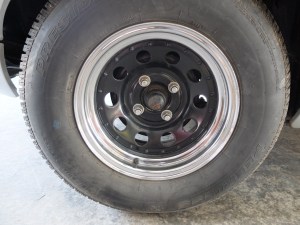
- These are the 4 lug wheels that I so desperately needed to keep. Caused some brake headaches, but may be worth it in the end.

-
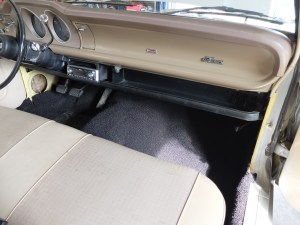
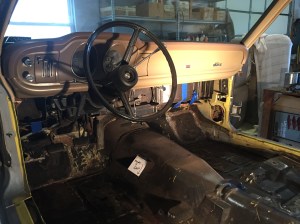
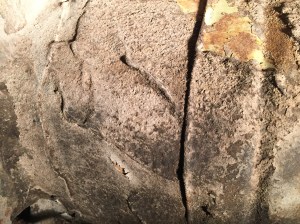
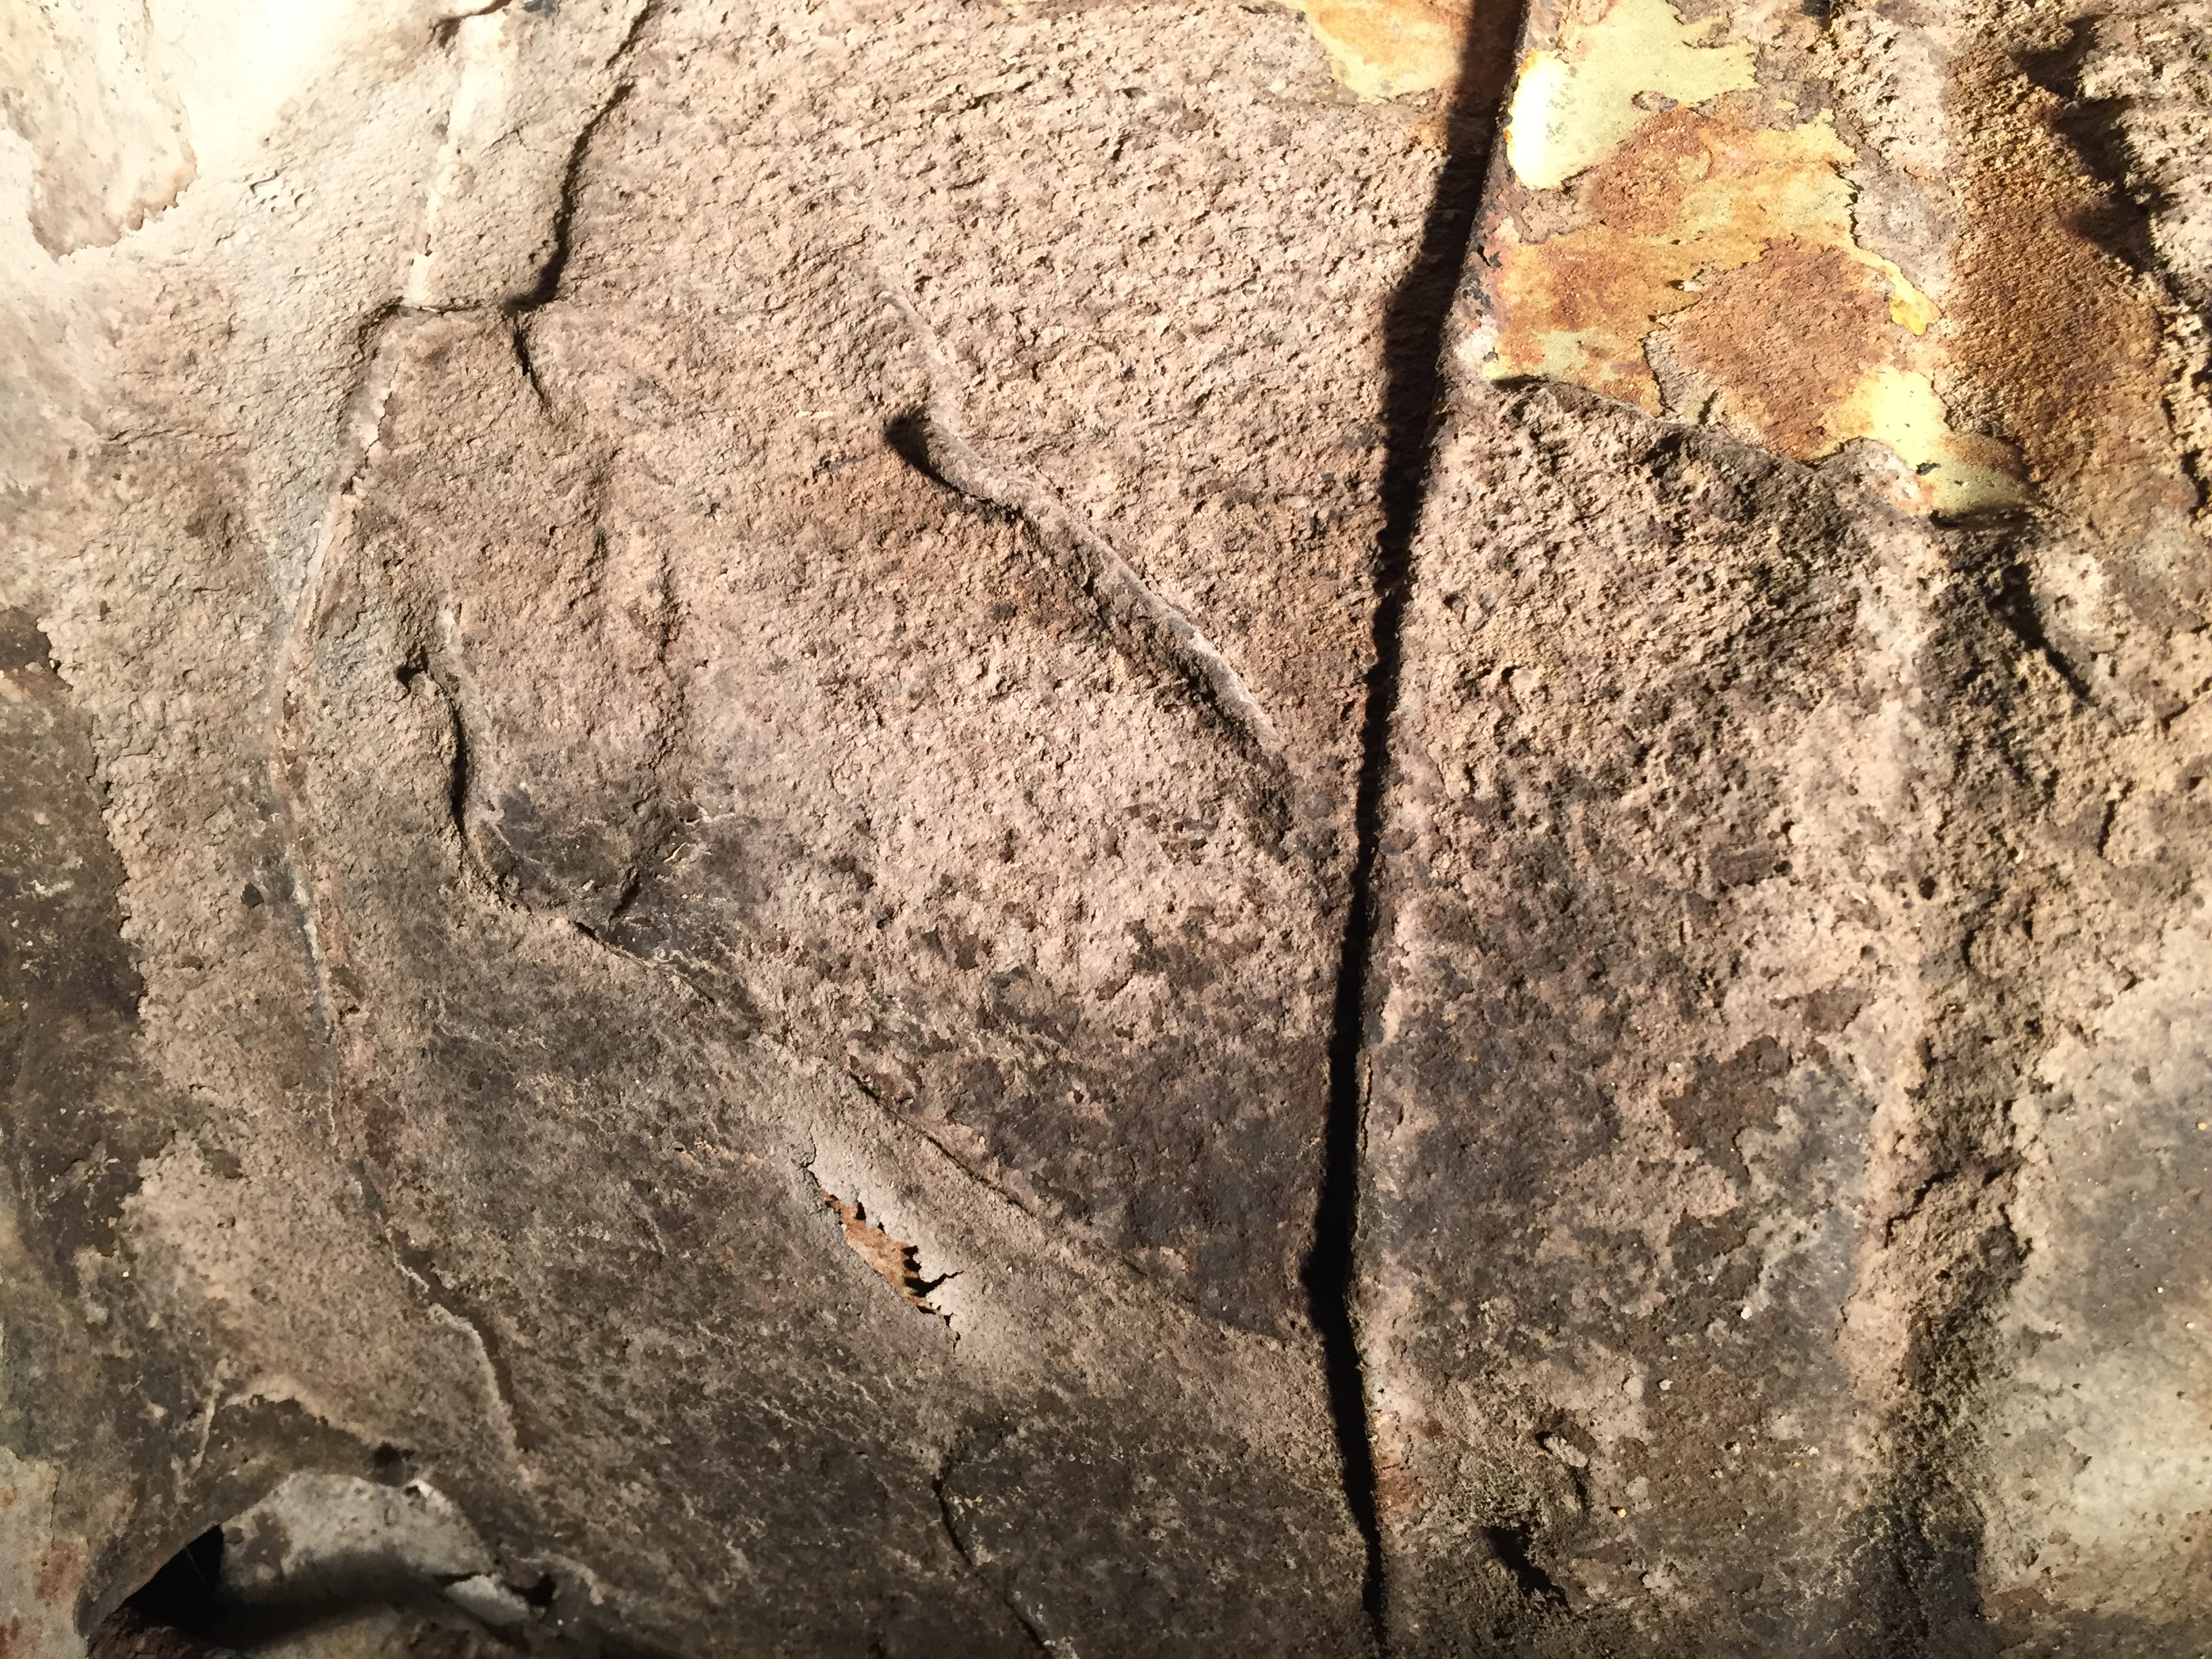
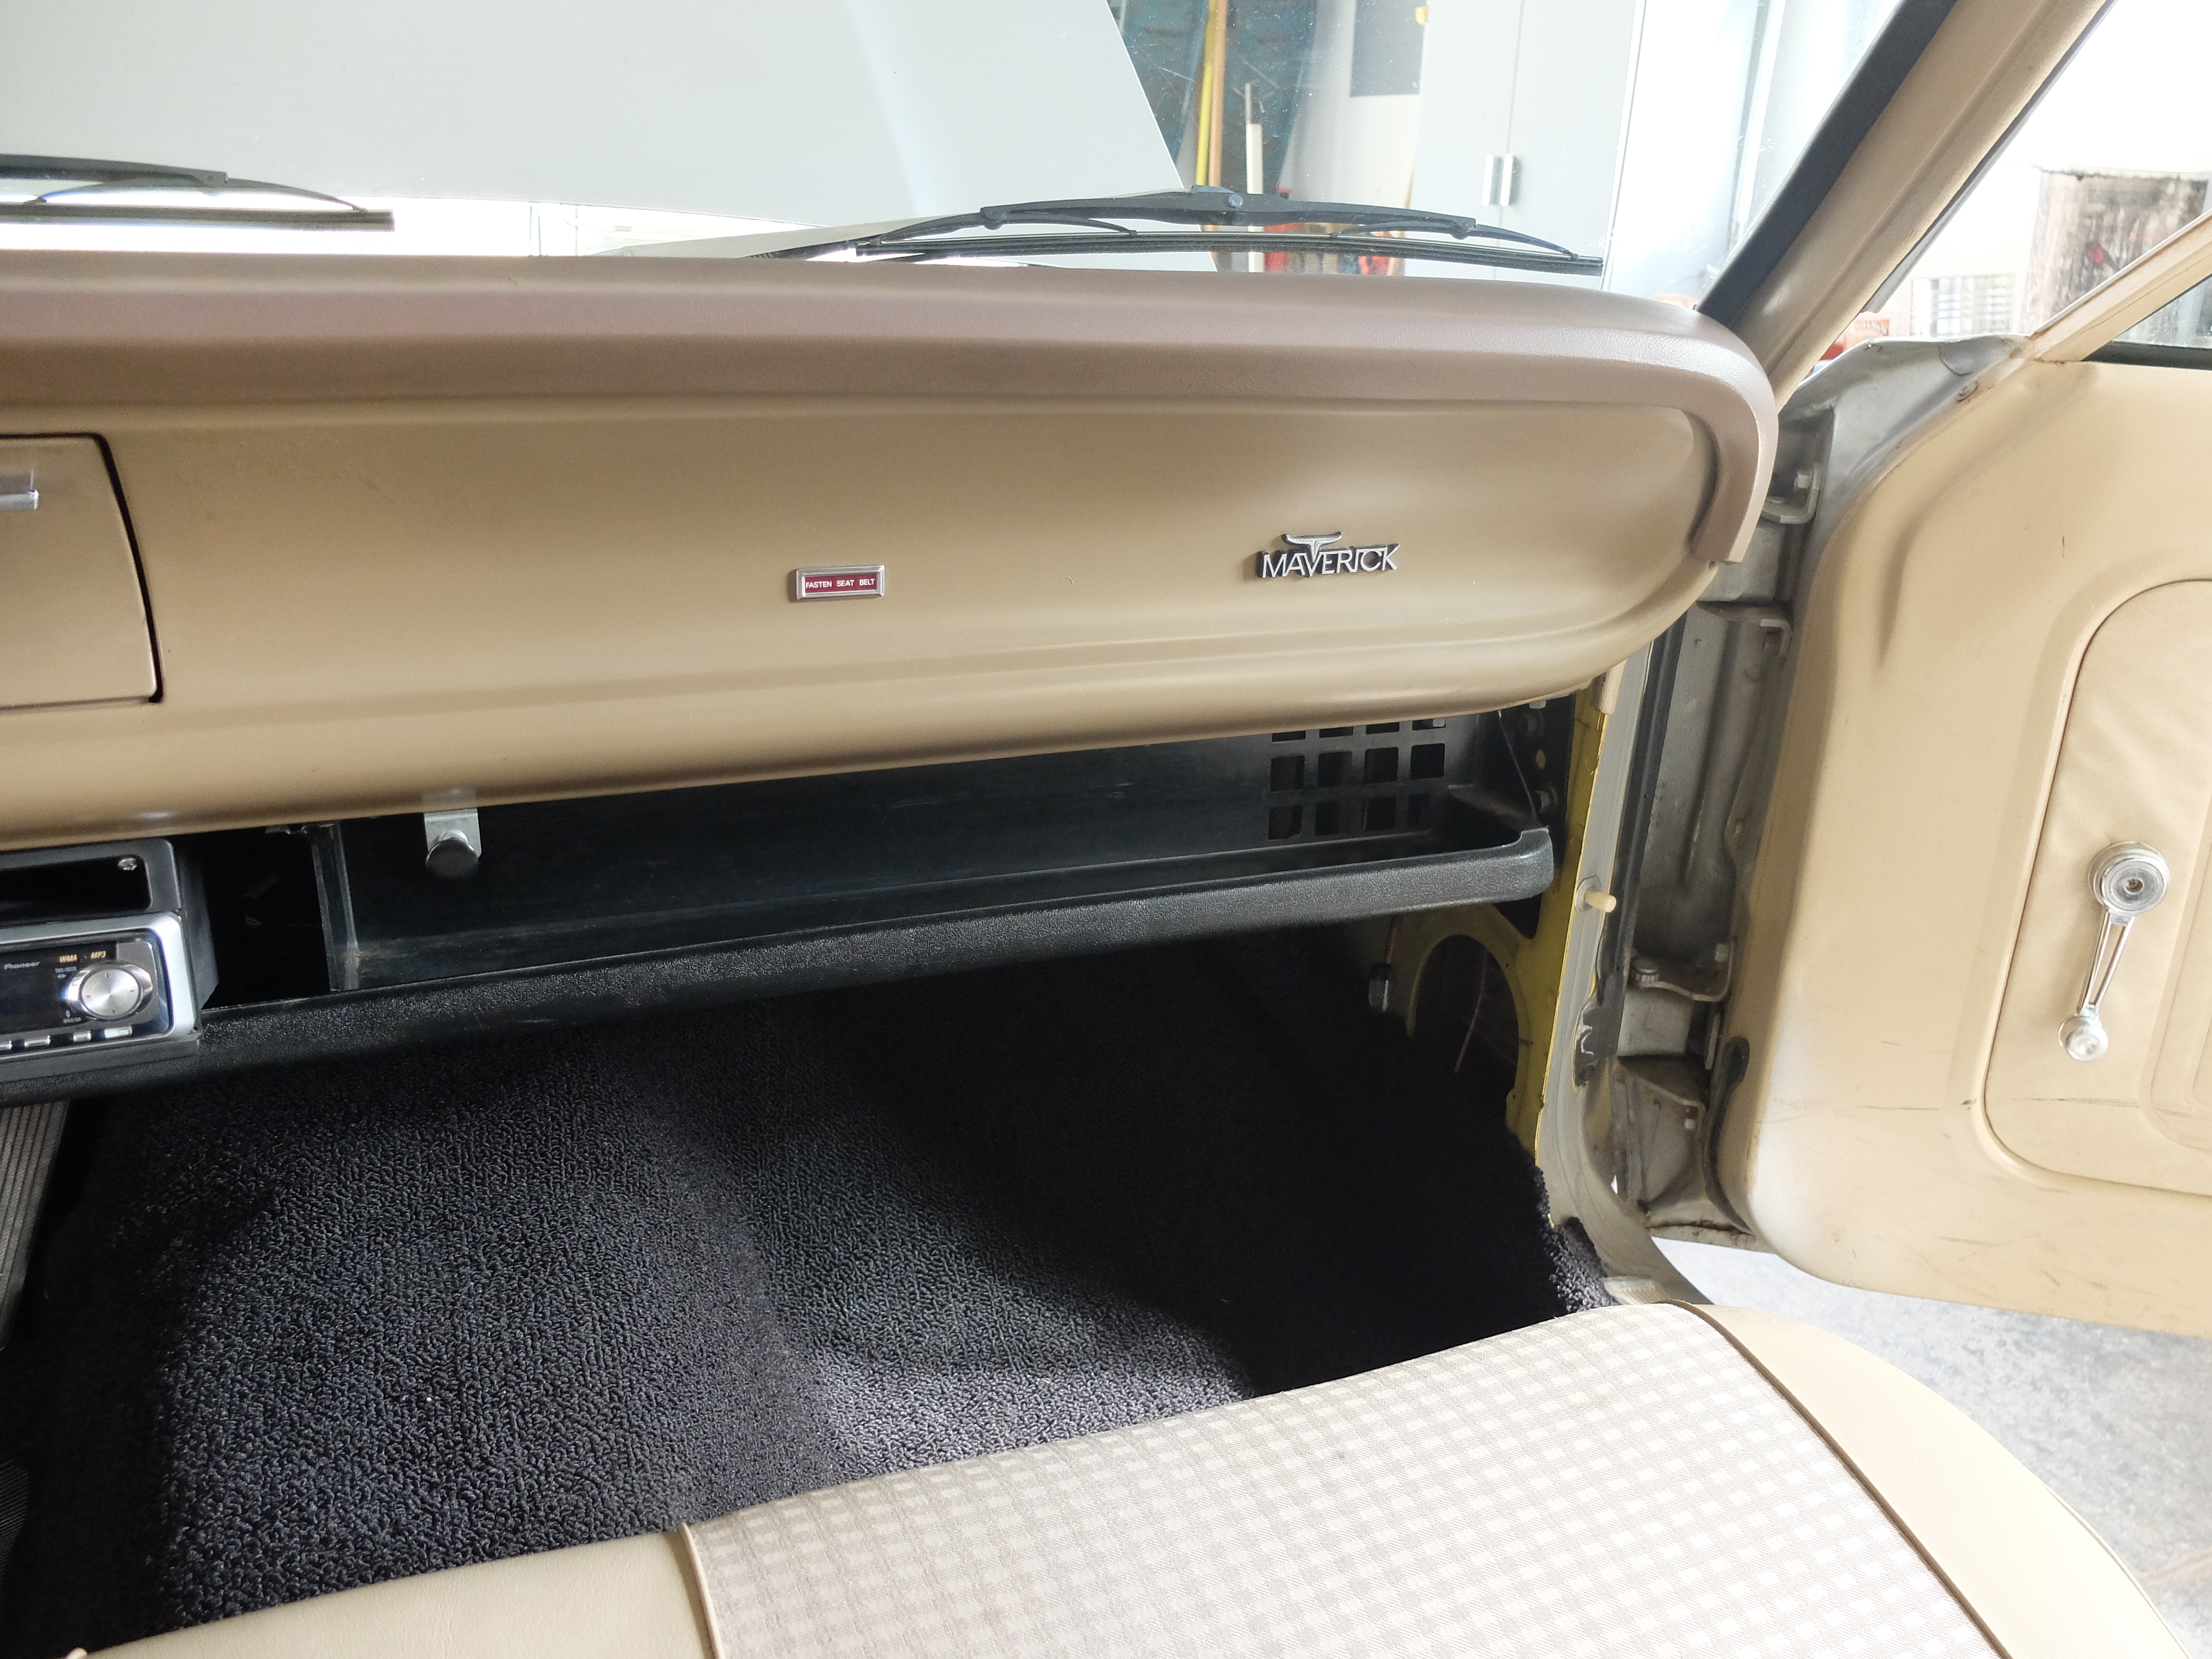
- Will need to replace or fix the current dash pad. There is a big crack in it in the middle.
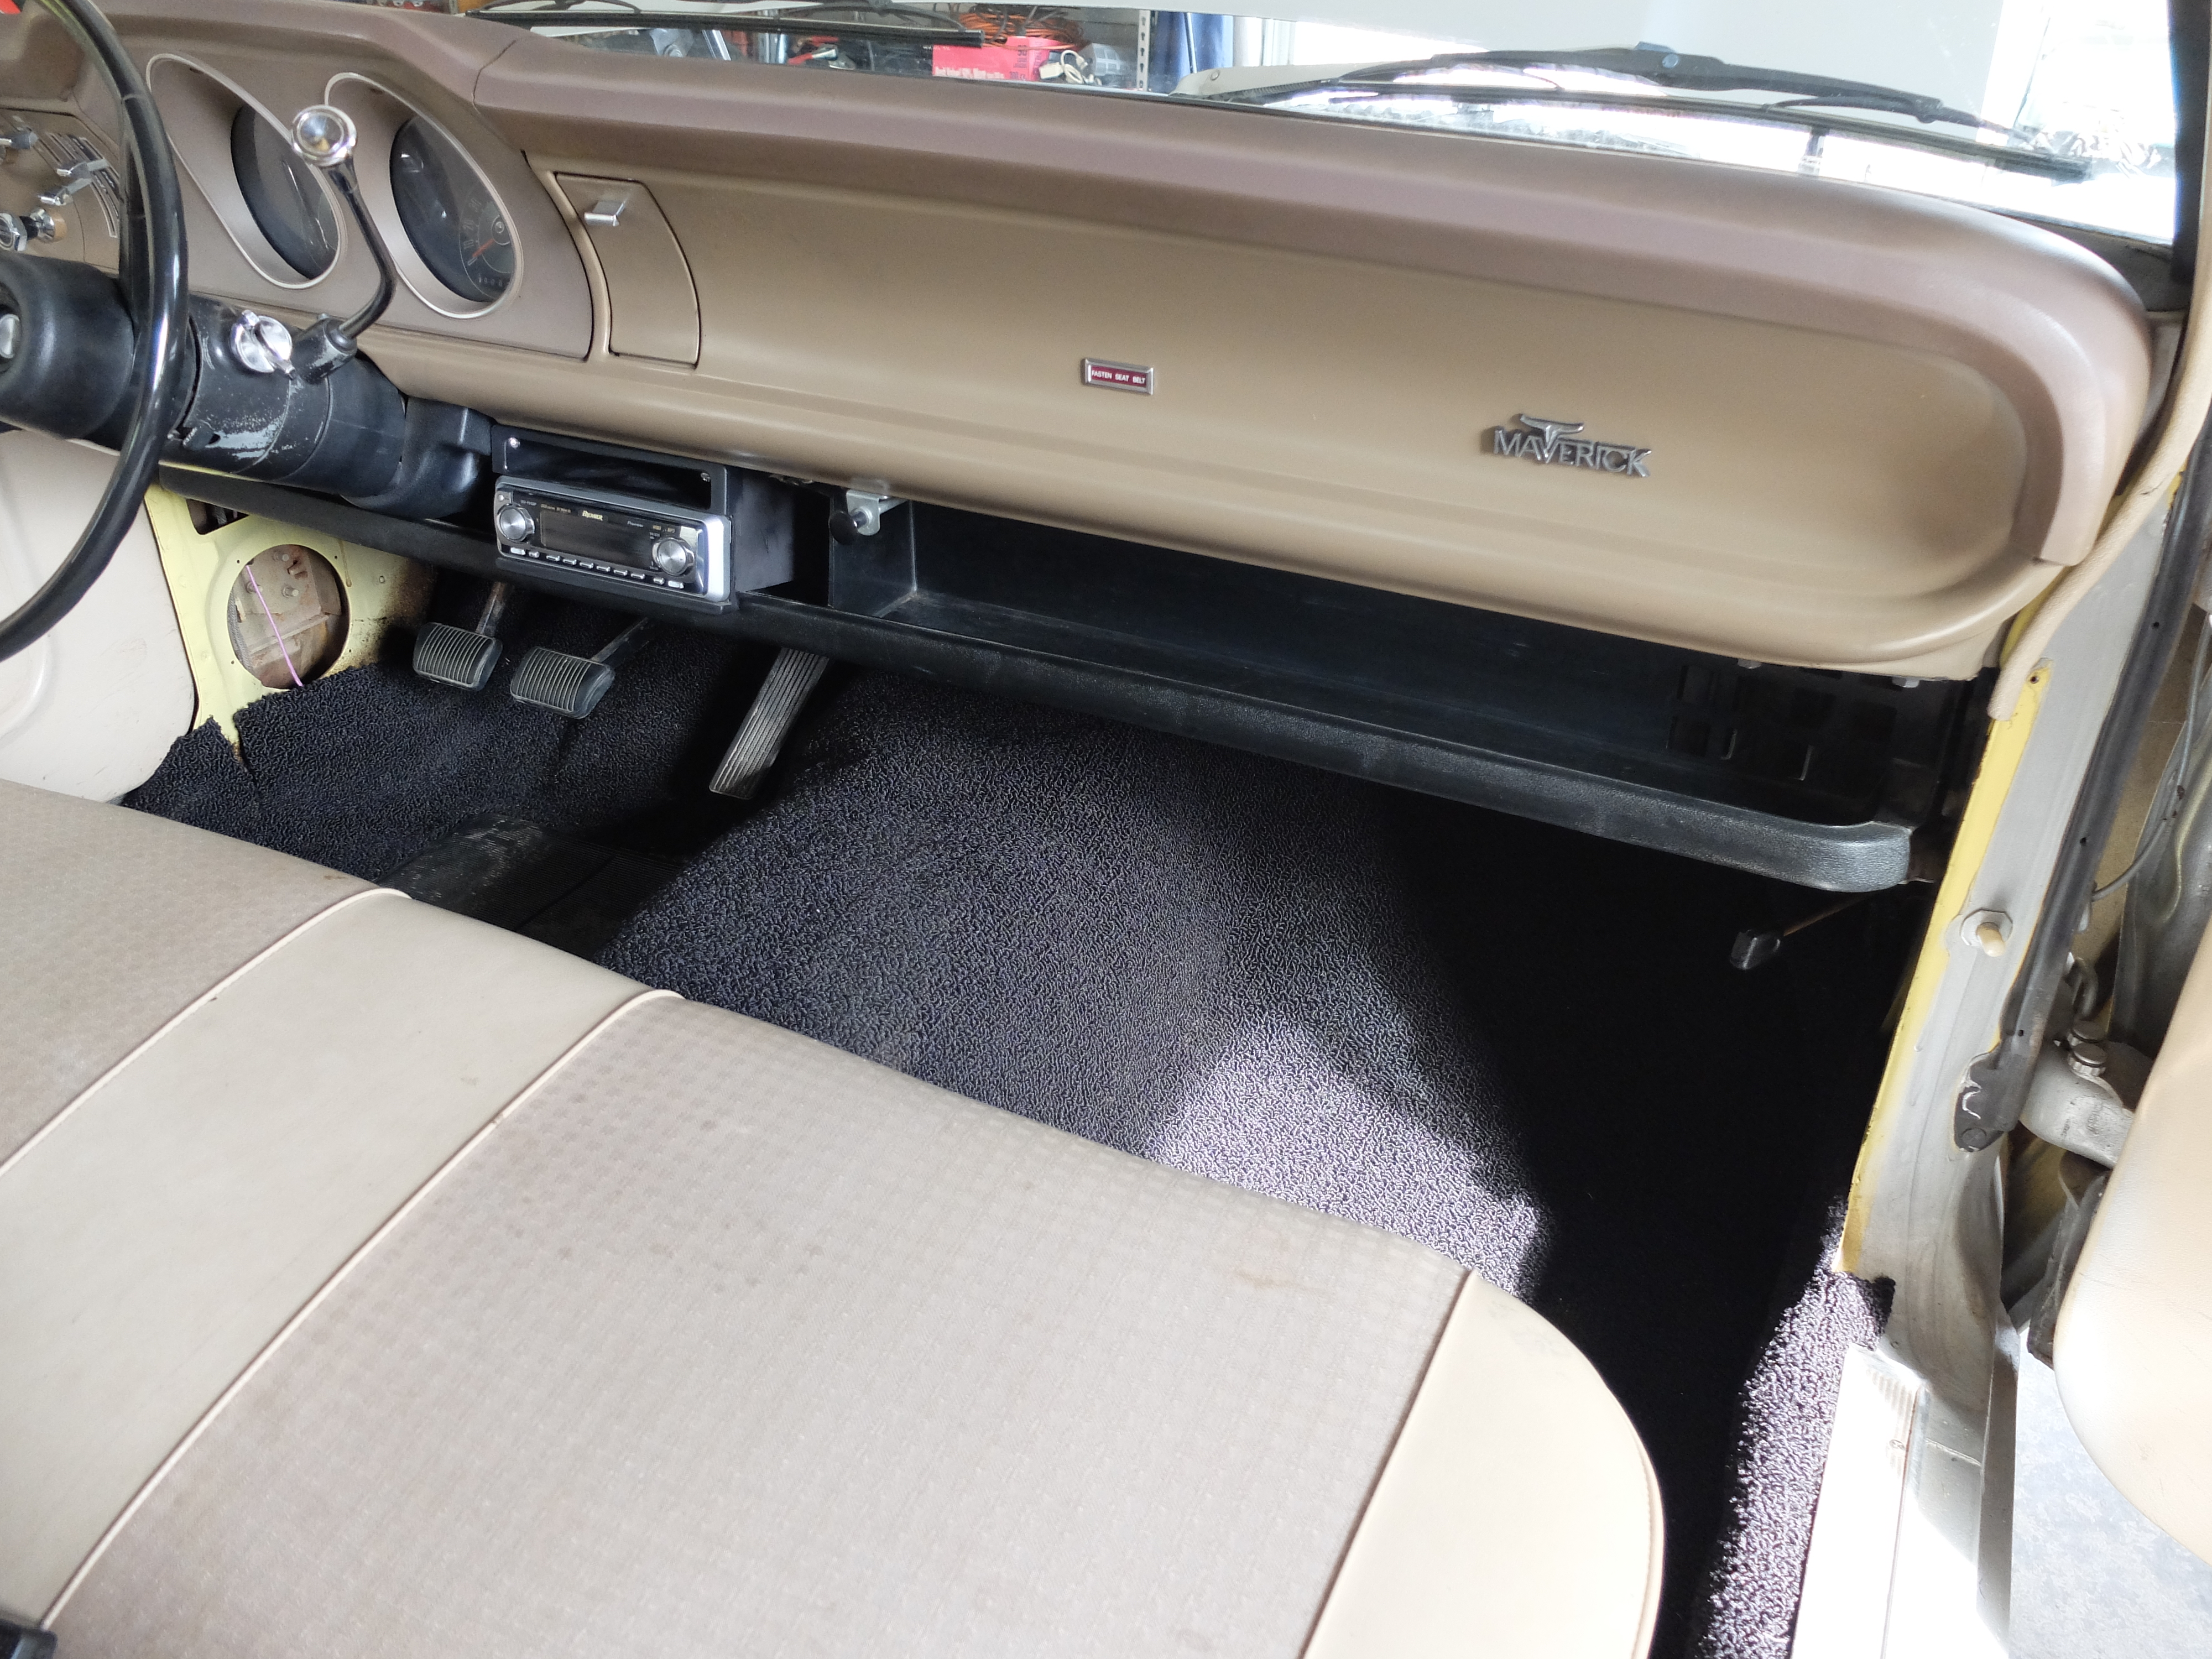
-

- Will be saving the inner part of the dash. It’s in good shape with the Maverick insignia and all.
-

- Some cracks on the steering wheel we need to repair.
-
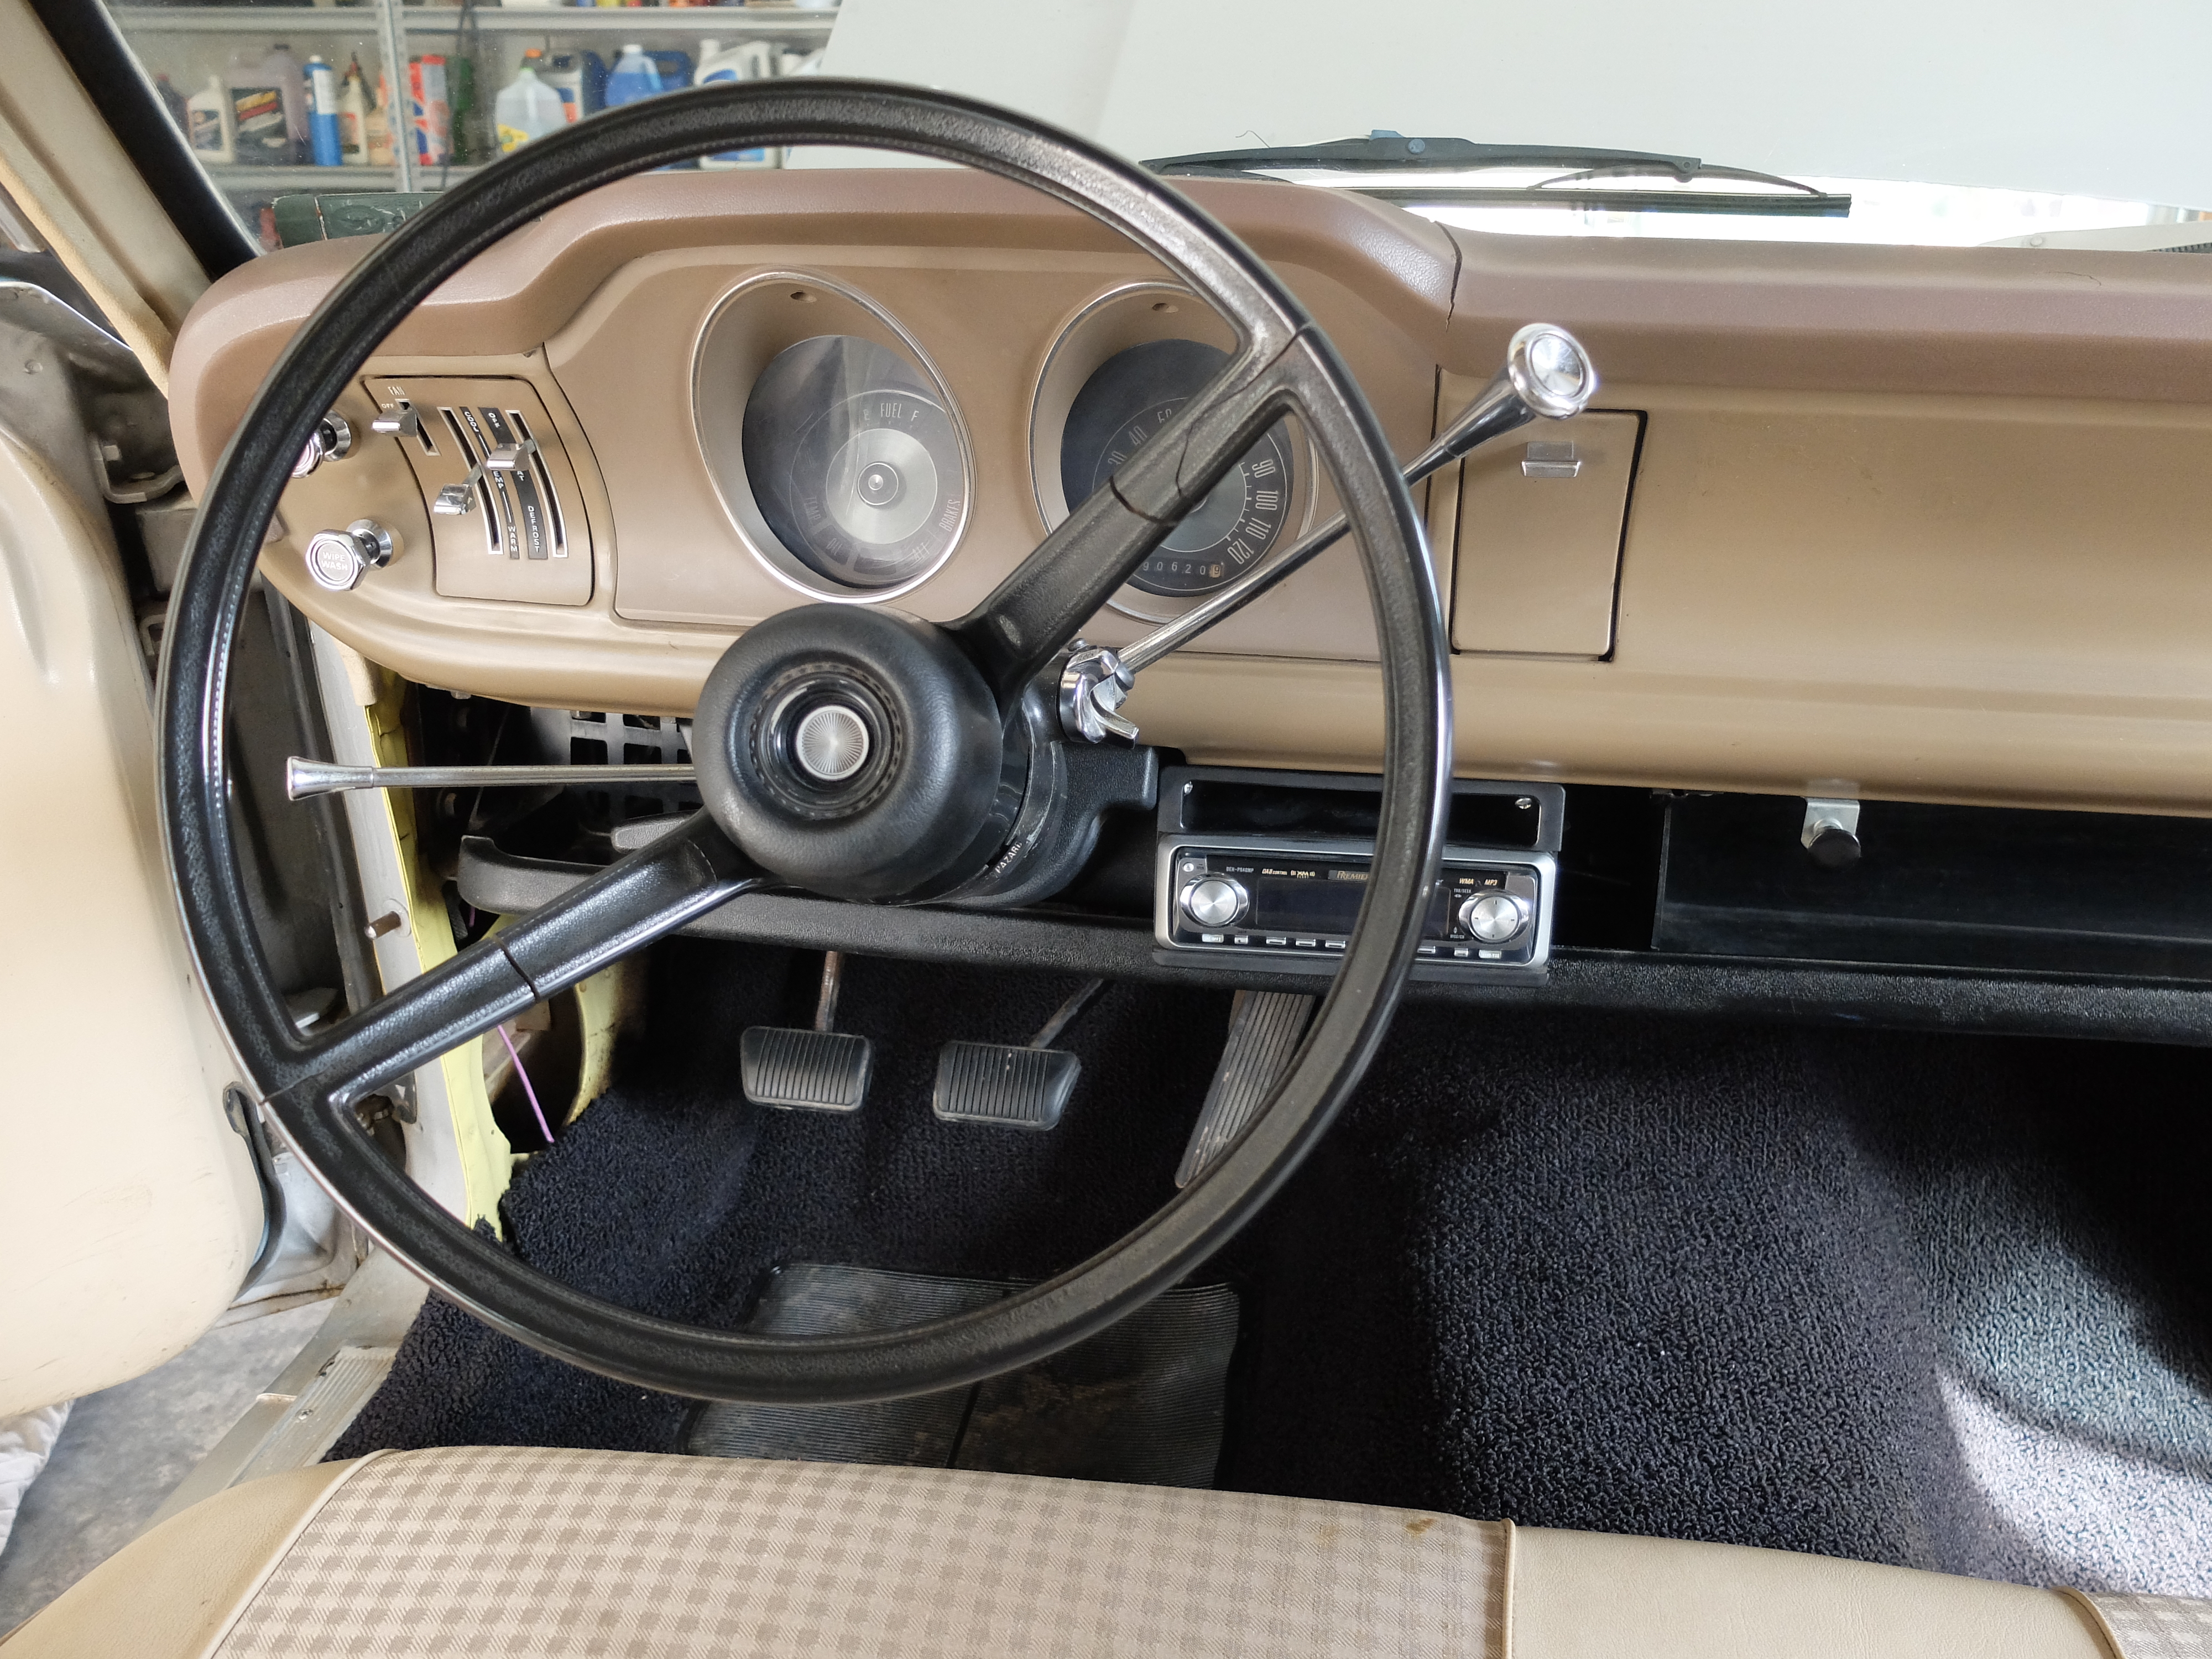
- Anyone need a radio?
-

- The horn doesn’t work. 😦
-
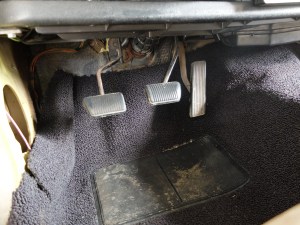
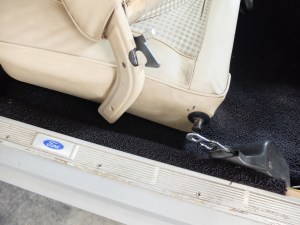
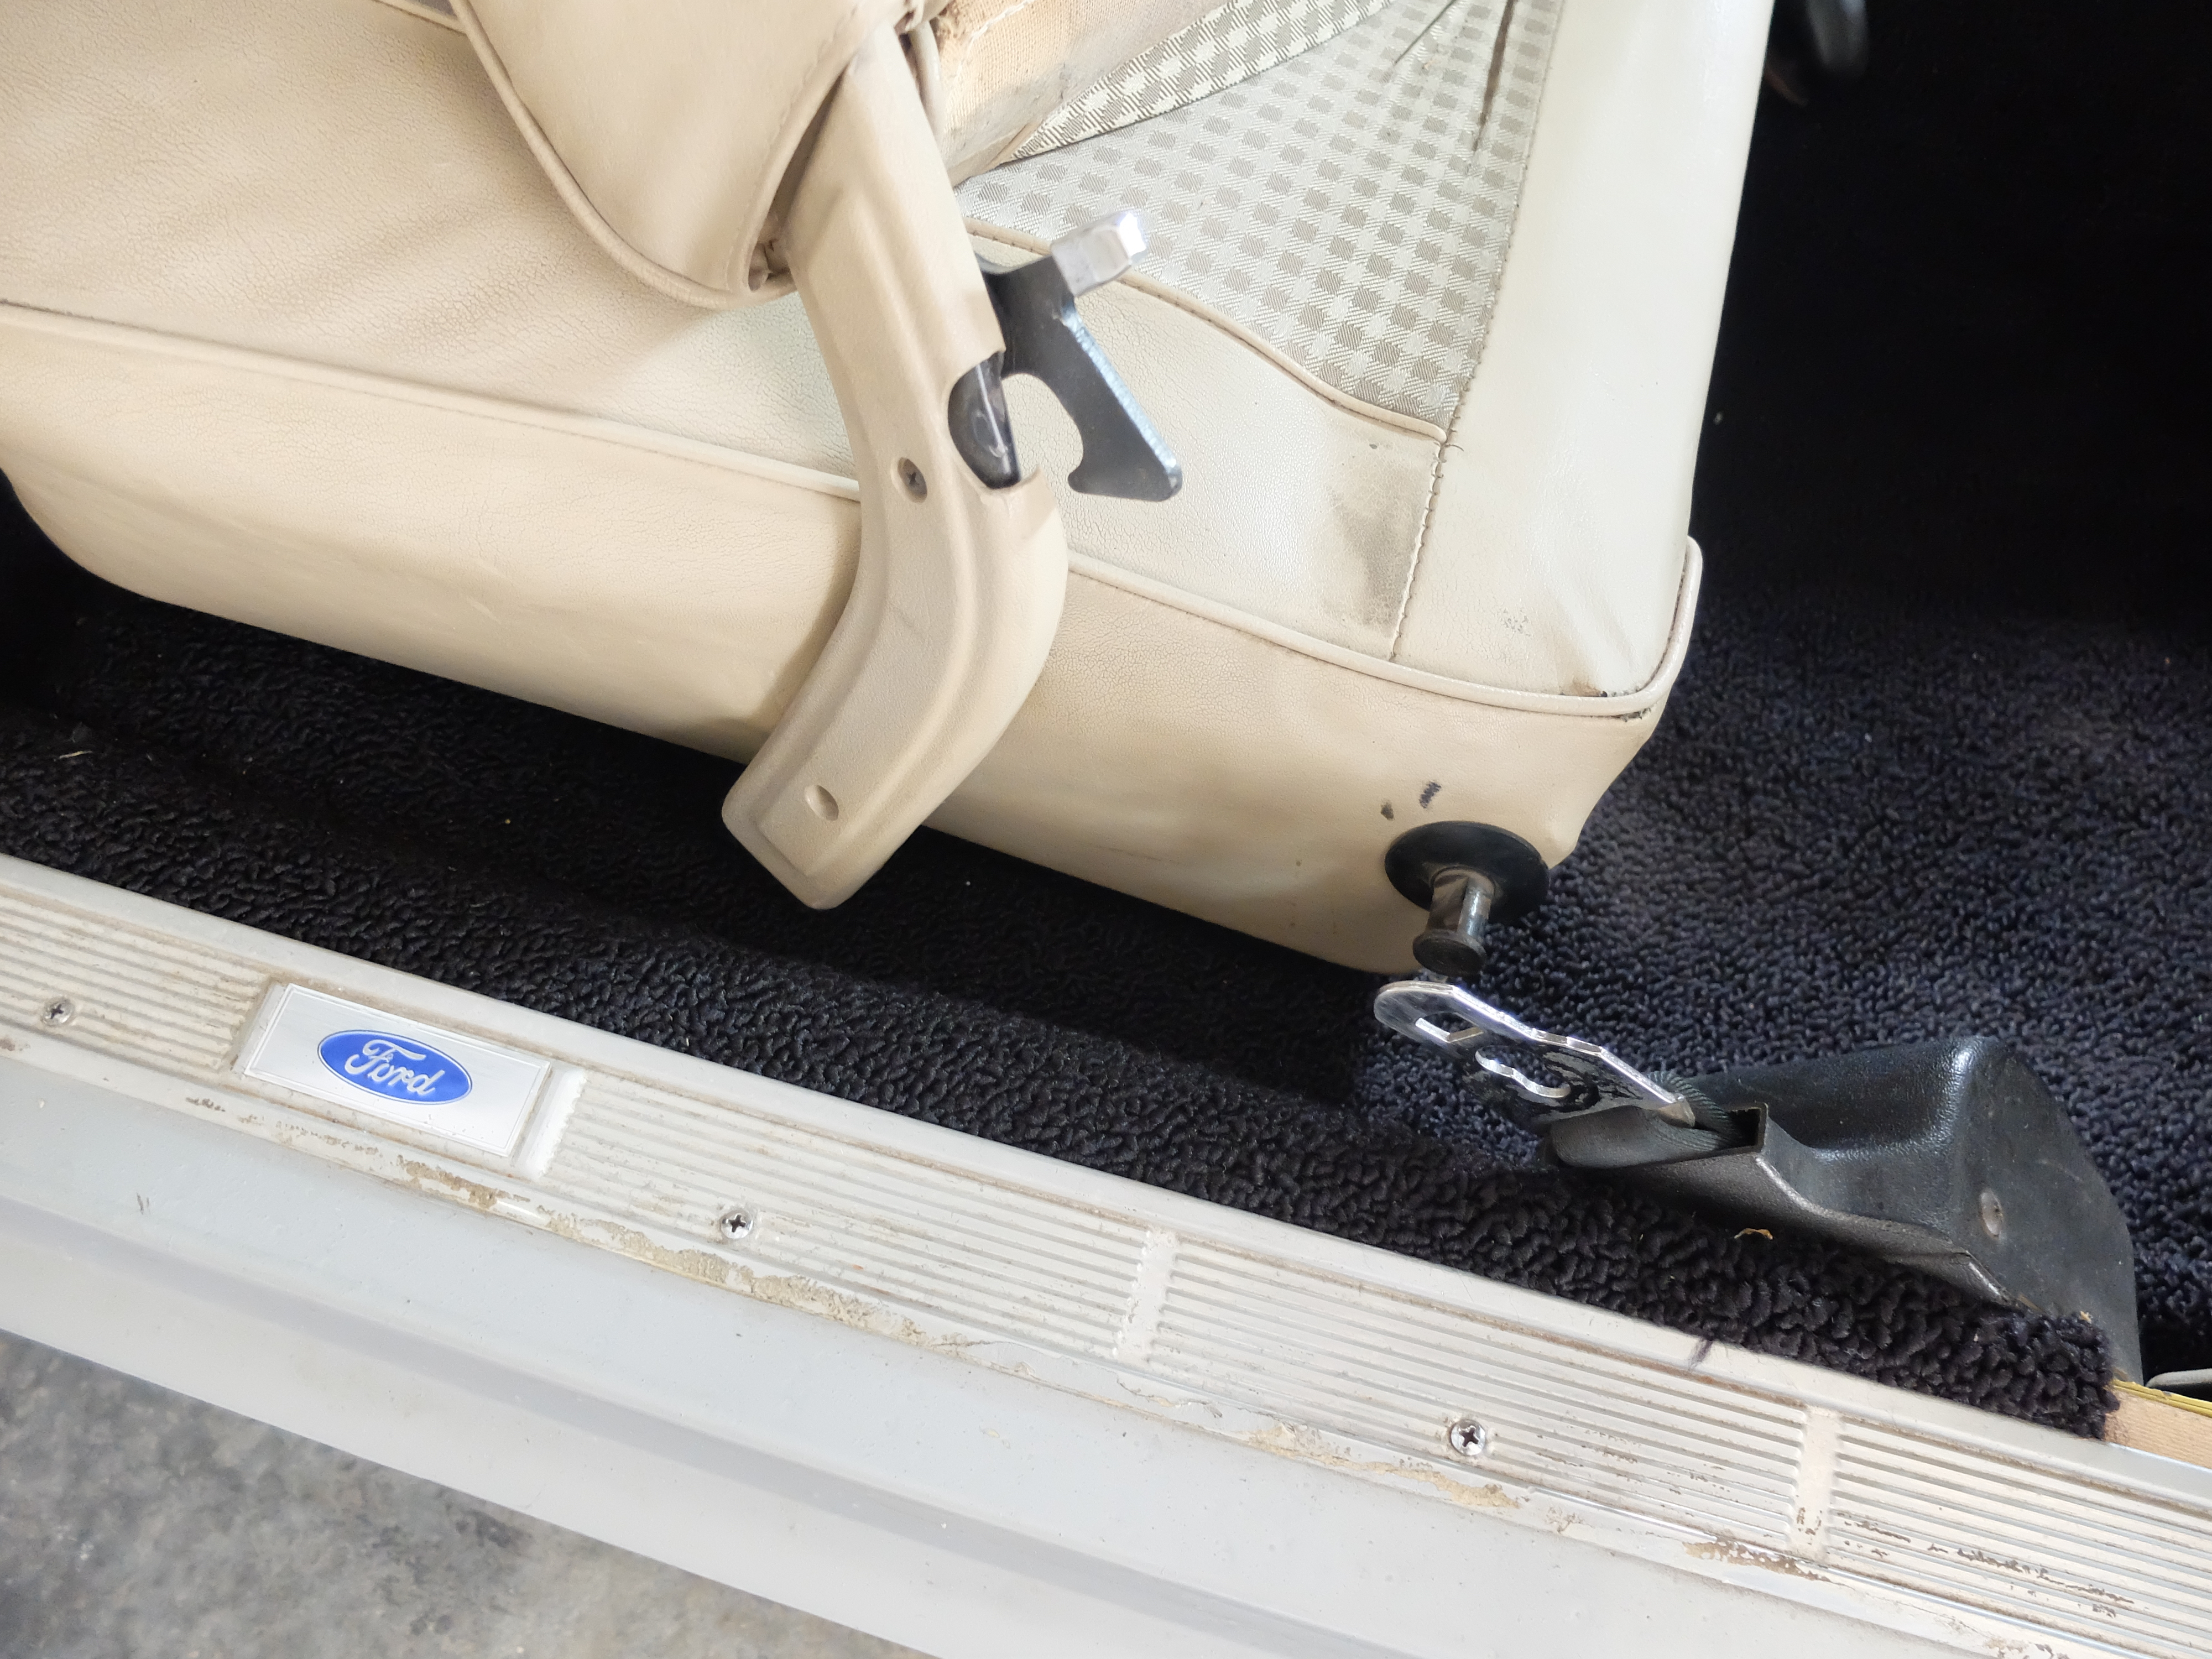
- There is the scary clutch I’ll need to learn how to work better.

-
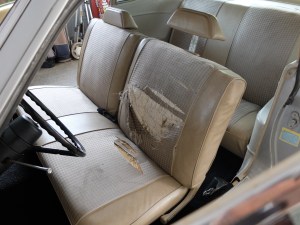
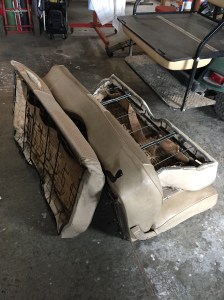
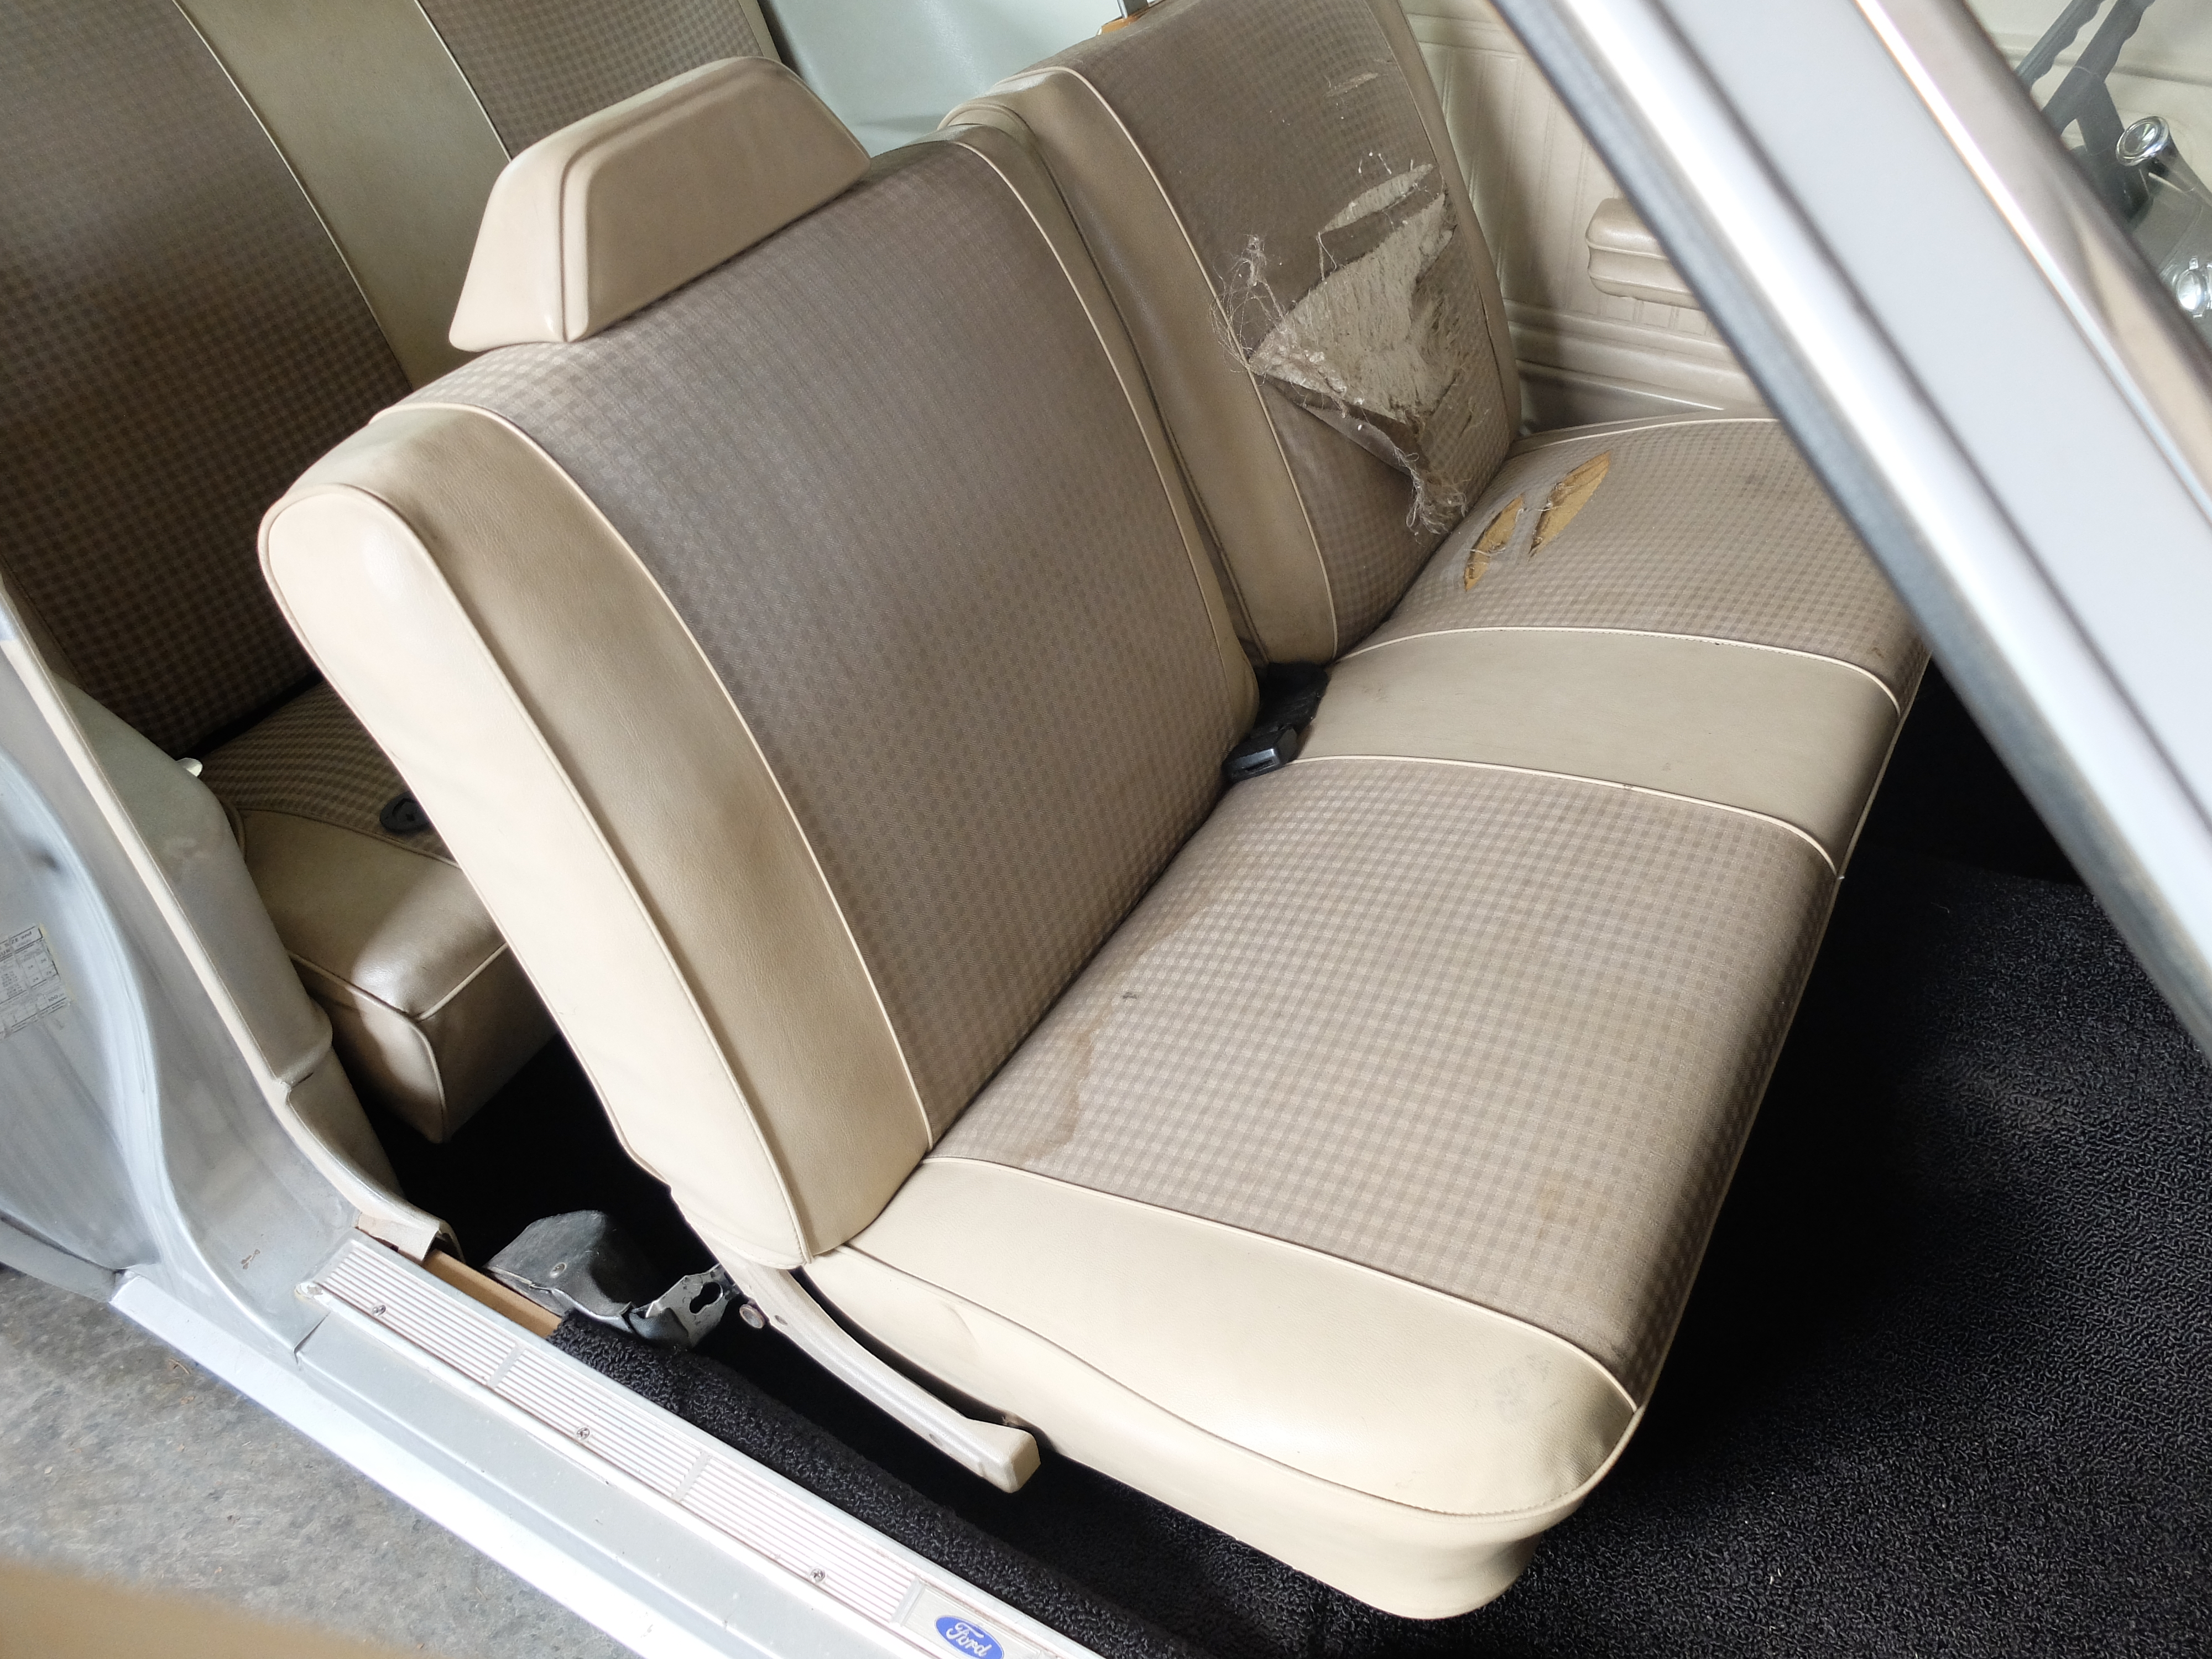
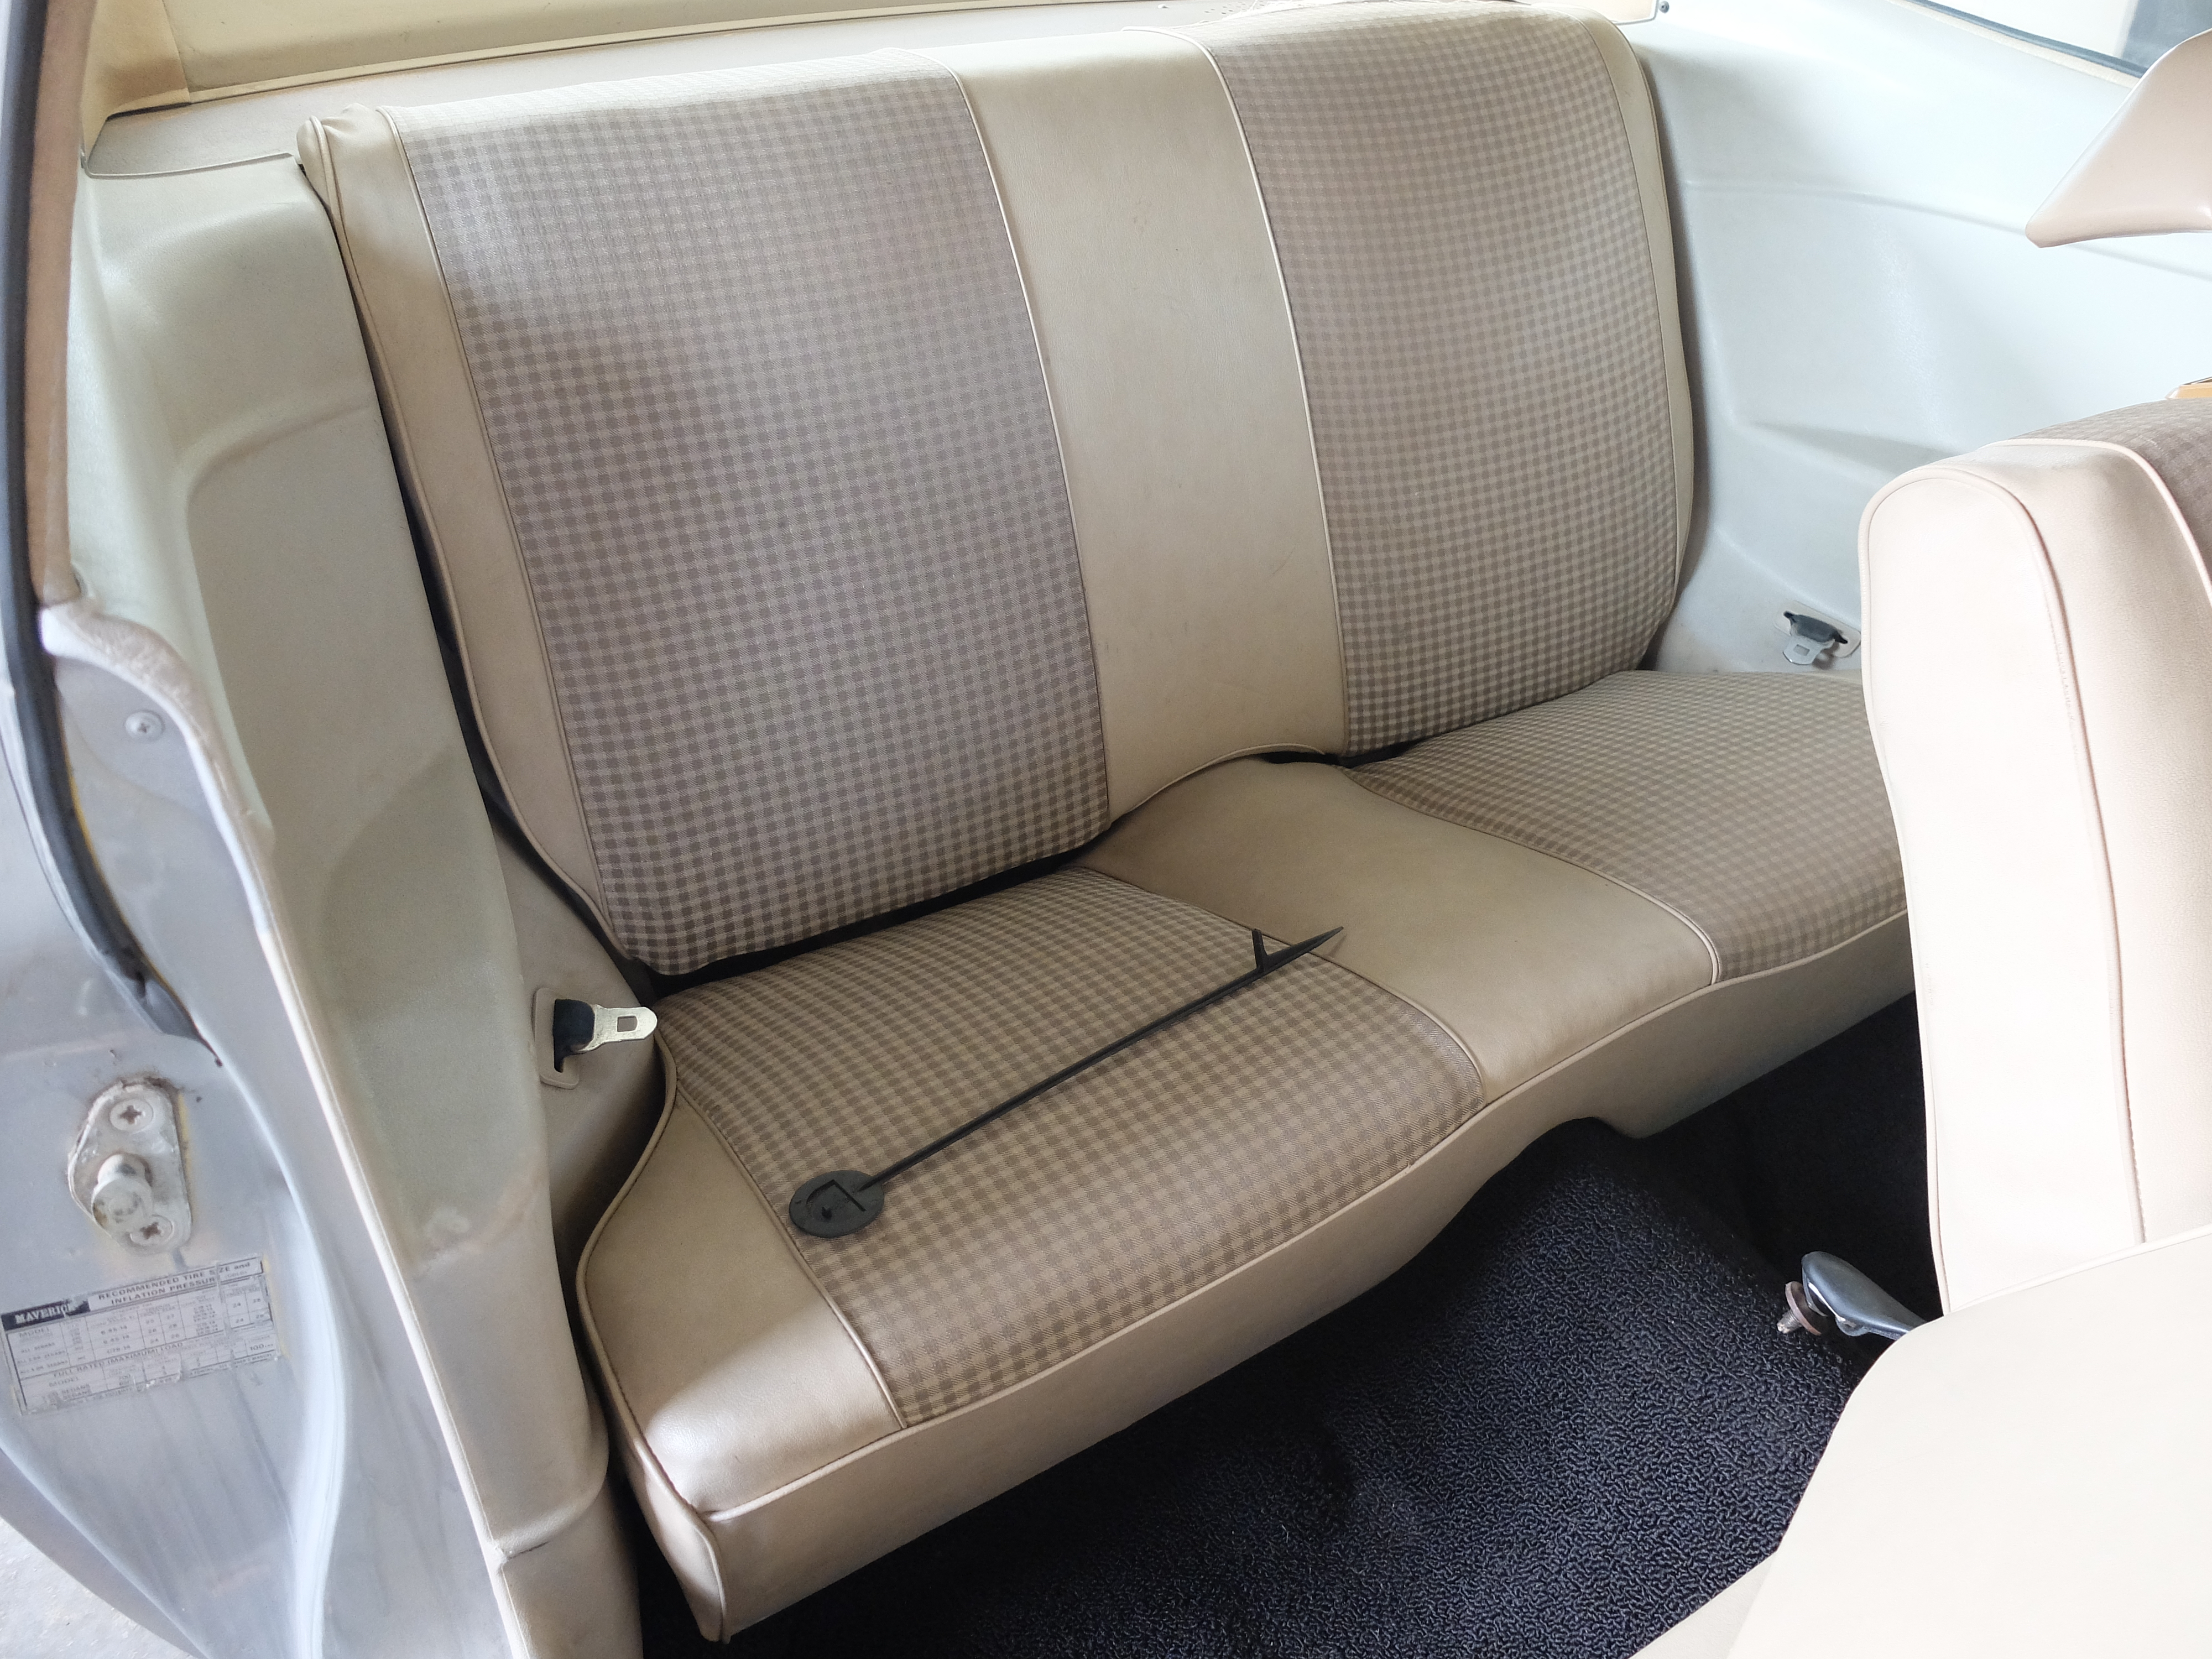
- Oopsies! Will be recovering the seats.

-

- Will be keeping the bench seats. Most folks put in bucket seats when they put in the 302.
-
- Is that a riding whip? Fire poker?
-
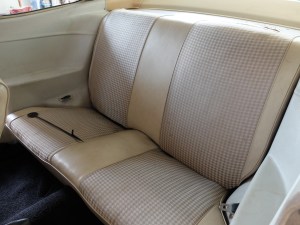
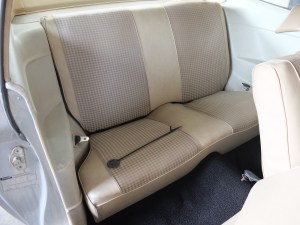
- Back seats are in great shape, but will recover regardless.

-
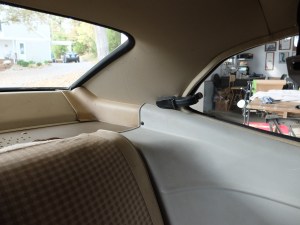
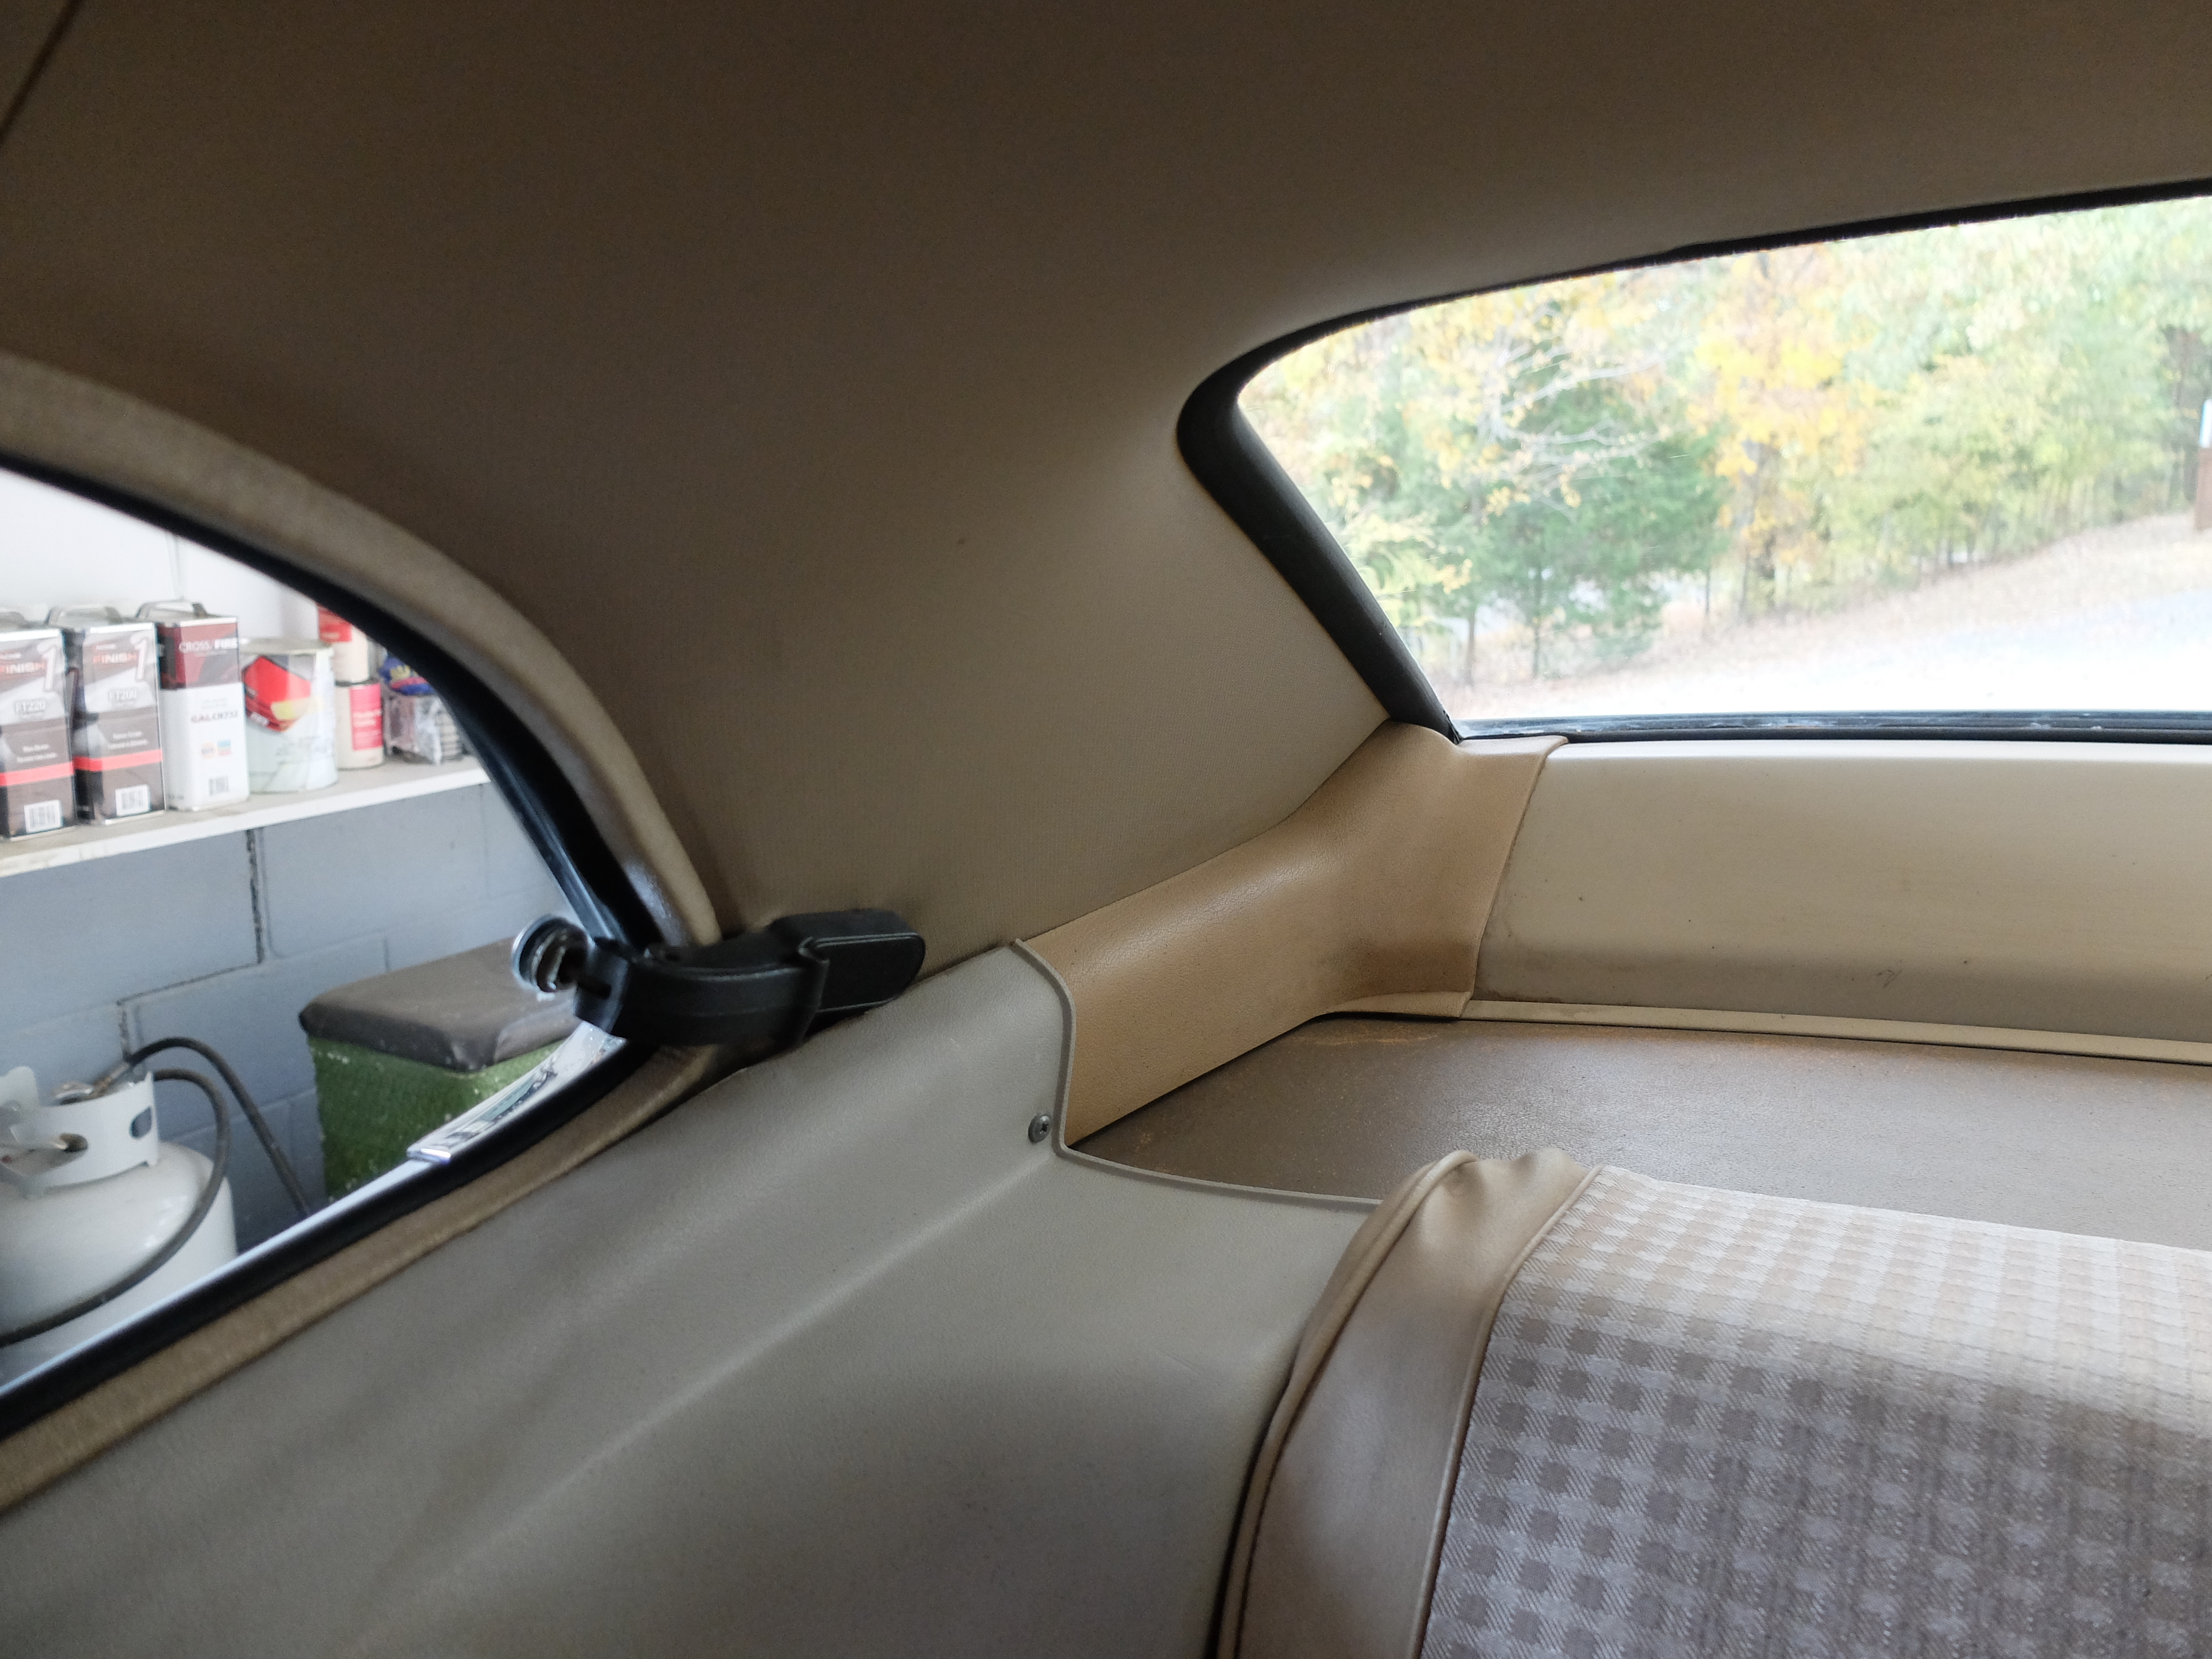
- Love those fly windows!

-

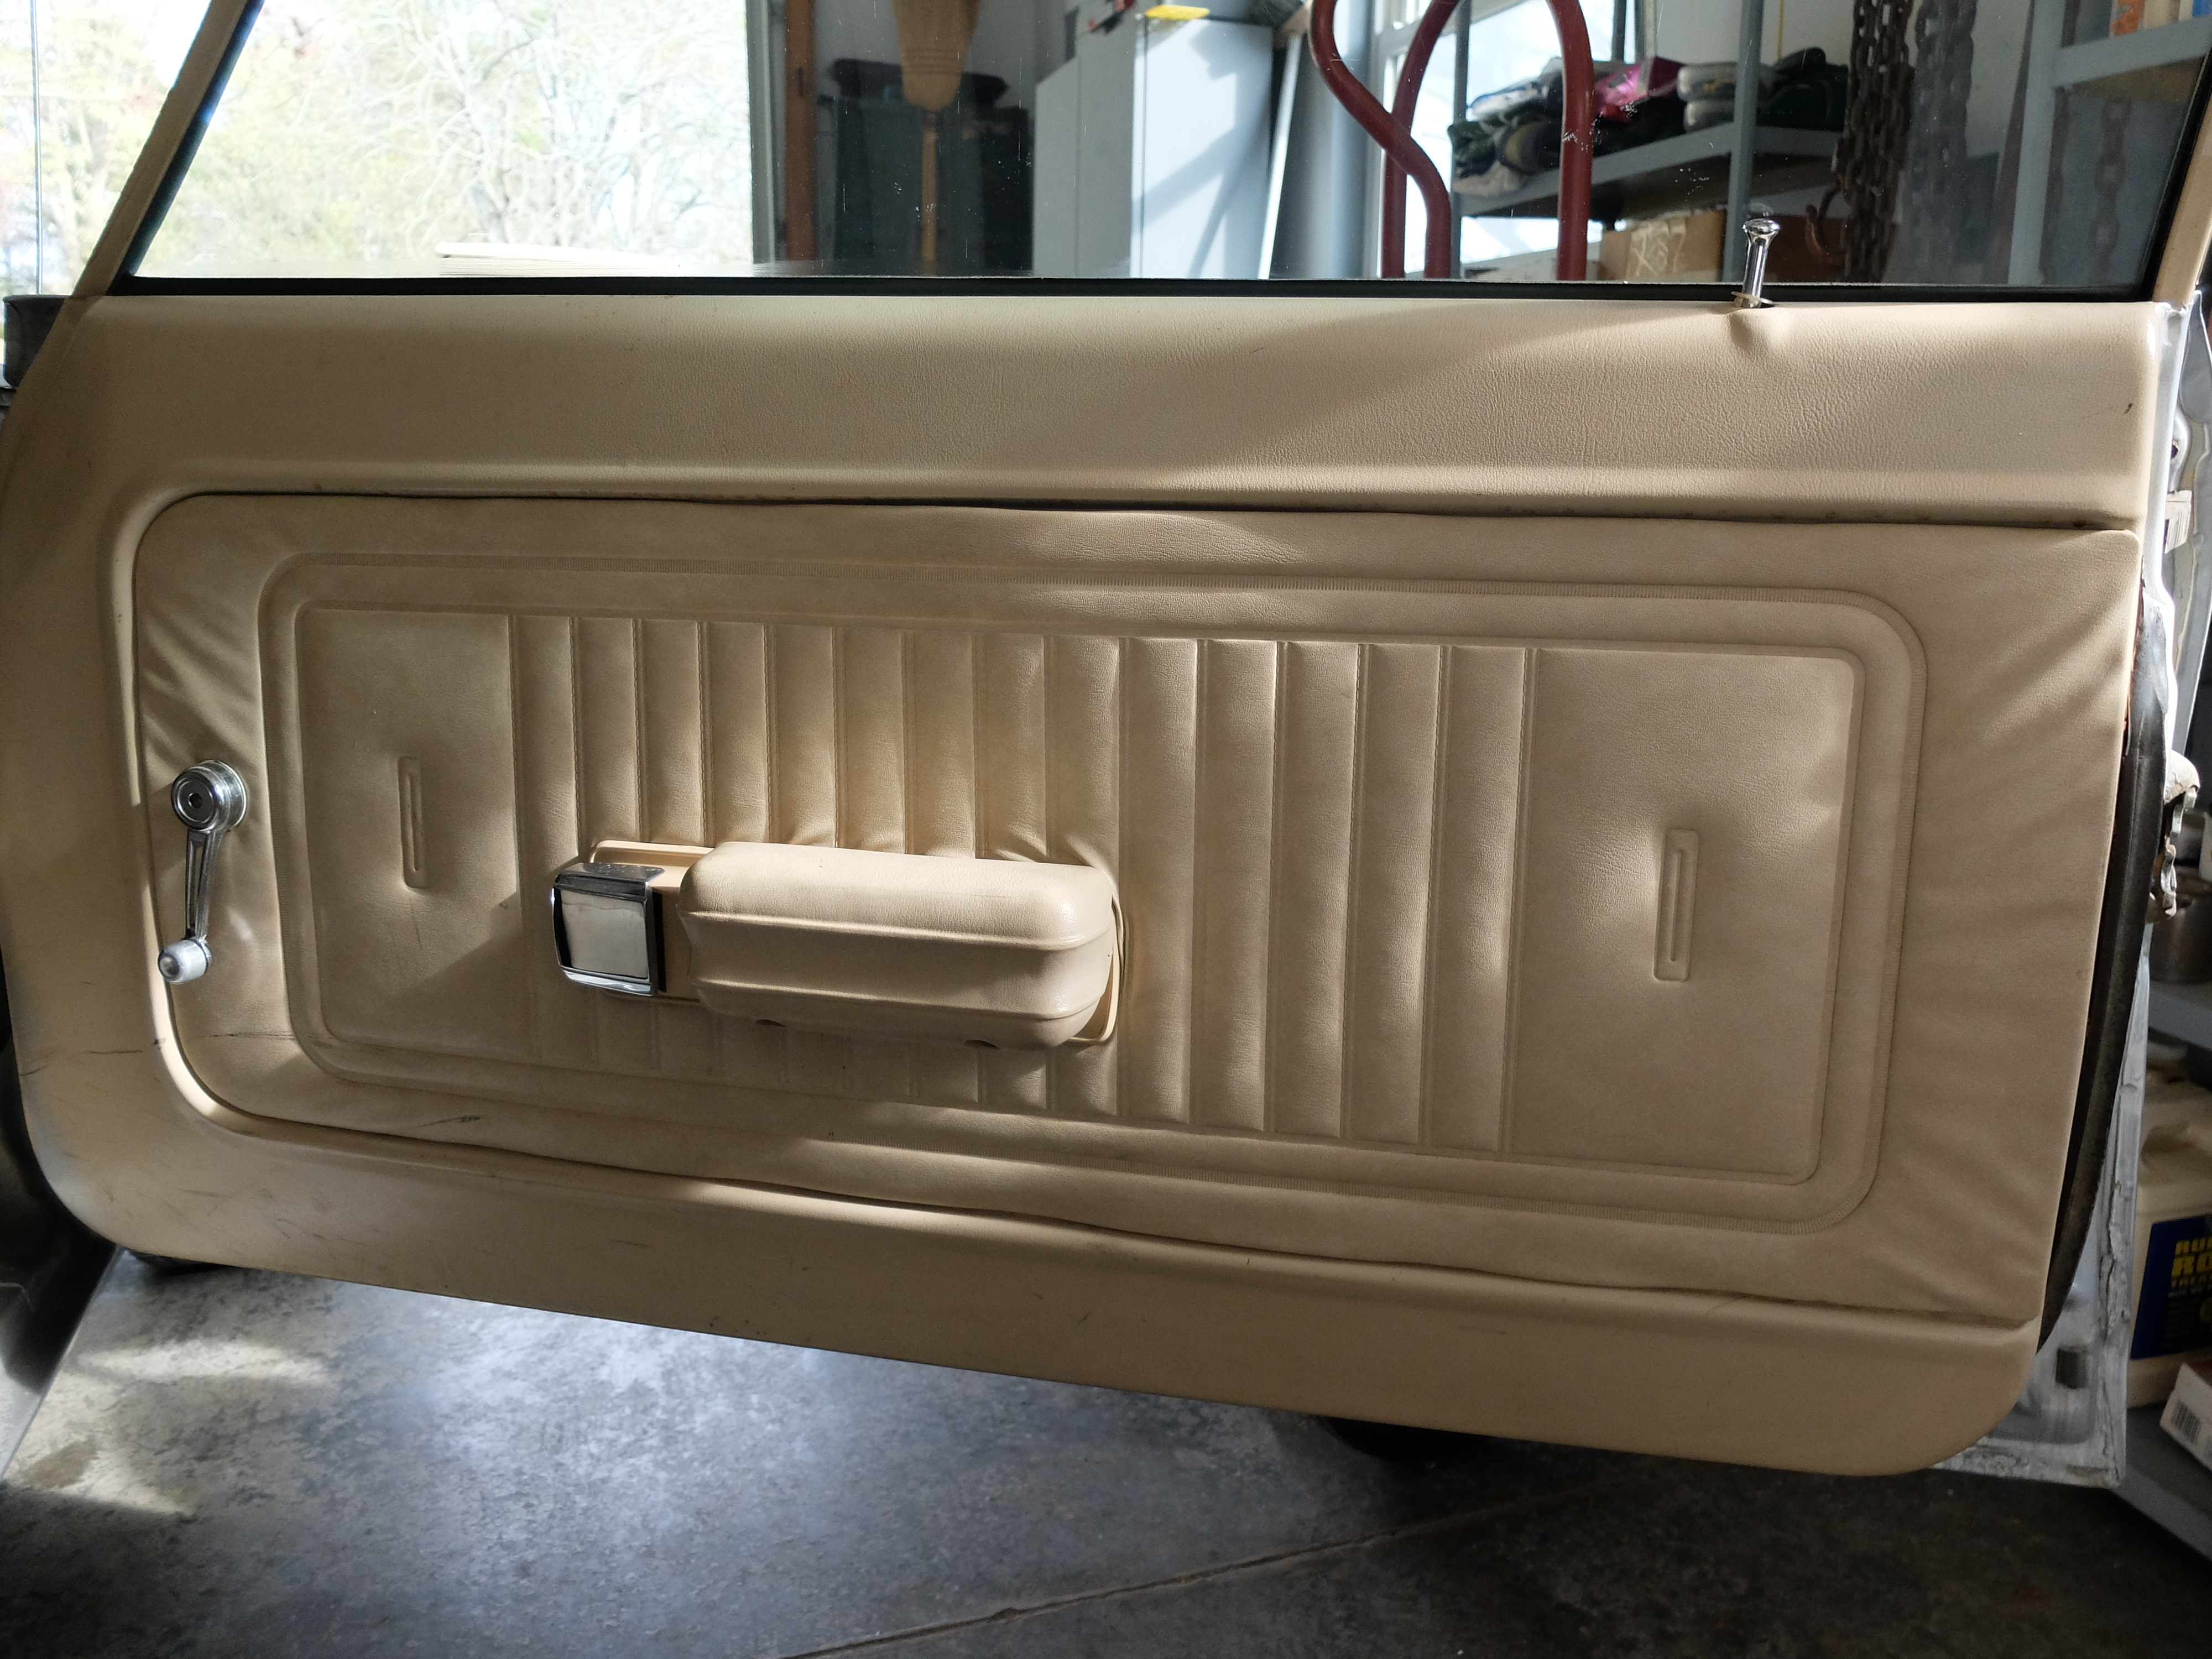
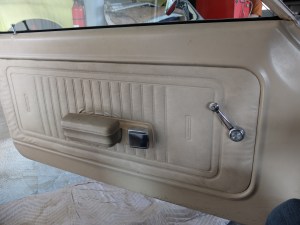
- These are the plastic side panels that you can paint. Wasn’t so sure abut that, but have seen some done and think they look great.

-
- We’ve taken out the black carpet and already purchased a deep green replacement.
-
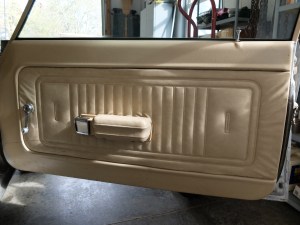
- Oh, these poor doors. They look pretty good, but when we took them off and tilted them to store, they sounded like fucking maracas! There is so much loose rust in there…
-
- We can take apart and re-stretch the vinyl. Looking to Momma for help with that!

-
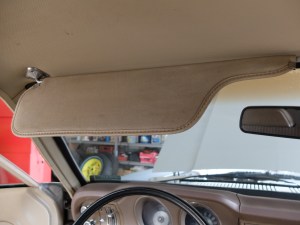
- The visors and the whole headliner itself are in good shape. The trick is not ripping a hole in the headliner during the rebuild.

-

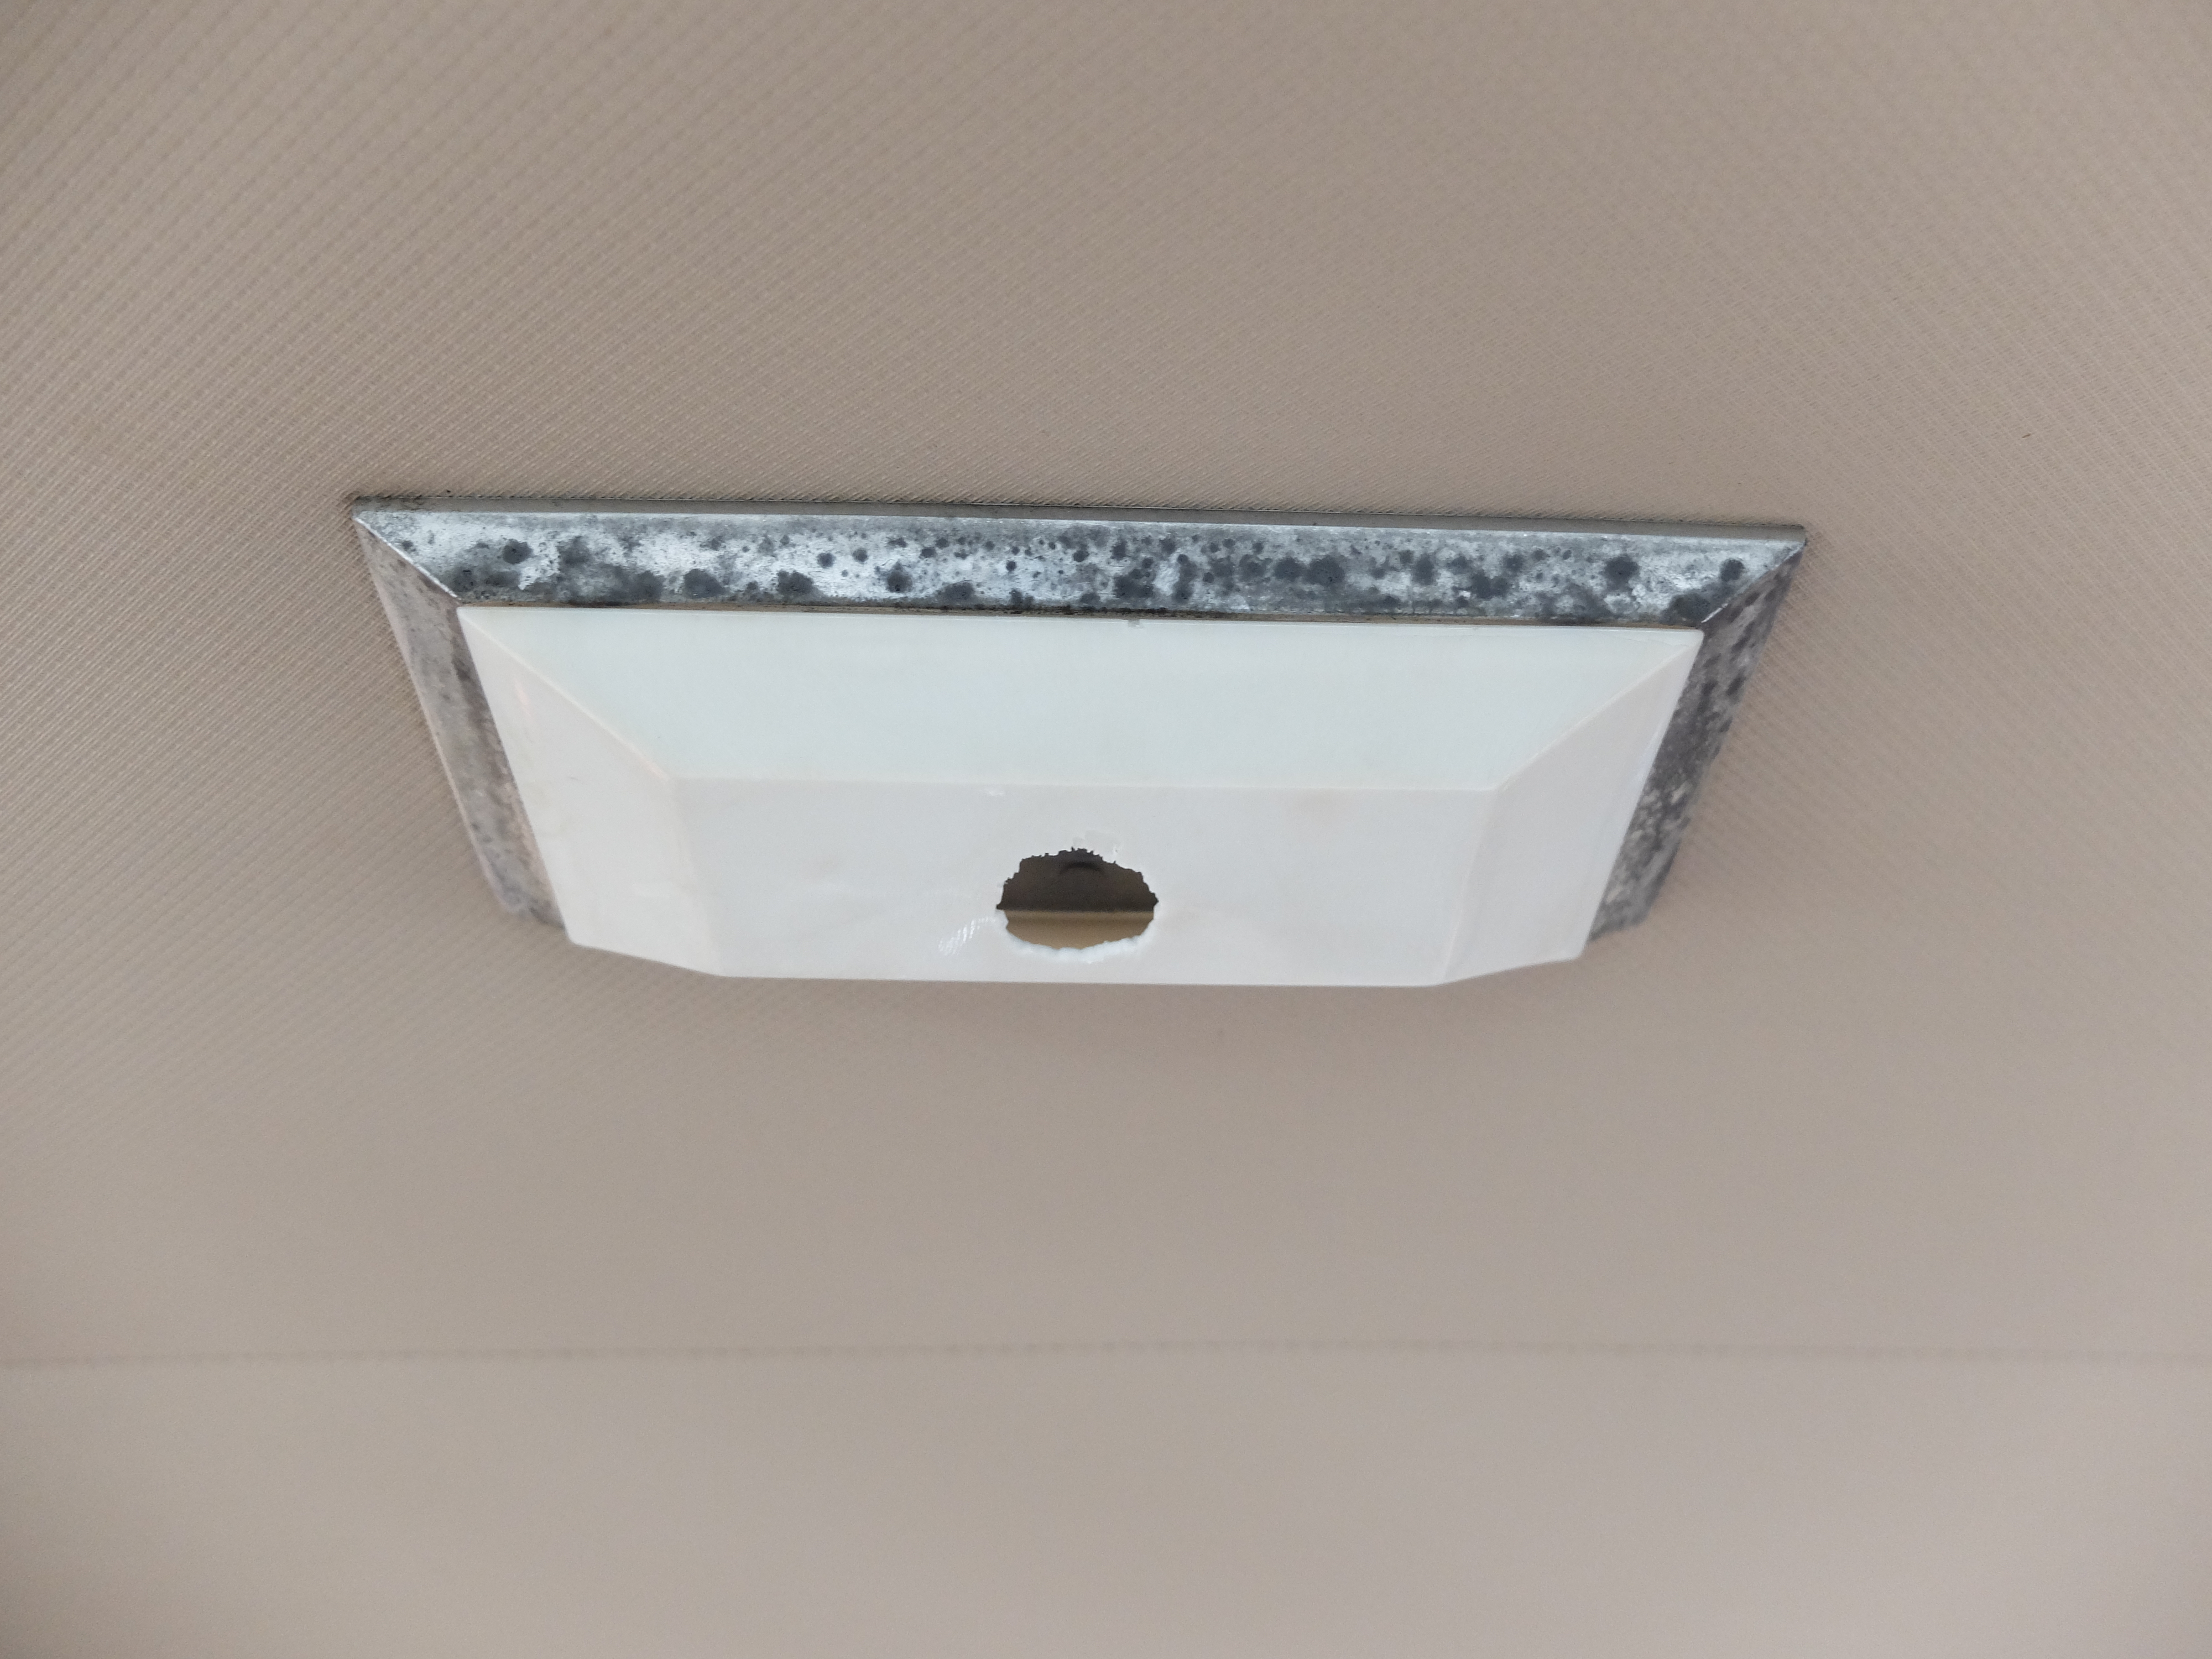
- Have already purchased a new dome light cover. There is some pretty realistic ‘chrome’ spray paint I’ll use for the edging.
-
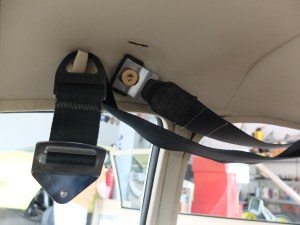
- Need seatbelt covers (a few) and missing one belt for the back seat. Also, little rip in the headliner we need to patch. Will be partially covered by the belt cover.

-

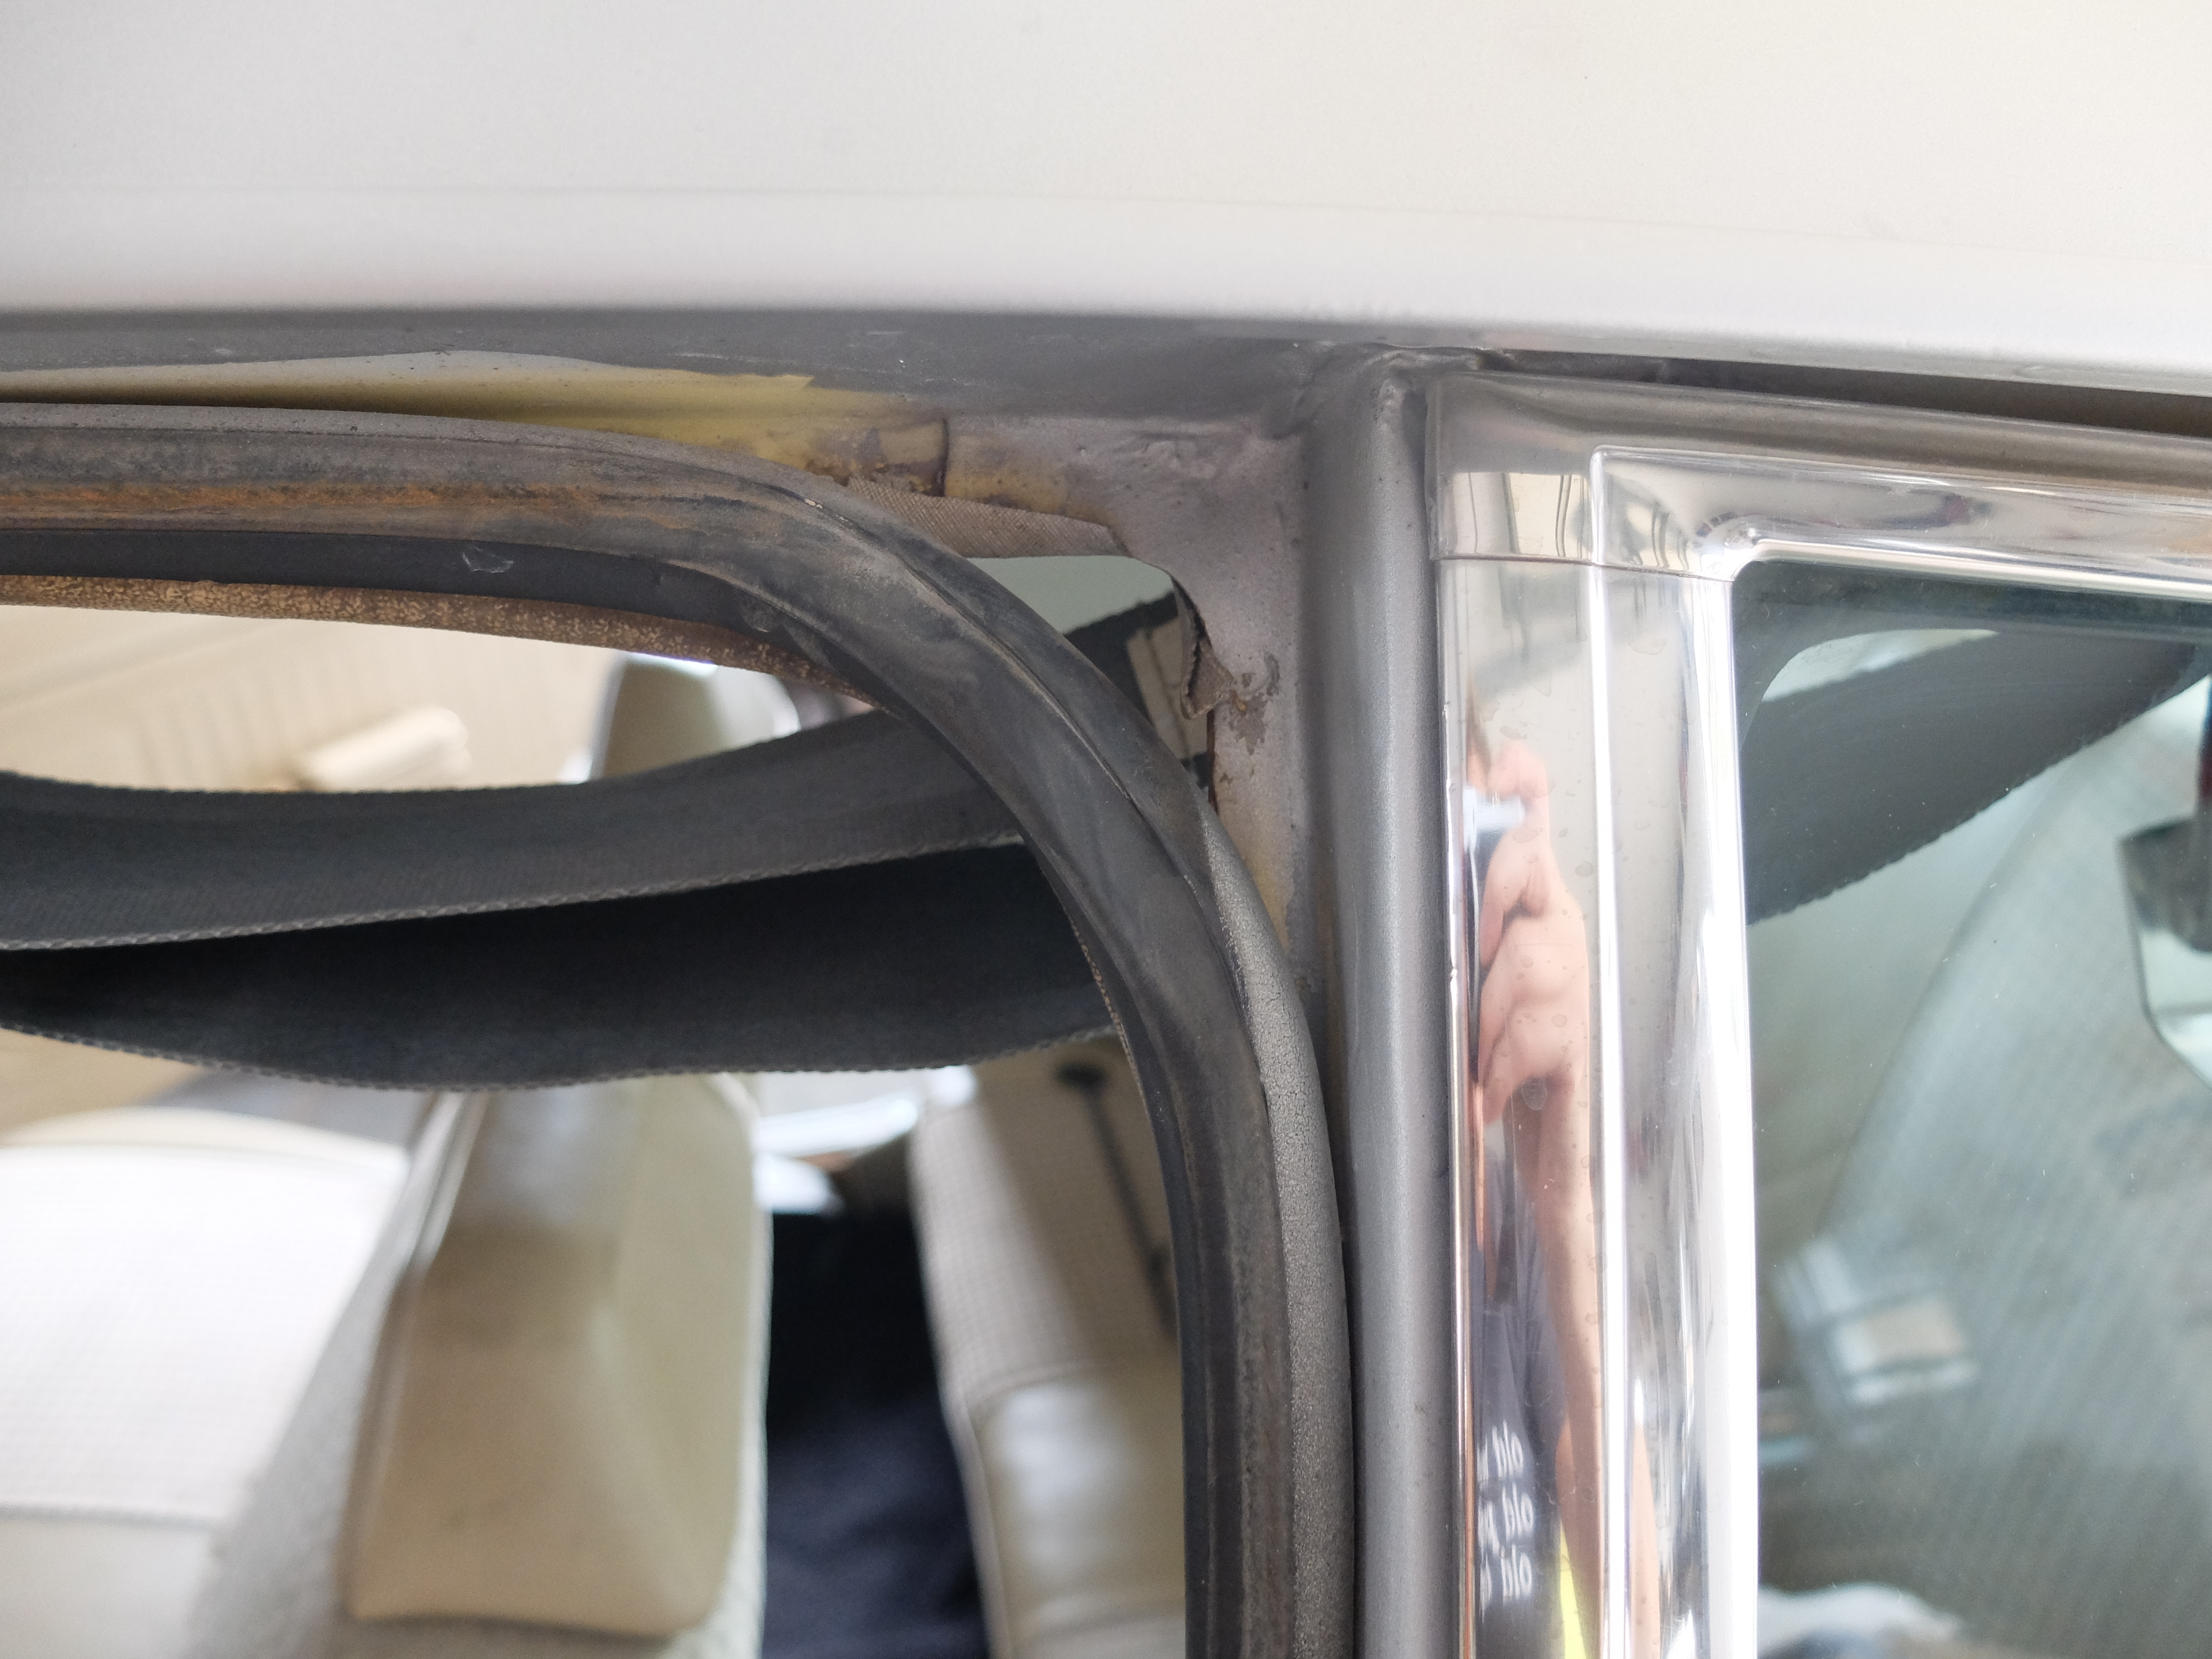
- This is the seal for the doors that has obviously shrunk over the year. Have purchased (expensive) new ones.
-

- Roof, other than one or two little spots, no hail damage here!

-
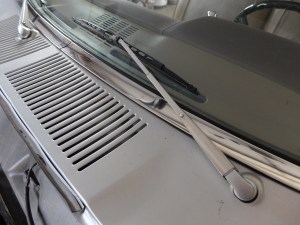
- All the windows were great…but we somehow knicked the windshield while moving. Could have been on the road trip down. Booooooo!

-
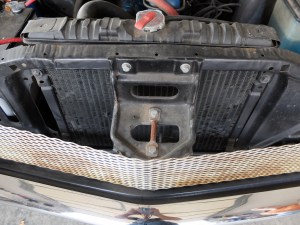
- Already bought an original grill off eBay.

-

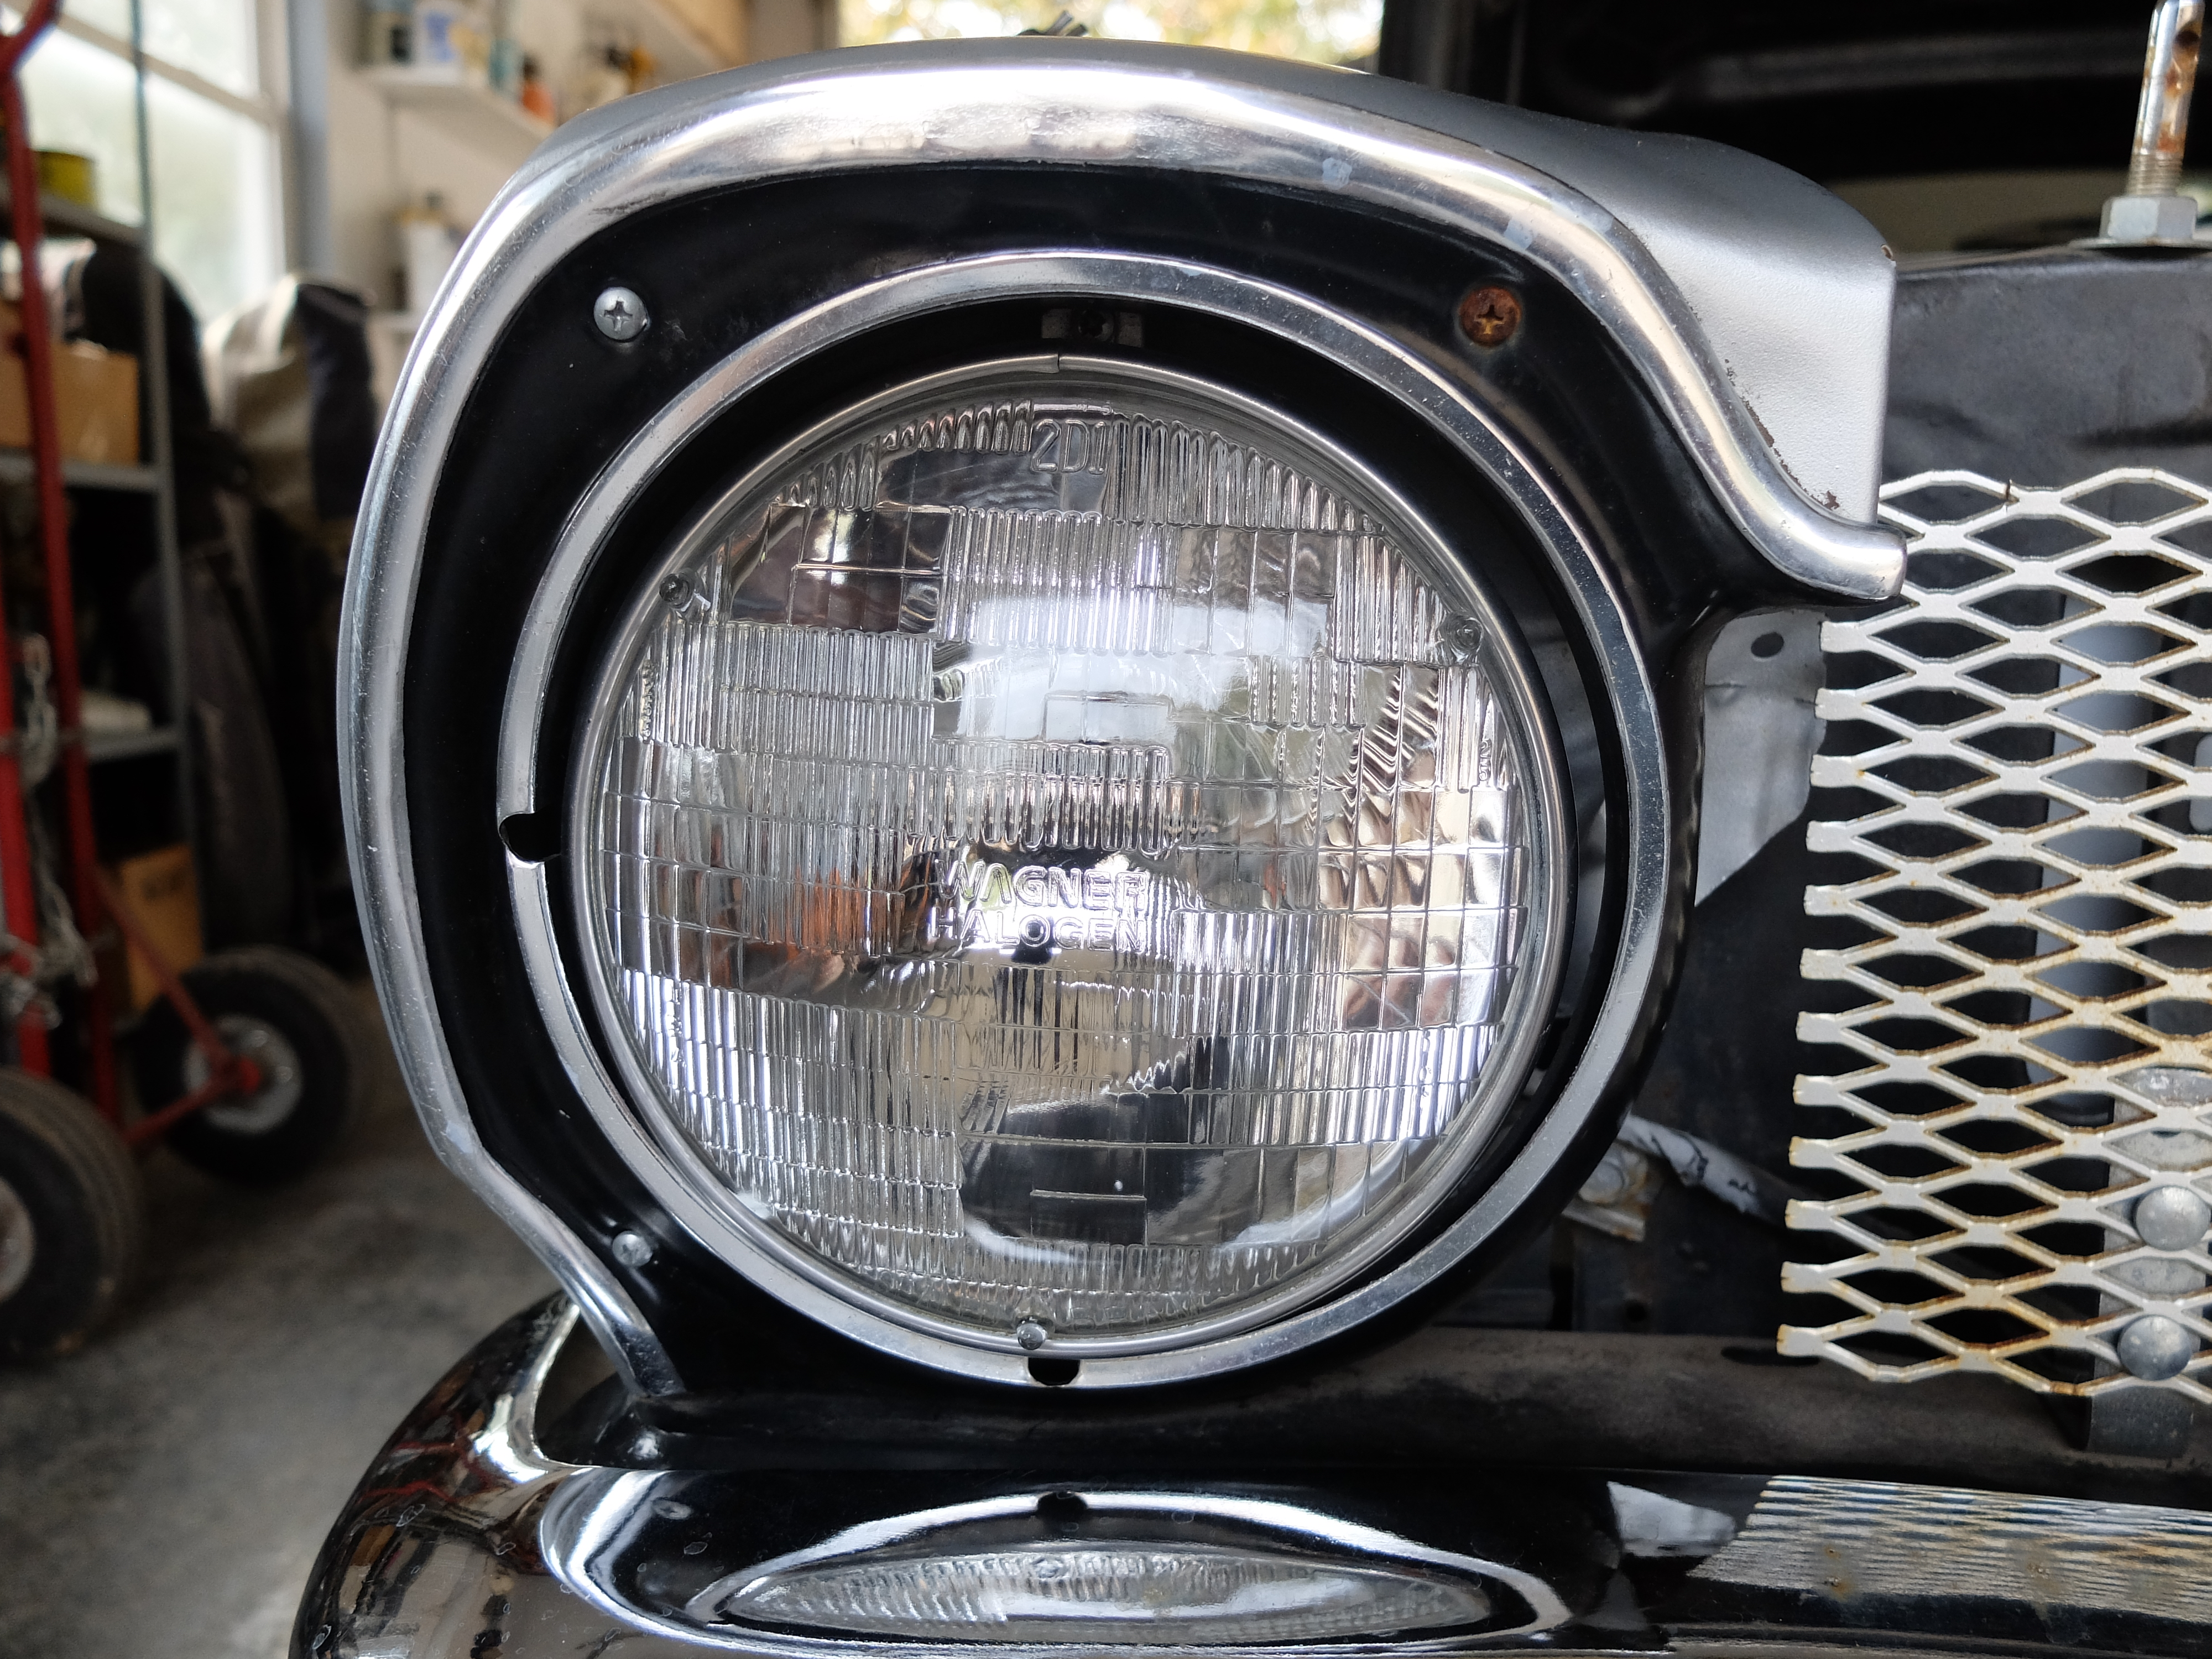
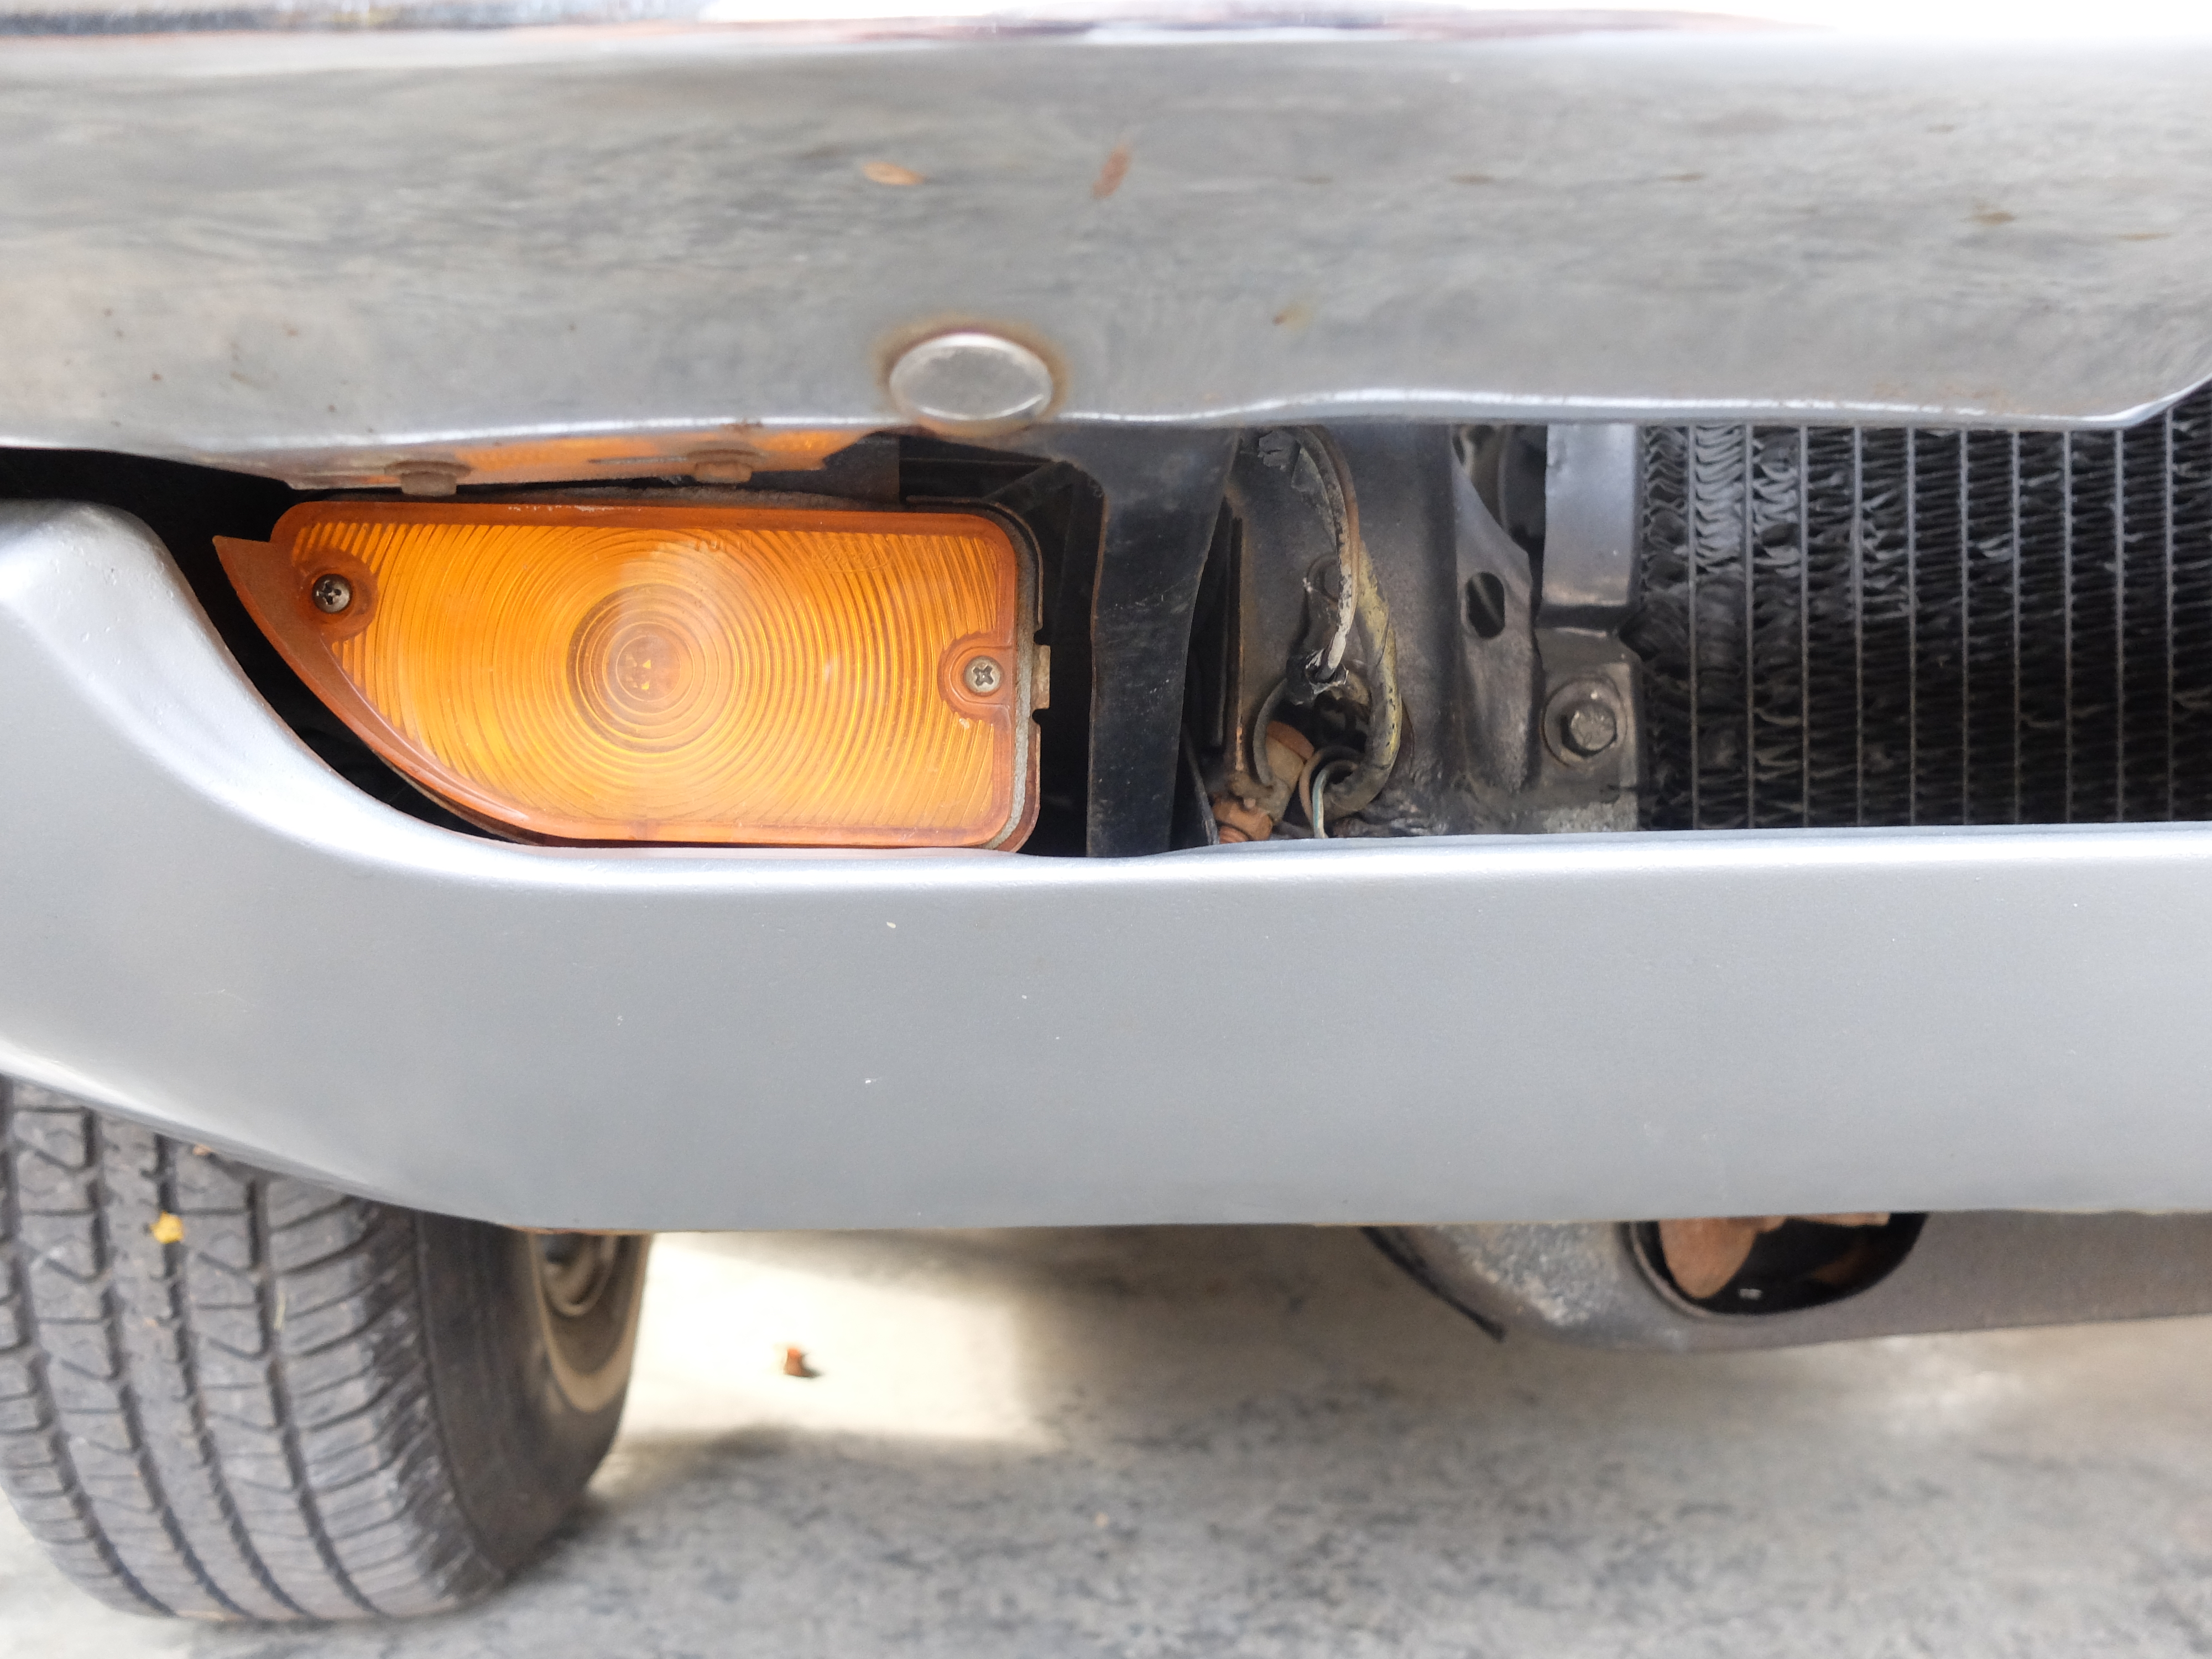
- The lamps are both great, had to purchase new bowls as they were rusted out messes.
-

- Most of the chrome is in good shape, but will still need a little TLC.
-
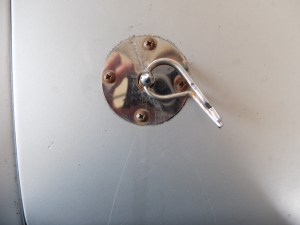
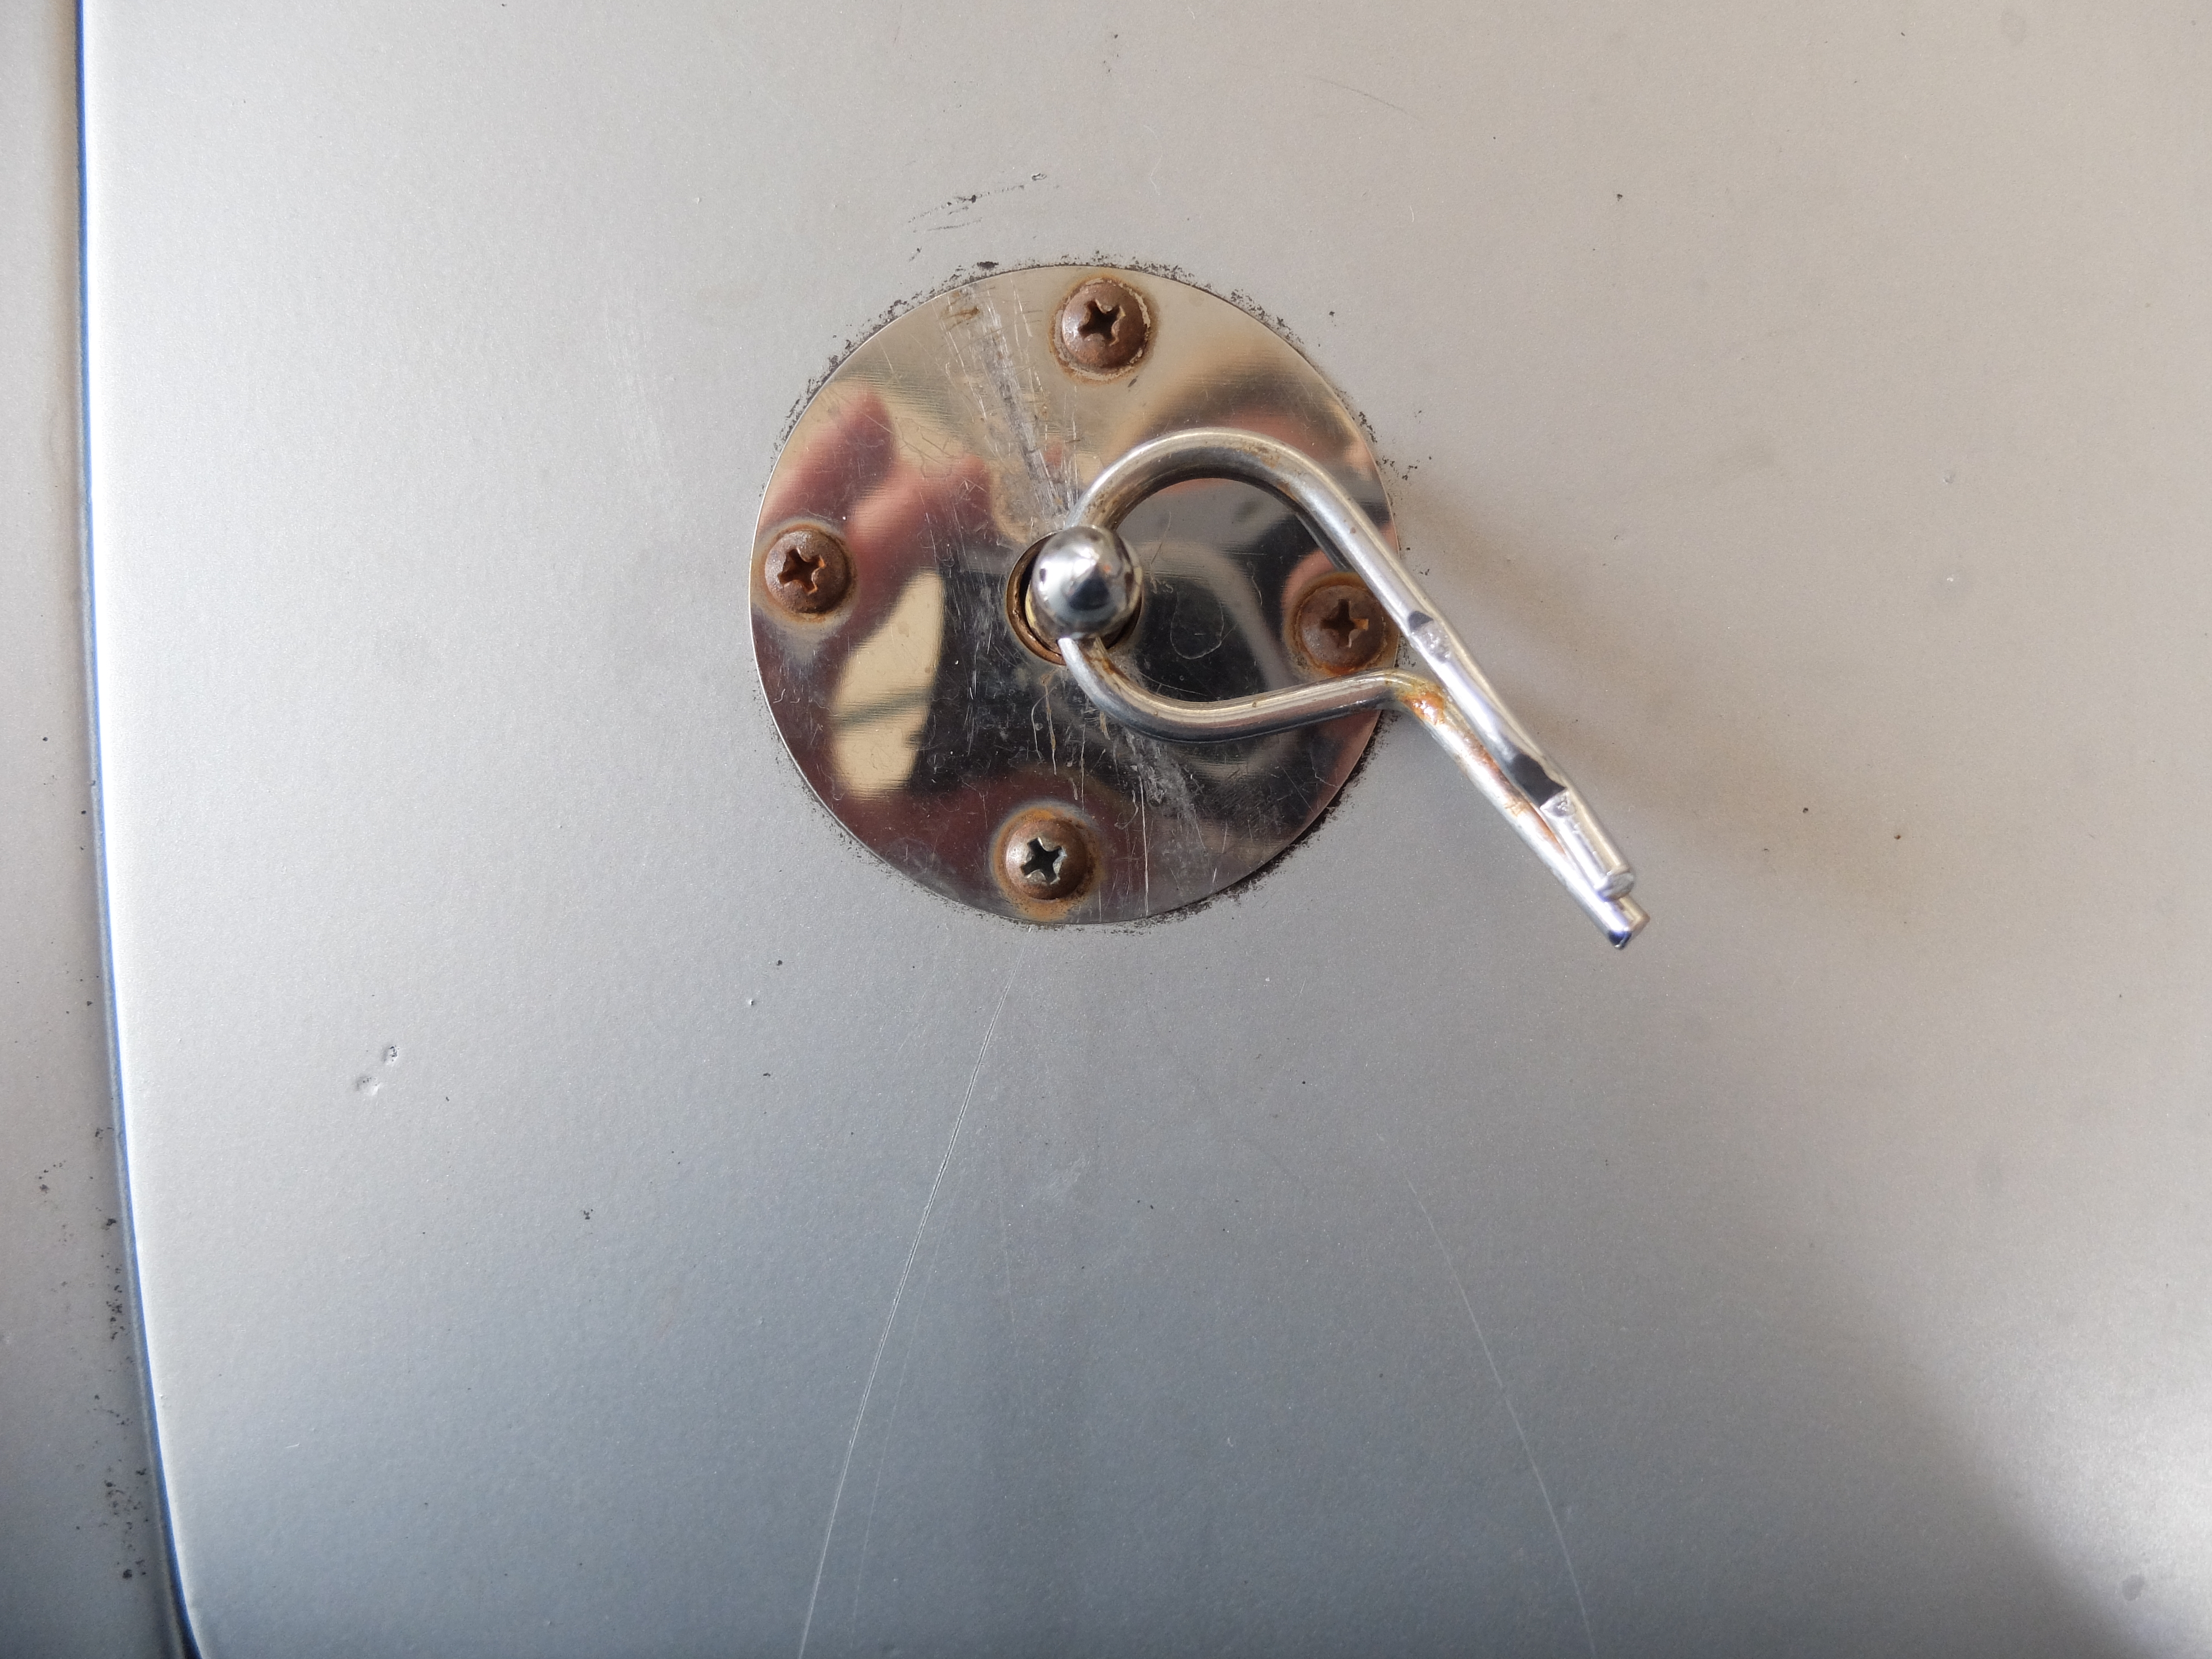
- This is one of two clips that some people add to keep the hood closed. Pop’s not a fan and I’ve also heard that the hood sometimes can shake at higher mph’s. A kind soul gave us a new latch which is a good thing because I think they look like pierced nipples.
-

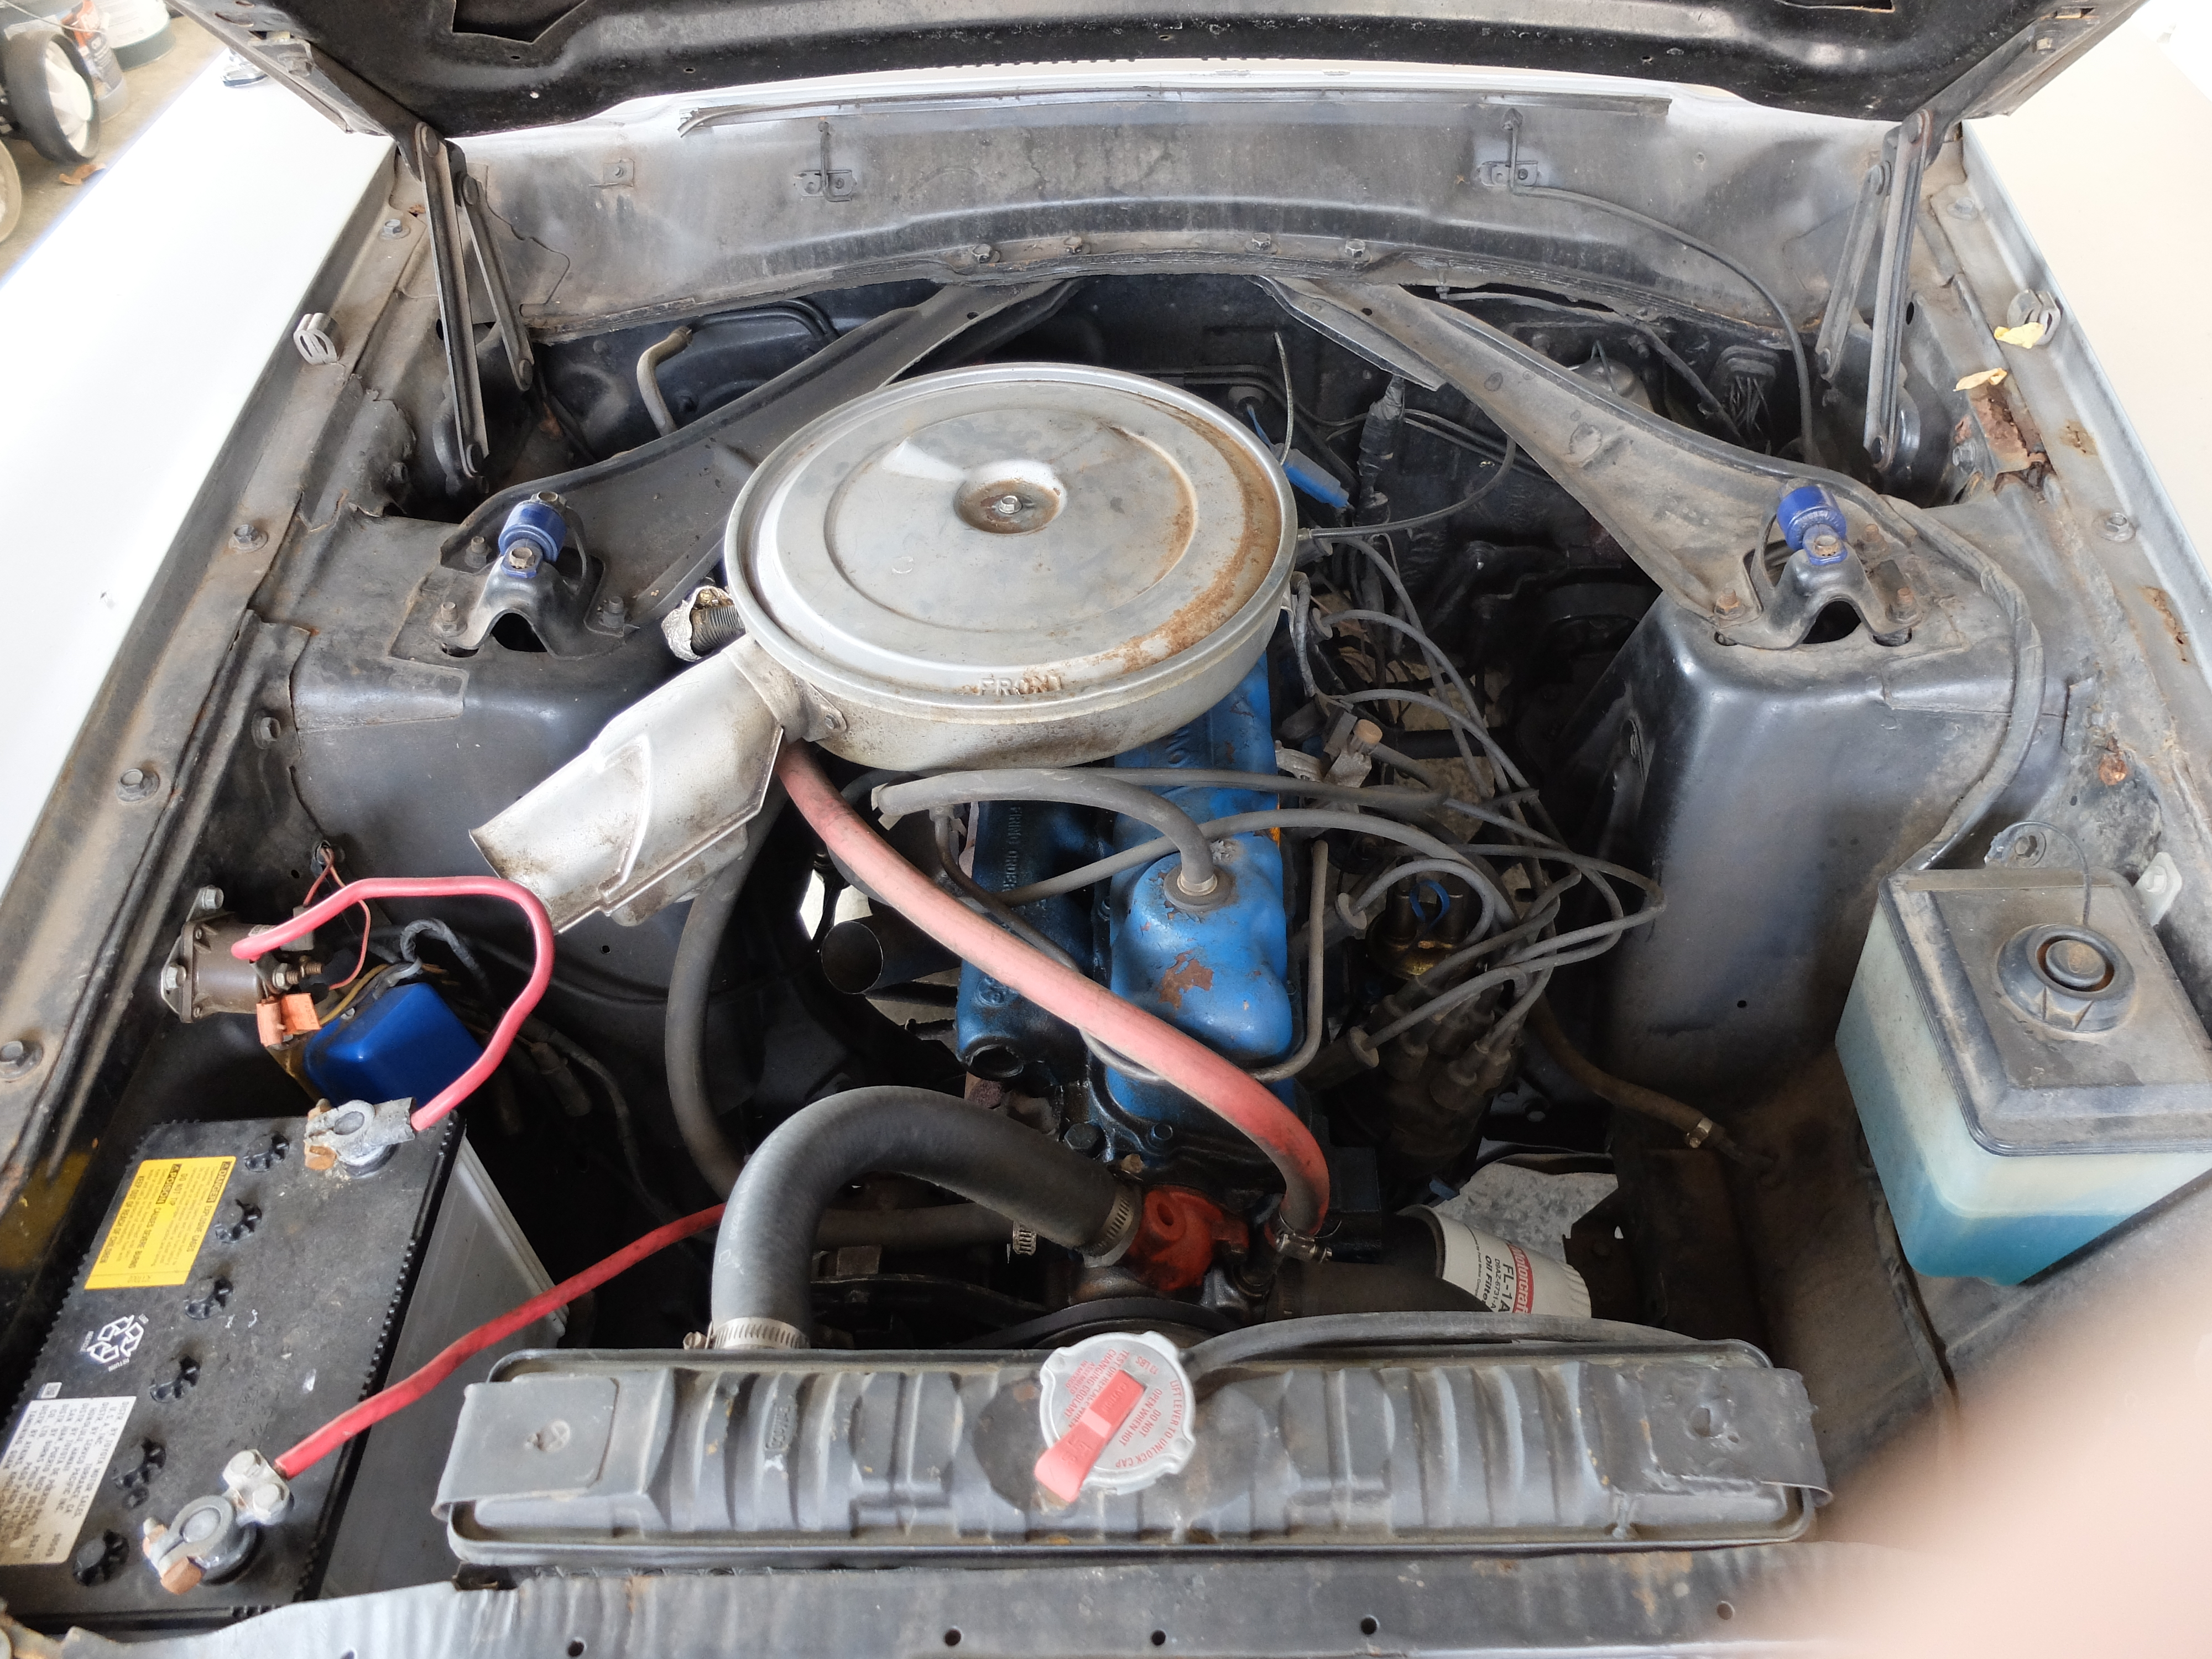
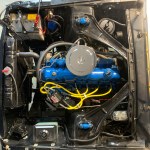
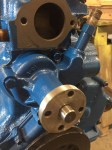
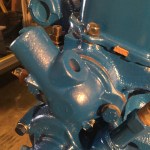
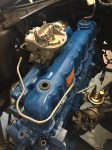
- There the little Inline 6. The plan is to keep it that way.

-
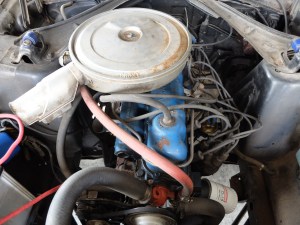
- Will get a shiny air filer