Cancer, COVID, and Quarantine Green

Thirty-three years ago Pop had the upper lobe of his right lung removed, which included a cancerous tumor. When he checked into the hospital the day of the surgery they asked if he wanted a smoking room.  That’s messed up, but it was 1988, I was 18 and like Pop, also smoked.  Driving out of the parking lot after visiting him post-op, I dramatically threw a half-smoked pack of Newports (yuck) out the window, tears in my eyes…“Never again!!” In all honesty, it took me a bit more time being an idiot before completely kicking the habit.

Fast forward to 2020 and dang, they find a spot on Pop’s left lung, this time in the lower lobe.  We hoped for the best, but as my sister Kristen reported, the ‘nodule’ was being an asshole, and was again, cancerous.  Pop had surgery to remove the lobe, which he got through like a fucking champ, as well as some preventative chemo.  The day after he got home from surgery, he told me on the phone, “I feel great!  I could chop wood!”  Now, the old man was on pain meds and later would say he could barely walk, but I loved his enthusiasm. Momma’s been amazing, taking things as they come and as usual, being optimistic and so, so strong.

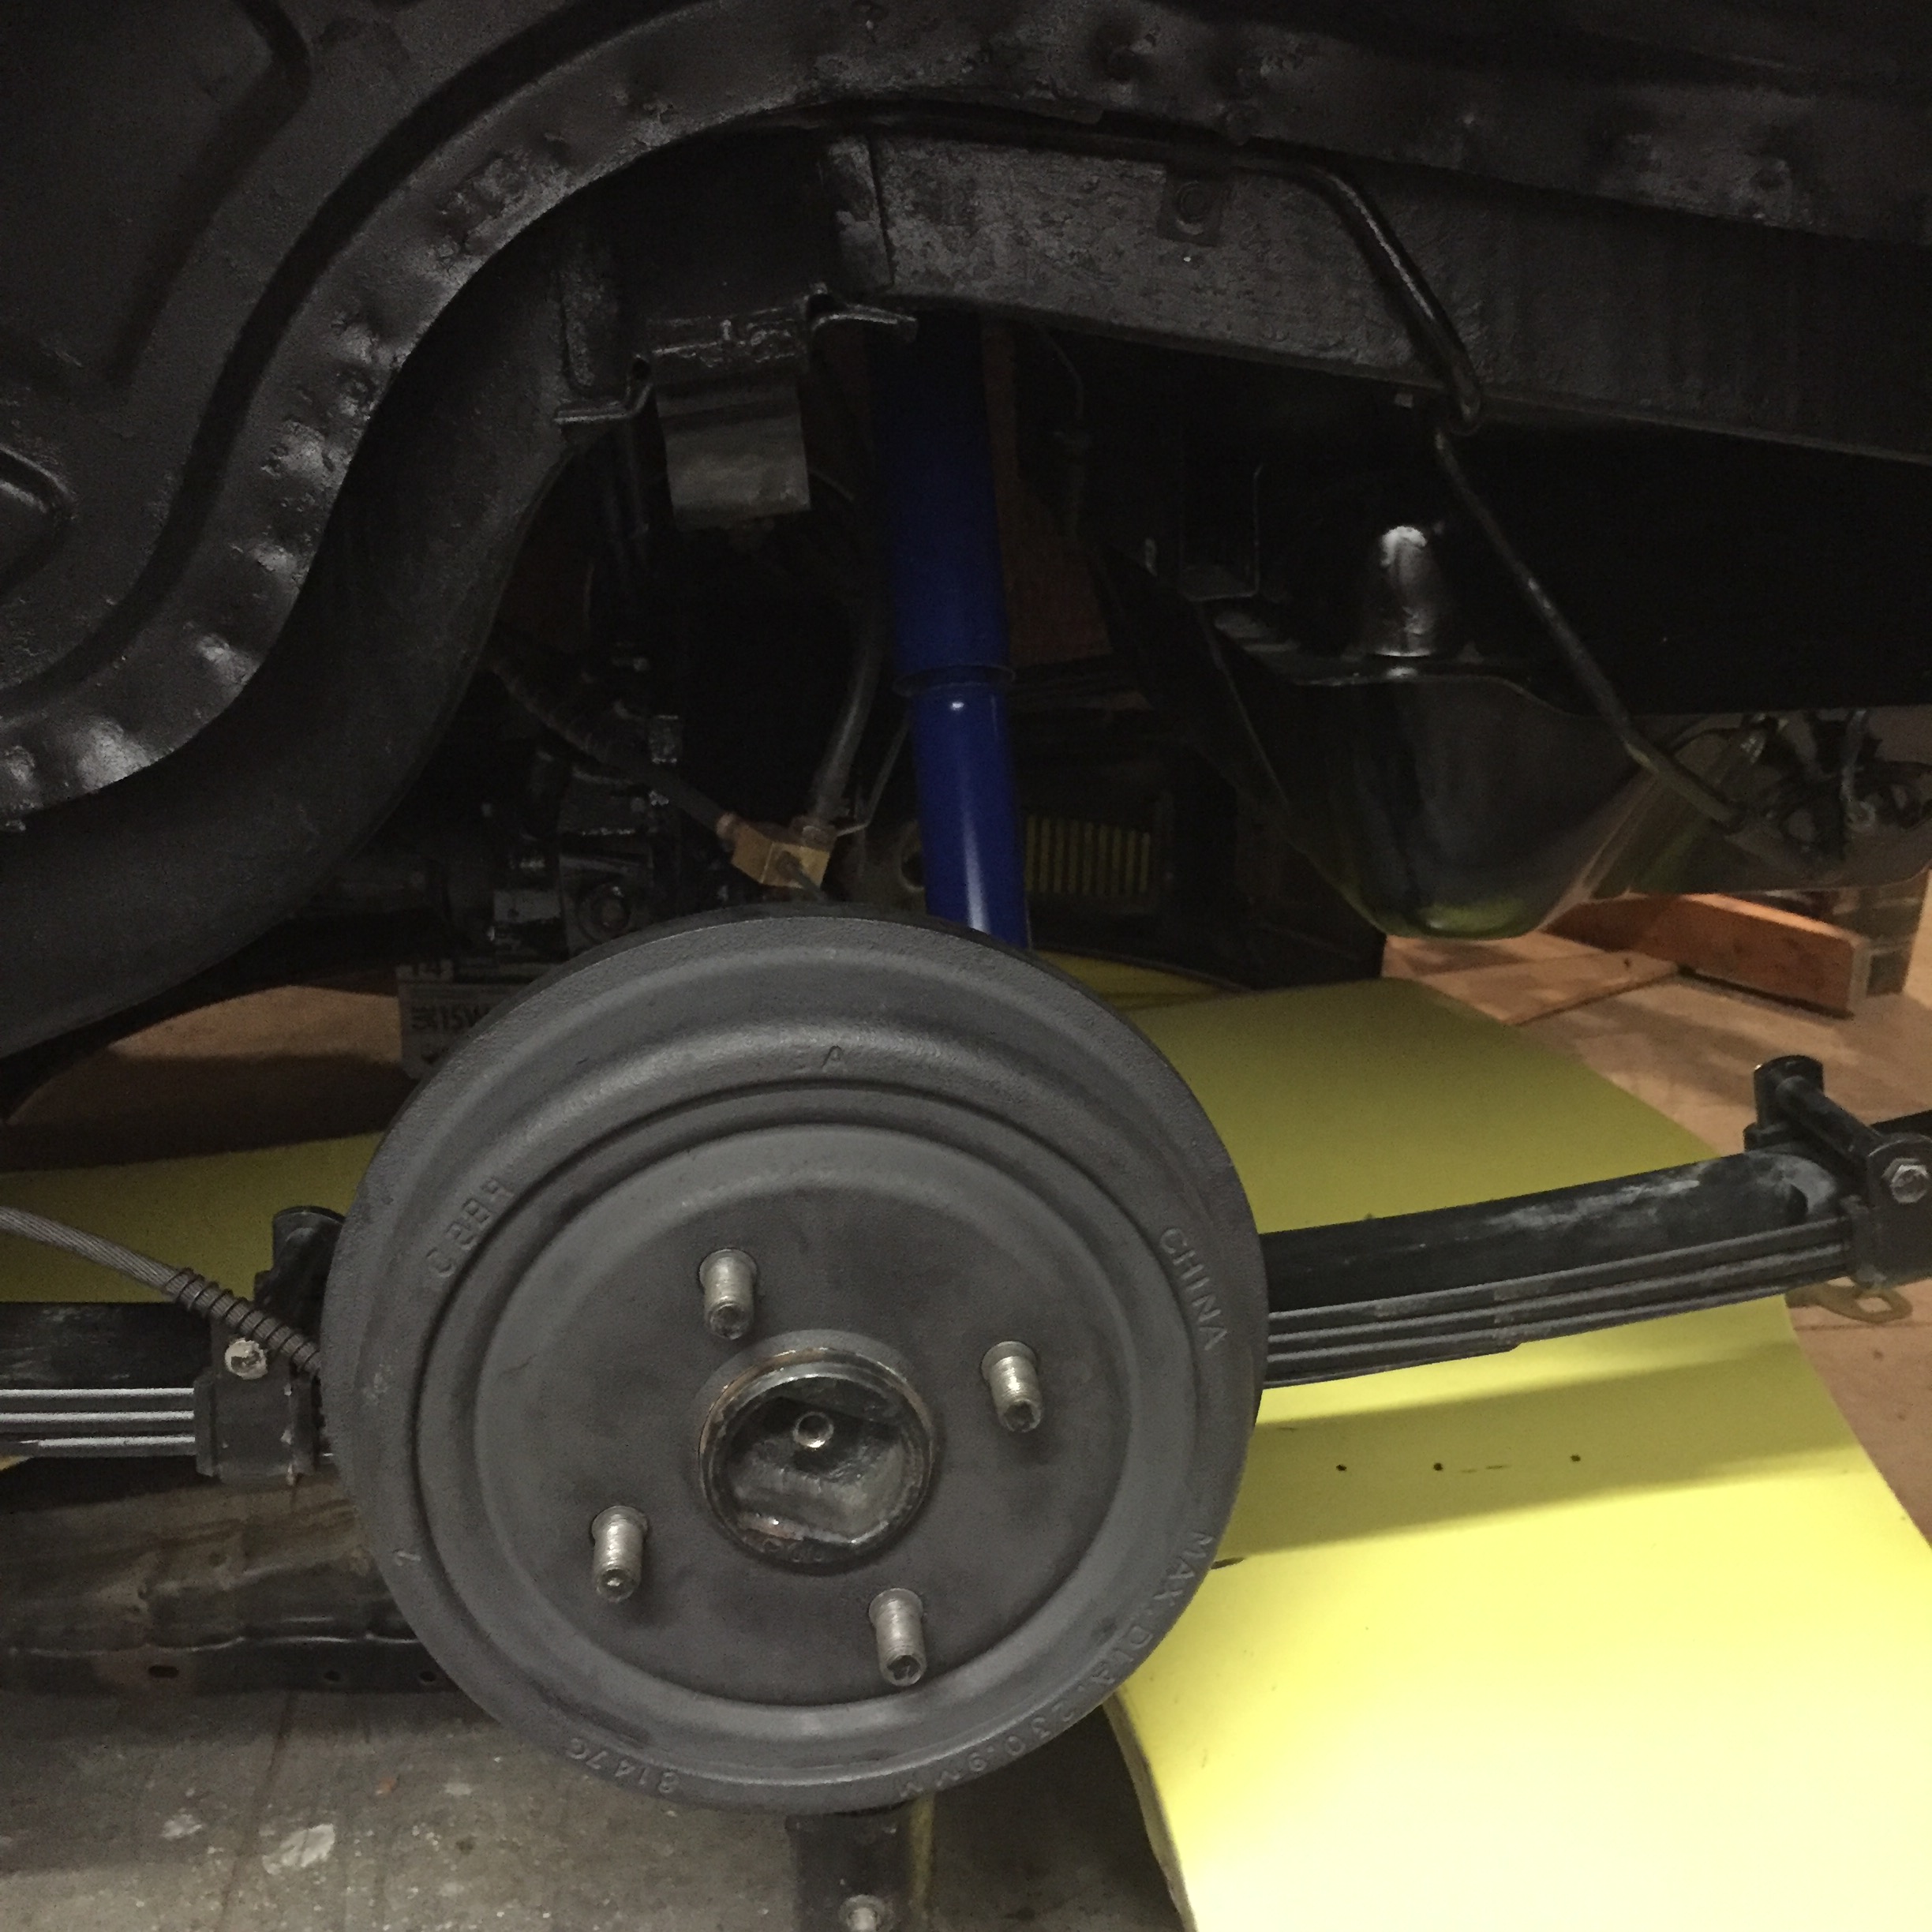
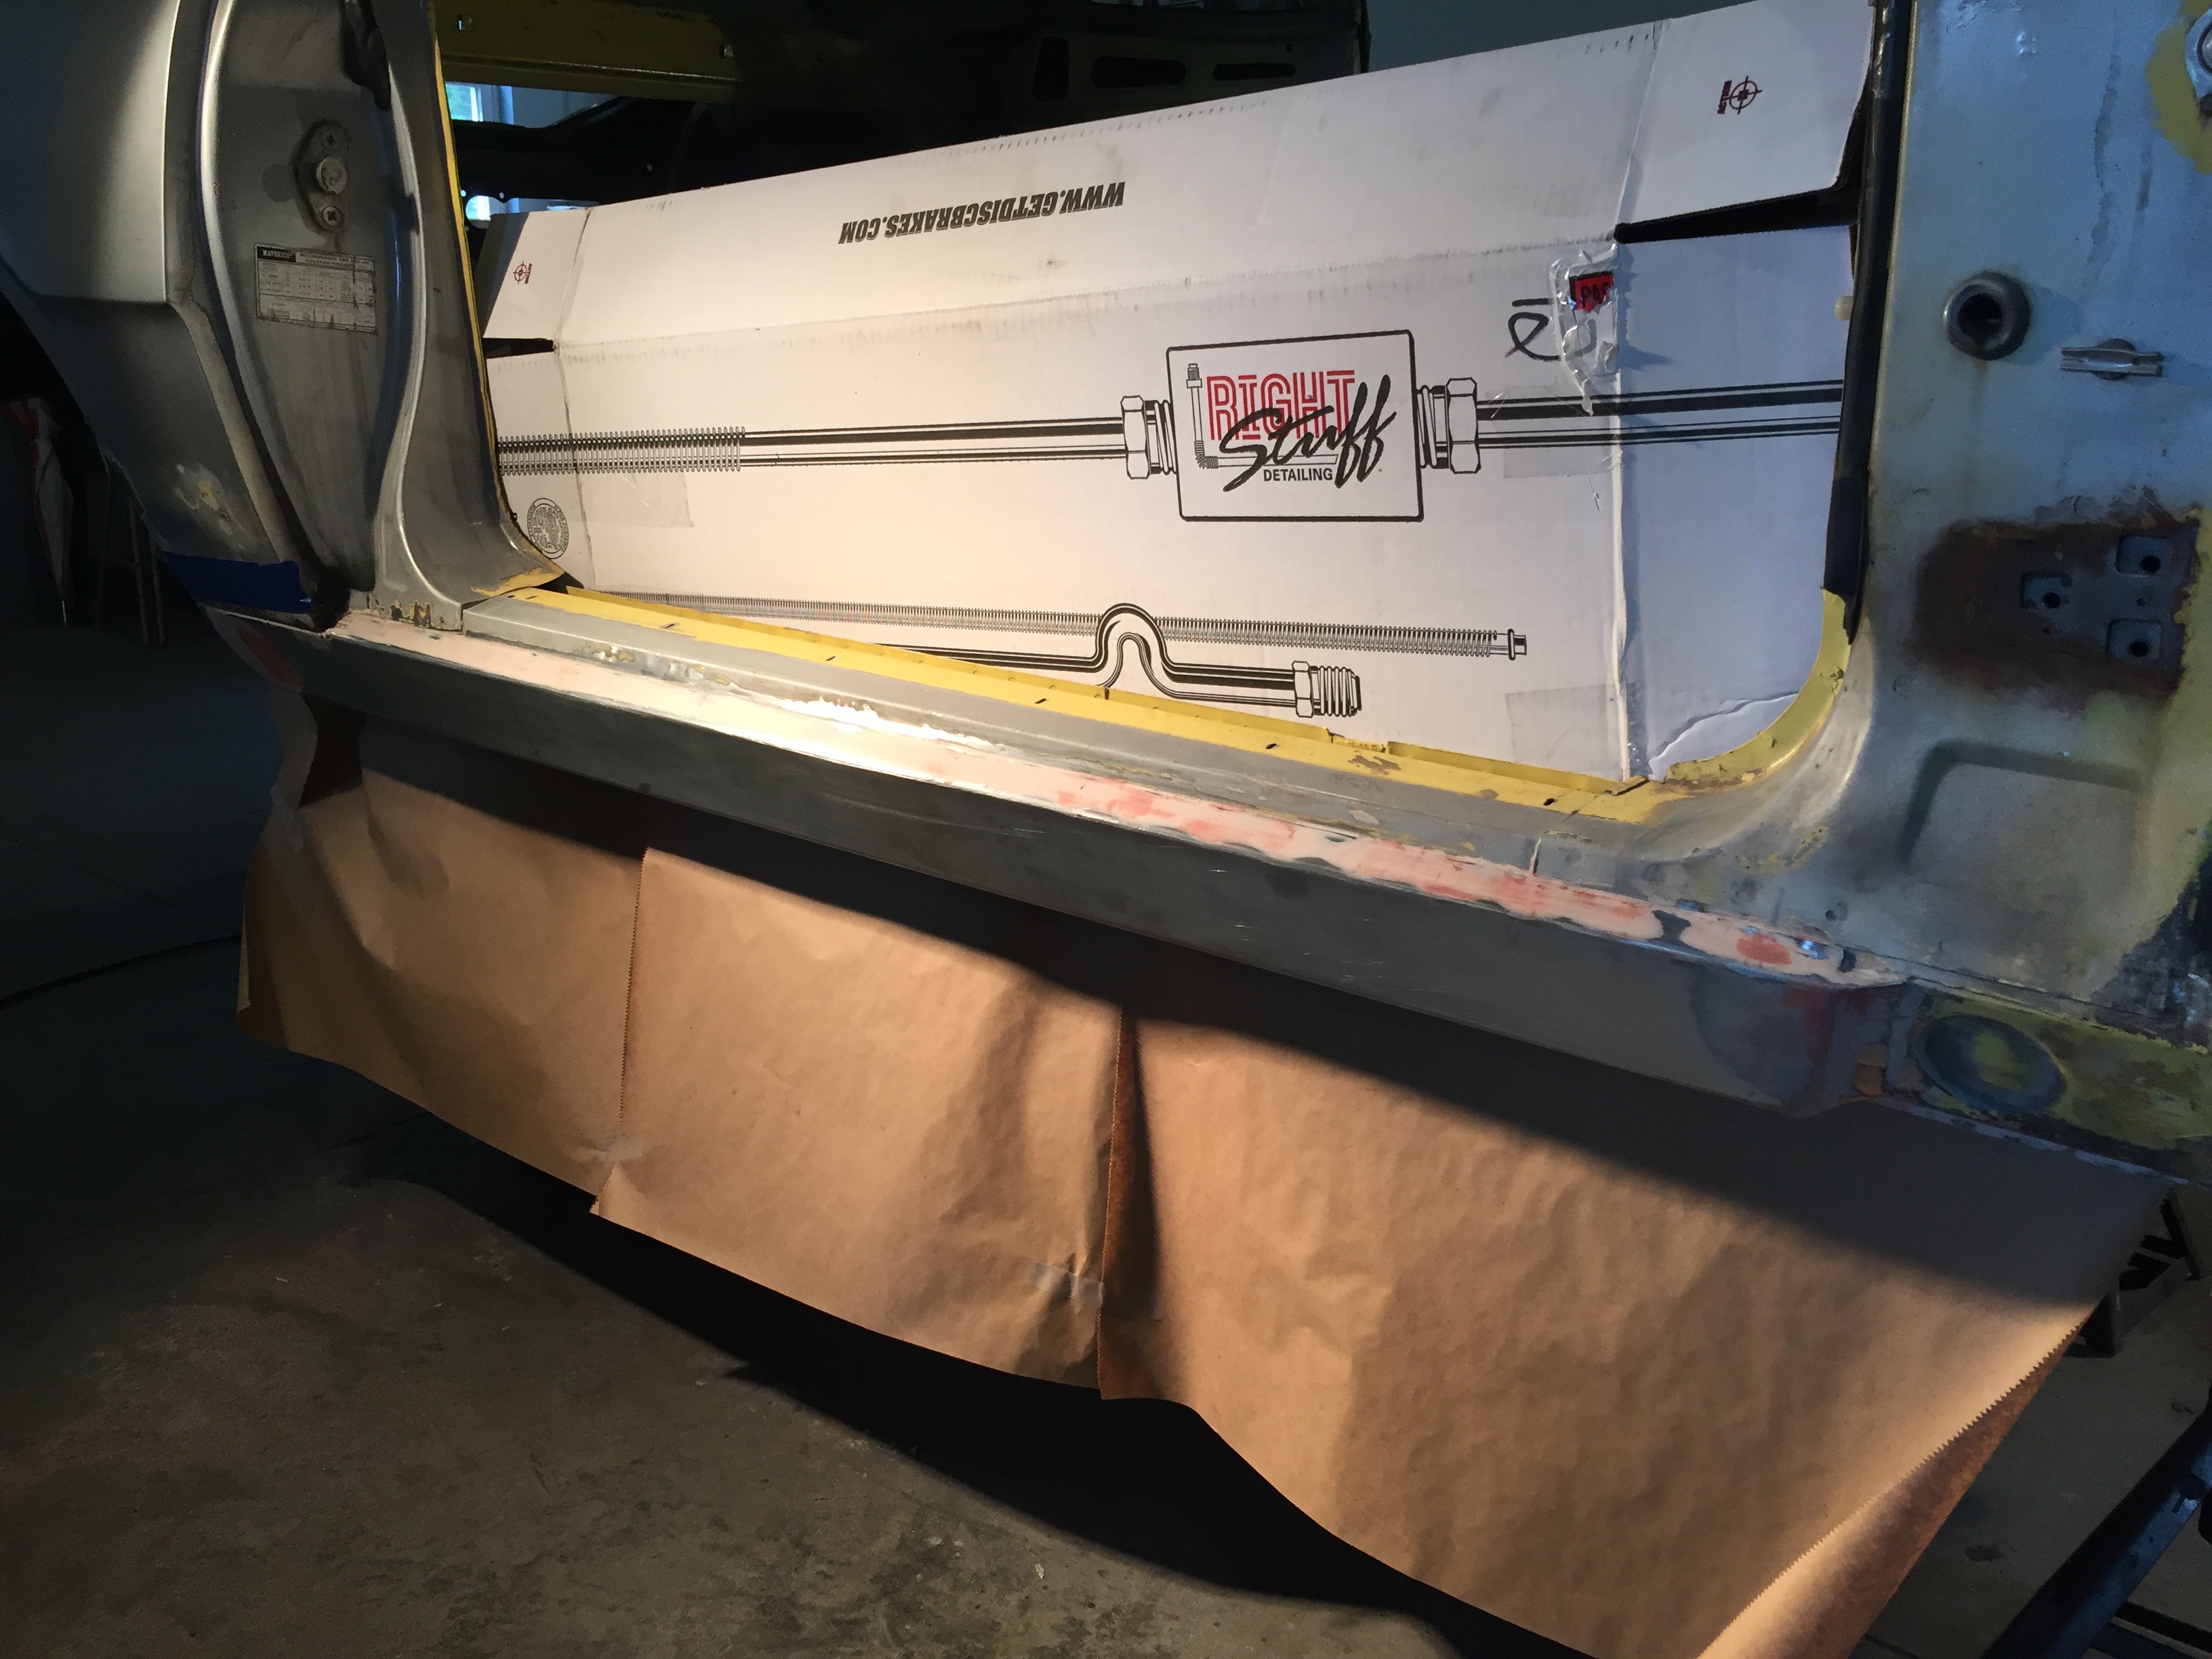
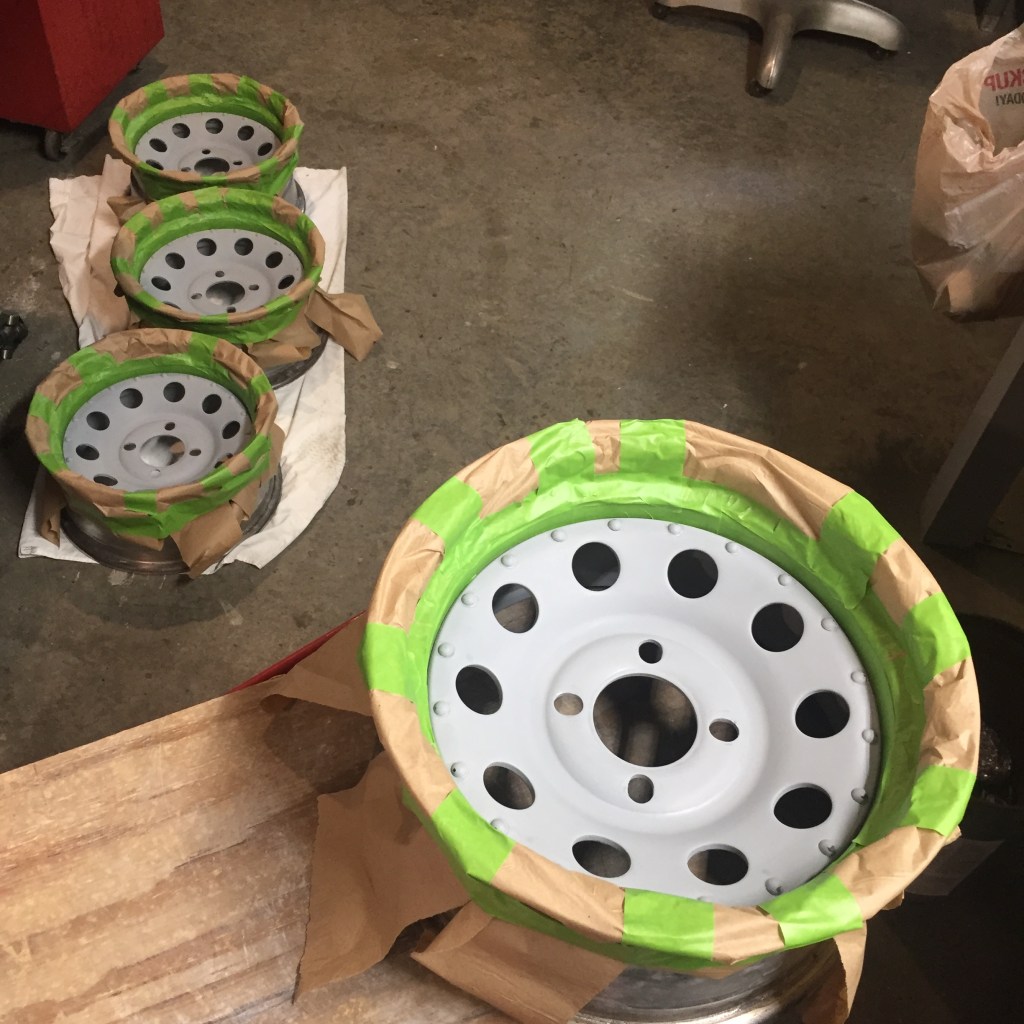
So with that, and this pandemic thing we have going on, visits to Kentucky to see the P’s and work on Mavis have basically ceased for the past year. During this time, I’ve have had waaaaaaaaay too much time to think about the color I’ve chosen to paint Mavis.  This is chapping Pop’s ass because I have already picked the color, purchased it, and painted the wheels with it, but I don’t think I like it. Yes, I spent $320 on the paint, but like every car restoration project out there, the budget was blown long ago. I figure, regardless of all the glorious things Mavis will have under her hood, the exterior paint color is the first thing I’ll see.  I should love it, right?

IMG_3092
I went through a ridiculous amount of different shades of green.
1976-fordtruck-pg01
I finally settled on Medium Green Glow Poly (W2784)

Ford Medium Green Glow / #53692f Hex Color Code

#53692f Paint Chip

Problem is, between choosing the color and actually painting my wheels with it, there was quite a long break. I didn’t even realize the color I actually got was not the right green when I painted the wheels. This was after painstakingly sanding and prepping each one (thanks Kristen and Griff!) We even had the tires put on, we were so darn pleased with ourselves. Then came my dramatic realization that it was NOT the green I originally picked and I’m pissed at myself that I didn’t compare it to the original paint chip. It’s not the right green, and it’s also too yellow for my liking. Like, I don’t think I can just ‘live with it’.

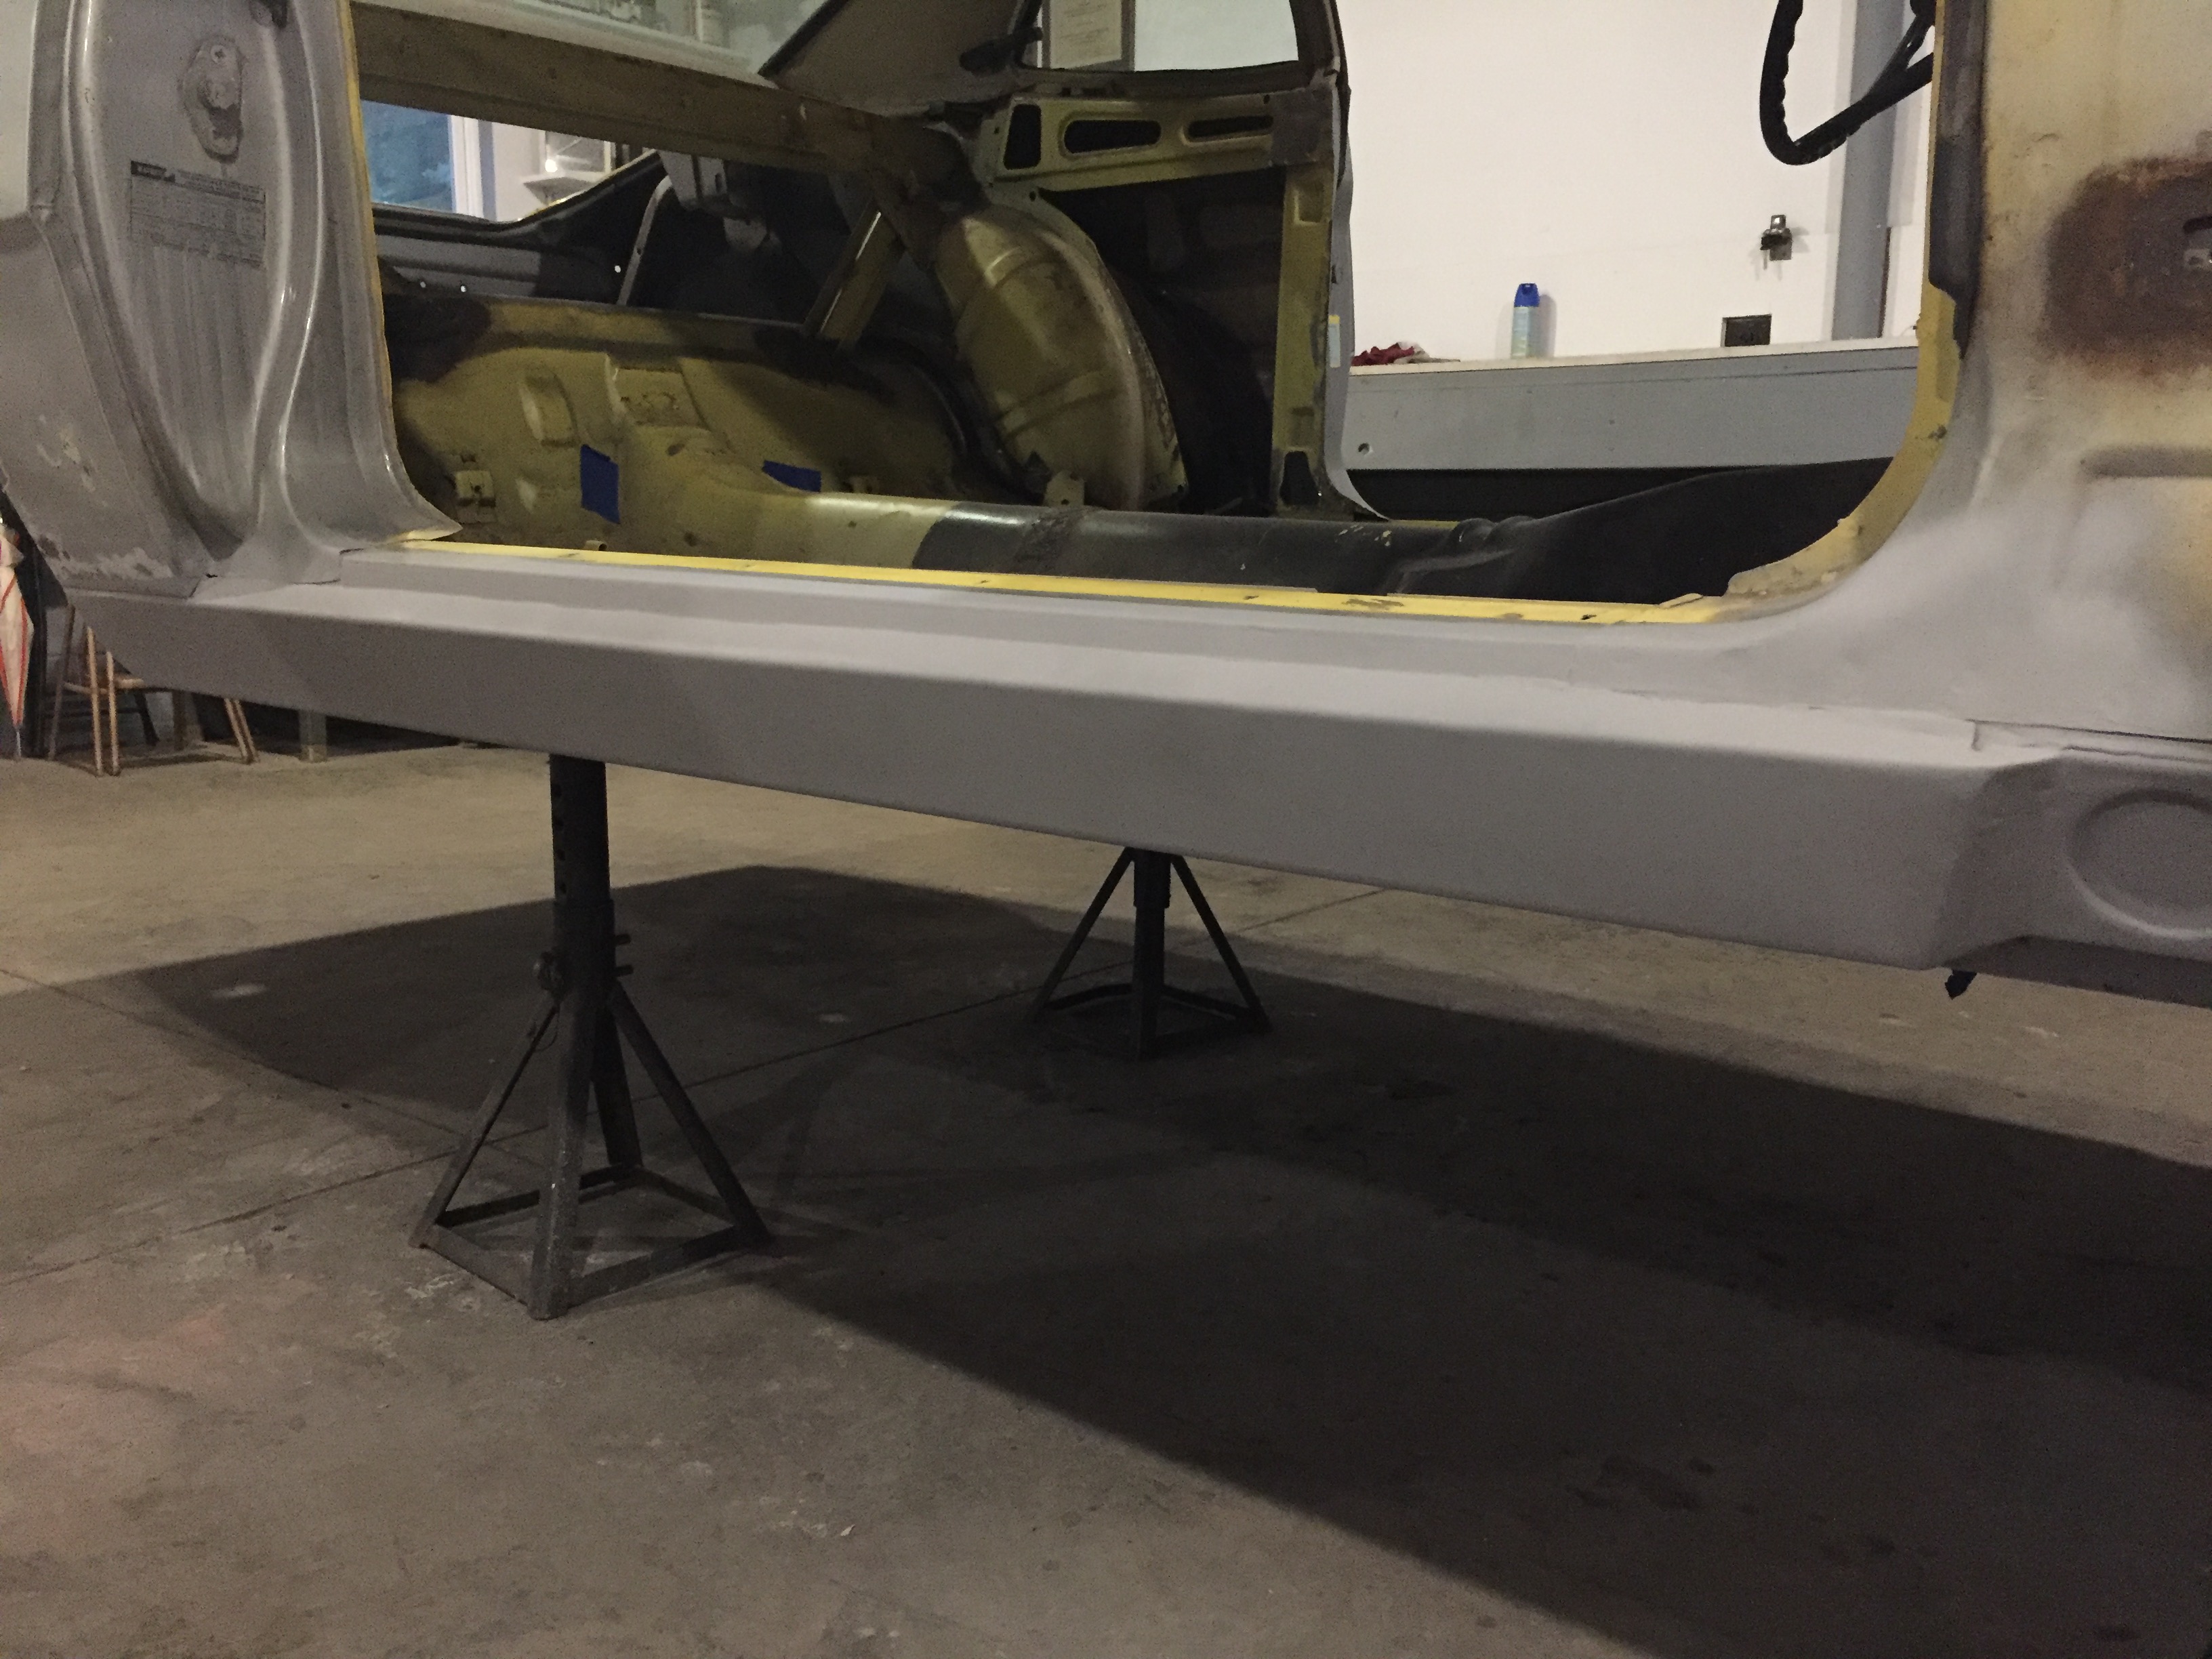
Now Pop has been trying to convince me for the past year that the green is “just fine!” He even painted the trunk deck with it to show me how great it is. I’m not convinced, and I know I’m just exacerbating an already tense paint stand off between us. But I don’t know, Pop, I’m feeling a whole different color all together. Screw the green, I think I’m going cream! (I’m picturing him rolling his eyes as I type.)

Here’s the good news. My man Mike and I will be headed to KY in a month and the thought of actually hugging both my parents fills me with total joy. (We are all vaccinated!!) I’ll make the final call on the color, we’ll do some serious sanding and body work and hopefully get a start on the final paint job. Can’t wait!

IMG_4325
It’s green, but is it the right green?

Get Your Motor Runnin’

She’s alive.  Yes, Mavis’s engine is in and has successfully turned over.  Honestly, the whole thing scared the CRAP out of me.  First off, after connecting the electrical and gas lines, and actually putting gas in the car, things started feeling dangerous.  The possibility of electrocutions and explosions became a reality and I couldn’t remember if Pop said amps burn you but voltage can kill you, or the other way around.  It’s one thing to talk about souping up a little I6, another to have a great time building it, but once you connect everything to real power…holy crap!

Couple KY visits ago, we installed all of the engine’s accoutrements, as I like to call them.  Accessories such as the water pump, thermostat, starter, fly wheel, clutch disc, pressure plate and bell housing.  Then, headers and transmission, which turned the engine into a 5 foot long beast we needed to get into Mavis’s little body.

IMG_8087

Transmission on.

Unless we were missing something, there is no way to remove the front upper radiator support bar in the engine compartment.  So, to properly install the engine, we really needed an engine hoist with an adjustable bar to allow us to tilt the engine in order to ‘insert’ the transmission through the engine compartment, move the whole kit and kaboodle back and in, lift the trans nose before it scraps the ground and settle the 400 pound engine and transmission assembly snuggly into place.  We didn’t have that special hoist, but because we are geniuses we figured we could make this work without.  It was just a matter of hoisting the engine in a way that allowed for the correct tilt and then pushing the car forward as we carefully lowered the engine in.

I was NOT looking forward to this procedure, as it’s nerve-wracking to see your newly built engine dangling from chains secured with a few temporary bolts…let alone at a jaunty angle.  As I enjoyed my coffee on the porch the morning of ‘insertion day’, Pop heads out the door saying, “I’m going out to experiment with some fulcrum points.”

“Don’t fucking drop my engine old man…or hurt yourself!”

But he was half way to the garage, determined, with plan in place.  I stayed right were I was and finished my coffee.  Once Pop felt confident in his fulcrums, we lifted the whole thing up and in.

The whole process took about 10 minutes and consisted of me under the car a good amount moving the jack into the right position, guiding the transmission’s tail onto it and then raising it as the engine moved down and into the compartment.  I will admit that once this was all done, we ended up lifting it back out order to ‘manipulate’ the shock tower so that the headers were not touching it.  This consisted of first banging the hell out of the shock tower and then heating the whole thing up and prying the hot headers away from the wall.  Come to find out that the whole engine was shifted to the right about 1/2 inch due to the fact that we installed the motor mounts opposite.  Who knew there was a designated right and a left?  (Apparently, not us.)  Plenty of clearance now!

Next up, connecting the gas line from the tank all the way to the carburetor where it is mixed with the other vital ingredient, air, and turned into energy to keep the motor running.  We had the main line in, but needed to bisect it for a fuel filter.  We installed a new gas hose to get it from underneath the car and up into the engine compartment (Pop and I LOVE rubber grommets, look how clean it is.)

IMG_8203

Feeding gas line to engine.

IMG_8202

Gas line and carb.

Now, to test that the gas is flowin’ correctly and we don’t have any leaks from the tank.

We celebrate even the small successes, as one should.  A final connection to the carb and some tweaking to convert it from an automatic choke to a manual one and we are done with that job!

Next up, electrical.  We were trying to save as much as we could because the electrical system in even a ‘Simple Man’s Machine’ is really complicated.  We had labelled the wires carefully when taking everything apart, so all I had to do was clean them up, replace any really bad parts, re-tape and reroute them to their various locations.  No problem, right?  WRONG!  It totally sucked.  Look at this mess!

IMG_8194

Wiring…Janet’s job.

Ok, so I kind of loved it.  I made them all so pretty and even ended up wrapping parts of the wiring in looms to made them super neat.  Squeeee!

We had some trial and error around figuring out what went where when it came to the solenoid and voltage regulator.  The first time the fan came on inside the car was incredibly exciting, celebratory even, as it blew 50 year old pine needles in my face.  So with gas and electric connected, there was but one thing left to do…start her. 🙂

The engine turned over first try, which was just amazing.  I don’t know why I didn’t think it would, but you build this thing from engine block up and can’t imagine it’s going to just…start.  Pop never doubted it.  So exciting.  We’ve since worked on the timing and have a little more work to do to get her idling right, but this was just HUGE!

IMG_8083

Get Your Rear end Up!

Mavis has her rear end up, almost.  It’s so great to be able to start putting parts and pieces back on the car rather than taking them off.  So when I say ‘rear end’ I’m referring to the gas tank, back axles, differential, leaf springs, shocks, drum brakes and parking brake.  We also got the brake lines and gas line connected.  This picture doesn’t really do it justice, but here is the finished product of a shit ton of work.

IMG_2542

First thing up was the gas tank.  Those two long bolts can be shortened, but all that is covered by the back bumper eventually.  We also got the front of the leaf springs up and they lay in waiting for the differential assembly.

IMG_2461

We ended up keeping our original axles, but bought new bearings and had to get those pressed on.  Curt to the rescue!  We went over to his garage where he cut the old ones off (the ONLY way to get them off) and used his 40 ton press to press the new ones on.  He did the first one and let me do the second.  This machine is quite intimidating, you can crush things in it!  On approach, it looked like an industrial guillotine.

IMG_2419

Curt showed me how to place the axle with the new bearing. Here’s how it looks all ready to be pressed.

IMG_2421

Of course, me being who I am, decide I was going to be concerned that with all the pressure, the bearing may go on crooked.  I find things to be worried about, you see.  Here I’ve never done this myself nor seen it done and I’m telling a long-time veteran mechanic not to “put it on crooked”.  So, I deserved this.  Perhaps that’s why Curt wouldn’t accept any money for his work, because giving me shit was more satisfying.


Bearings, pressed and ready.

IMG_2427

Back at Woody’s Garage we carried on.  Backing plate on, axles inserted, brake cylinder attached and brake lines in.


Pop says, “We’re a fucking machine shop!”  As much as you can call cutting screws shorter and rethreading them ‘machining’ things.  But we did have to come up with a solution to a brake line issue we had.  The main line was still in good shape (the line that brings the brake fluid from the master cylinder in the front of the car back to the axle.)  Where that line splits into two, we had to order.  Miraculously they fit, but for just a few modifications we made with a tube bender.  What didn’t fit were the fittings that connect them to the junction block where they split off.  BUT – the ones that were on the $100 piece of metal (the unusable axle we bought from Mustang Marty Miller) did.  Yes!  One less trip to the parts store!  We cut off just the tip of the ends, replaced the fittings and reflared the tubing.

IMG_2443

To do this, we had to use a special flare tool.  I don’t understand how Pop continues to come up with a tool for EVERYTHING.  We’ll run into a problem or a need for something very specific and his eyes get all big and his mouth says, “ooh” without any sound.  He puts his gorilla finger up in a ‘wait a minute’ sort of way and says, “I have just the thing.”  Then he rummages through the garage and comes back with the perfect tool to get the job done.  I think he’s jacked to be able to use what 60 years of tool gathering gets you.  It is pretty awesome.

IMG_2442

Flare tool, happy to be used.

Next up, getting the differential housing attached to the springs, the back end of the springs up and add shocks.  So here’s a big admission.  I didn’t know that the axle sits on the leaf springs.  I can’t say I knew how it was attached to the car at all.  I can’t even say I pondered this at any point during this project so far.  So when that concept clicked in my mind and I had that Aha! moment, Pop just looked at me and said, “How did you think it connected to the car? Did this not occur to you when we disassemble it?”  Again, I hadn’t really thought about it.  I was like, “What’ev.”

IMG_2464

We used the jack to hold the axle in place while we set it on the springs, secured the axle on the springs with u-bolts then raised the back of them and connected.  Who knew?!

Next, shocks.  One of the parts that must be bought new because they lose their gas and their ability to dampen motion, or in my terms, their ‘puffiness’.  Quick trip to O’Reilly and boom, new shocks.  It’s always exciting to get a new part…here’s me coddling $60 worth of shocks on the way home.

IMG_2387

One of the final steps was getting the brakes assembled. These are the second set of drum brakes I’ve done, as we had to put the Firebird’s back together to get it on its wheels and out of the garage at the very beginning of this project.  Still though, Pop and I had to dodge a couple errant springs.  We have the tool for getting them on, but not off.  So we work together with a screwdriver and pliers and wait to see who’s going to lose an eye.

IMG_2472

Although this all sounds like a lot of work, and it was, we still had time to fart around a bit.  Curt put Lil’ Big Rig up for auction so we went to that and watched him say goodbye to his baby.  We also took the opportunity to get under any 60’s Ford we saw to check out the parking brake system (which we also finished on Mavis.)  So everyone is walking around looking at these beautiful cars and Pop and I are like this most the time…

IMG_2484

Curt got close to what he wanted for Lil’ and it was the star of the show as it’s quite the site.  All chromed up and shiny.  Pop kept saying that someone should buy it to pull their 5th wheel camper with but I think it looks more like something a Country Santa with a cowboy hat would ride down Main Street in a Christmas Parade.  Well, we all felt for Curt as he had a lot of hours and TLC into that truck.  Couldn’t have been easy to see it go…but then he texted Pop a pic of a 1932 Ford Victoria kit he bought the day after.  Curt’s moved on.

IMG_2647

Lil’ Big Rig

Momma, Pop and I also went to a car show in Somerset, KY where I got to meet Tony, the fine gentleman who donated a hood latch to our cause when he and Pop met at the Maverick/Comet gathering last summer.  What a great guy.  He asked me what it was about the Maverick that made me choose it for the project.  When I said that I just loved the shape of it, that it is a beautifully balanced little car, I think he teared up before hugging me.  Tony was at the show with Lemonade, his beautiful, supercharged 302 Mav, which Pop says is a ‘truly dangerous vehicle’ (in a good way.)  Afterward we followed him back to his garage where he literally, has Mavericks STACKED.

IMG_2356

IMG_2378

So, great last trip.  Lot’s of work, lot’s of fun and now the holidays hit. Next up on Pop my Ride, Mavis’s front end, disc brakes and more adventures.

Keep on Rockin’ in the Wheel World

Pop and I had to replace one of Mavis’s rocker panels because it was totally rusted out.  This was a BIG deal and new even to Pop, but we both think the results are of rock star quality.  The rocker panel is the length of metal that runs from the back of the front wheel well to the front of the back wheel well just underneath the door.  It’s what you step over to get into any vehicle.  I’ve recently discovered that its name originates from back in the day when they were building horse drawn carriages.  Here’s a fascinating bit of info for ya from “A Practical Treatise on Coach-building” by James W Burgess, published in London in 1881.

“Proportion in carriages applies to both form and colour; as regards form, it regulates the sizes of the various parts so that the whole may harmonise, and dictates the adoption of contrivances for lessening the apparent size of those parts which would otherwise be unseemly. Thus, the total height which is necessary in the body for the comfort of the passengers is too great for the length which it is convenient to give it ; therefore the total height is reduced, and to give sufficient leg room a false bottom is affixed by means of convex rockers, and which, being thrown back and painted black, cease to form a portion of the elevation ; they are, -like a foundation, out of sight, and thus the proportion of the front view (the side is called the front in coach-builder’s parlance) is preserved.”

Well thank God!  I felt my original explanation to friends who were trying very kindly to understand (and stay interested) in my rocker panel story was much more understandable.  I told them to imagine driving their car over a very steep bump in the road.  It would surely get stuck at the top, rocking back and forth with the wheels above the ground on either side.  What it would be rocking on would be…you guessed it, the rocker panels!

Regardless, they do tend to rust out faster than any part of a car or truck and Mavis’s passengers side had seen better days.

Skills required to replace a rocker panel:  Metal cutting, accurate measuring, plug welding, tack welding, grinding, body filler work, sanding, more sanding, patience and a good attitude.  It is really really stressful because neither Pop nor I are psyched about making our first real cut into Mavis’s body and fucking it up isn’t really an option.  There are only so many YouTube videos you can watch before you gotta get in there and make it happen.

I think this part may mark the first fight Pop and I have gotten into during this project.  Ok, not a full out fight, but he was clearly irritated with me.  We were up under the back wheel well where I was showing him the inner patch for the back of the panel I had been working for like, 3 hours on, and felt I had messed up.  So both our heads are crammed into this 2×1 foot space, 2 inches from each others faces and I’m whining about this shitty patch and he’s telling me it’s “just fine” and I’m saying it’s unacceptable and I’m pissed and now he’s getting pissed.  We keep grabbing this patch out of each others hands tryting to show the other how it’s working or not working and dropping it and hitting our heads trying to pick it up and in the stress of this whole fucking thing Pop says, VERY sternly, “God Dammit Janet, stop being such a perfectionist!”  I mean, he’s not happy with me, which hasn’t happened often, or ever, in my adult life.

Years ago I would have immediately felt that stinging feeling in my nose just before the tears come.  Now, I was just so blown away with being called a perfectionist tears were beyond me.  A perfectionist?  I think the only other person who has ever called me that was my best friend Beth of forty years who is a trained psychologist and knows me better than almost anyone.  So really, what does she know?

Fuck.  I may be.  Never thought of myself as a perfectionist, but I do have to admit that there isn’t much space between, “we’re going to do this thing right to the best of our ability” and, “if I can’t do this thing right I have no abilities.”  I’ve been known to never start something because it may not turn out how I envisioned it.  After years of doing this to myself on a creative level, I now decide to rebuild a car?  Not sit and doodle out a sketch, not try some slab work with clay…no, rebuild a whole fucking car.  It was the black and white of it I was attracted to at first.  Either the car starts and runs or it doesn’t.  You’ve either succeeded or failed.  But like anything, there are so many levels of what is acceptable or what is ‘right’.  High-end, high gloss, big money Foos paint jobs or flat black spray paint applied in the hot sun in the backyard.  I’m cool with both for others, why not me?  Pop and I, we are not high end, we are ‘do the best you can do with what you’ve got’ because that is what he, and Momma, taught me.

This is a lesson.  Not one I planned on.  But as I write I’m realizing that I must stay true to my mission…which I didn’t have for this project until now.

Have fun, damn it.  Do your best, learn, be in the moment and enjoy the loving relationship you and Pop deserve to have with the added appreciation of being comforted by Momma with long warm hugs, morning chats and dinners from my childhood.  Love them both back deeply, be grateful and keep on rockin’ the rocker panels!

Here are shots throughout the rocker panel replacement process.  Please enjoy, Pop and I are very proud.

IMG_1786

Pre-surgery. Ensuring we’re working on Mavis’s correct side and the ‘implant’ is ready to go. It will need to be cut to size and drilled for plug welds. Note the very accurate Sharpie lines marking where we will cut the old panel out.

IMG_1787

Cutting out the ‘cancer’ as they call it. Back end.

IMG_1788

Front end.

IMG_1790

Cancer sucks.

IMG_1795

First fitting after the way too stressful first cuts.

IMG_1797

Inside of the panel cleaned up and rust treated.

IMG_1800

The front of the back wheel well area that was so bad we had to cut out most of it out and create patches. Always trying to save as much good metal as possible.

IMG_1801

Replacement panel after we drilled the plug weld holes.

IMG_1805

Woody on the torch!

IMG_1821

Welding in the ‘shitty’ patch, having learned my lesson.

IMG_1822

Plug welds done…not too bad!

IMG_1823

Front pre-fit a little scary.

IMG_1824

Back pre-fit looking good.

IMG_1832

Plug welds ground down and filler applied, dried and sanded.

IMG_1833

Front looking much better.

IMG_1835

This was tough as we needed to keep that horizontal seam but ‘hide’ the vertical one.

IMG_1841

Skim coat is the darker red.  Trying to use as little as possible.

IMG_1842

Front sanded, pre-paint.

IMG_1843

Back sanded, pre-paint.

IMG_1848

Prepped for paint.

IMG_1849

Done!

IMG_1857

Final back. Don’t even try to tell me you can see that vertical seam!!  

IMG_1856

Final front.

IMG_1855

Full on final shot!!

Oh shit!  I forgot to tell you about the outcome of the brake situation and Mustang Marty Miller!  It didn’t end well in terms of the brakes, but Marty’s cool.  Skip to the end of my last post to read about it.